How to Remove Double Chin in Photoshop
 When we take pictures of ourselves, our loved ones, children, and so on, we often encounter problems that arise when viewing pictures. This is what will be discussed in our today's article. Soon you will learn how to remove the double chin in Photoshop. To do this, you do not need to be an artist, designer or other kind of professional, now you will understand that in fact, everything is very simple.
Editing process
So, in order to remove the double chin in Adobe's graphics editor, we need to perform a series of simple steps.
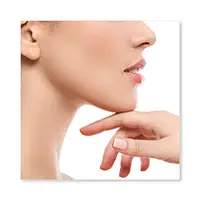
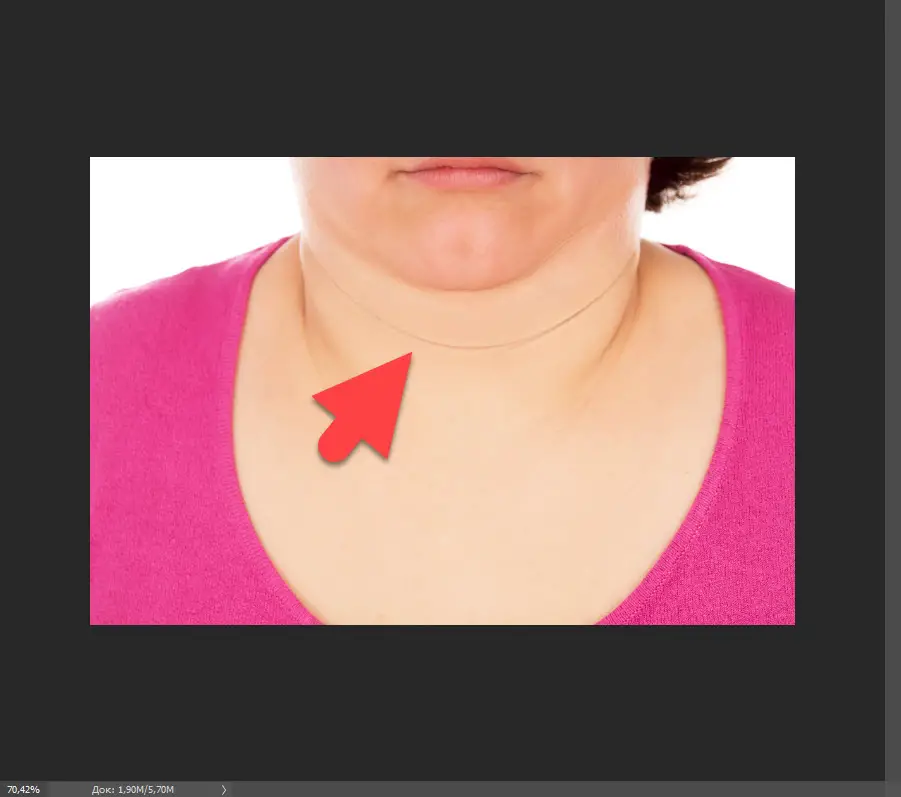
First, let's prepare our photo. For example, we took the image of a famous person who, apparently, is overweight. So, initially we do the following:
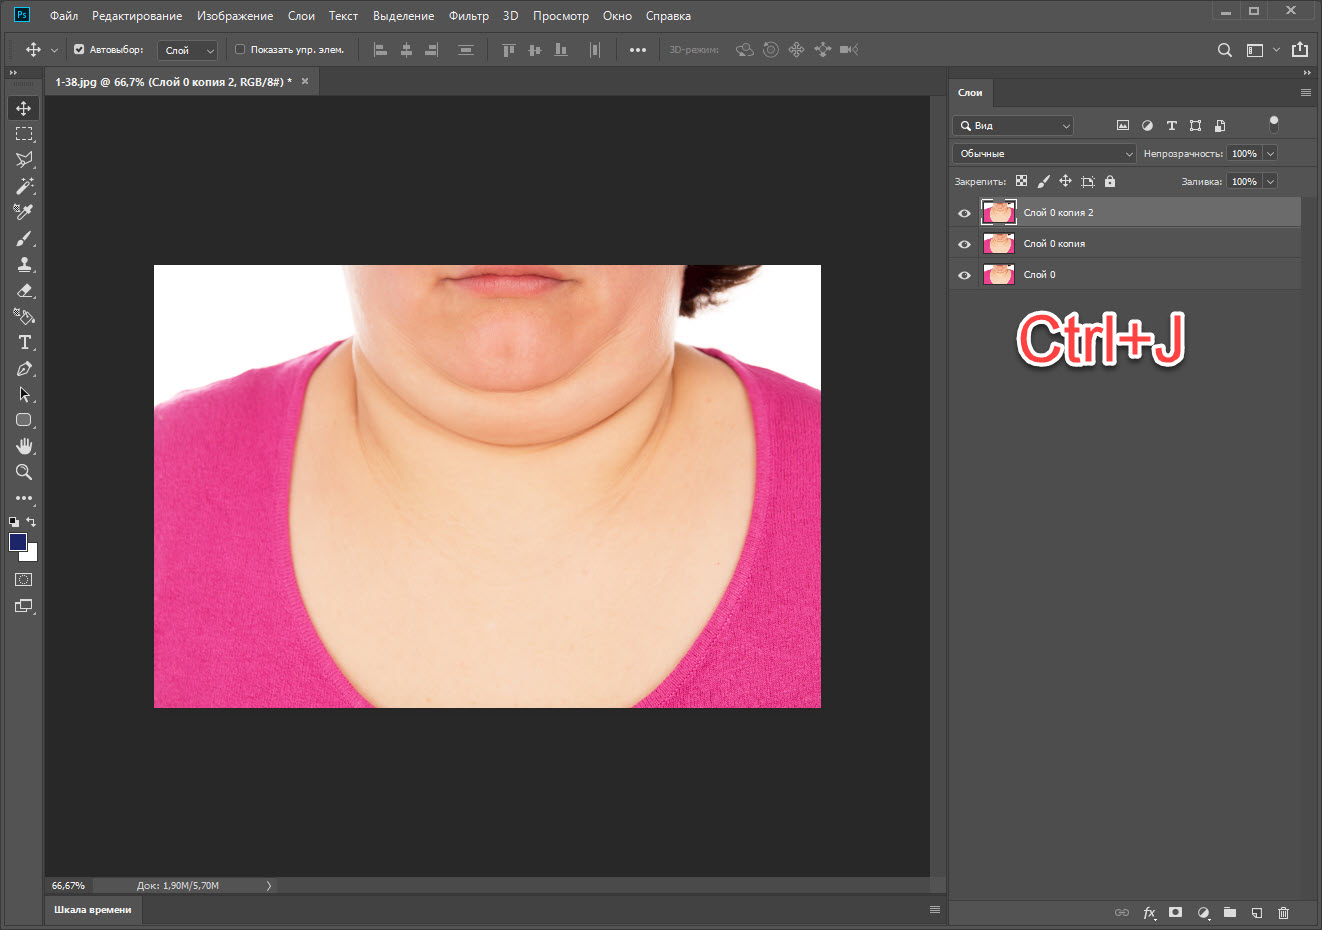
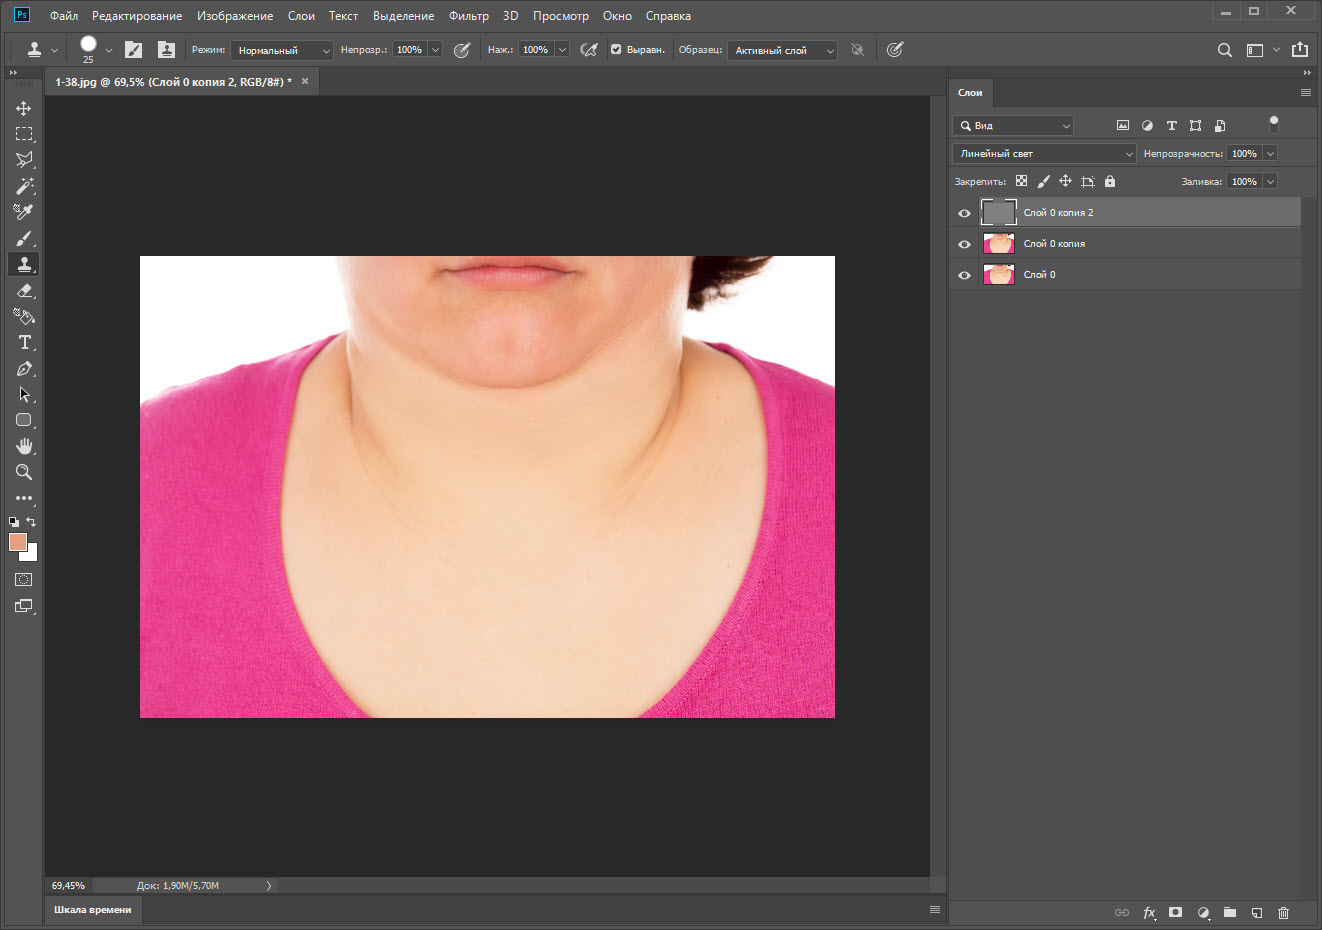
- Duplicate our layer. If the layer editing panel is not displayed for you, you can enable it using the functionality of the main menu, namely, select the “Window” item. Layer duplication is performed using the key combination [knopka]Ctrl[/knopka]+[knopka]J[/knopka]. However, before doing this, do not forget to highlight the source. As a result, next to the first layer, we will have a second one. Do the duplication again to get the third layer.
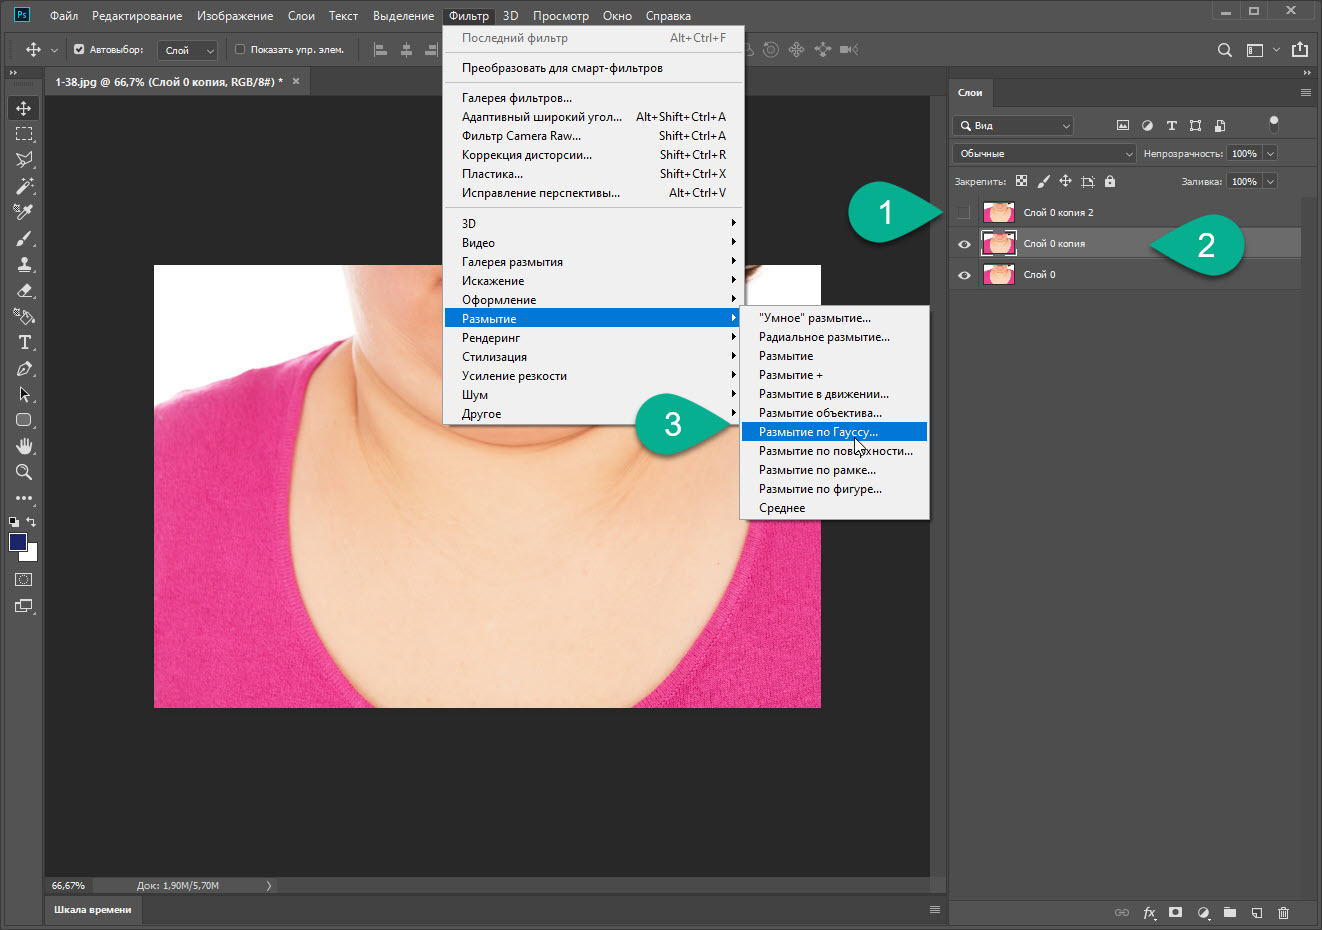
- Turn off the top layer by clicking on the eye icon on the left side of it. After that, select the middle layer. Next, go to the main menu item “Filter”, select “Blur”, and then “Gaussian Blur”.
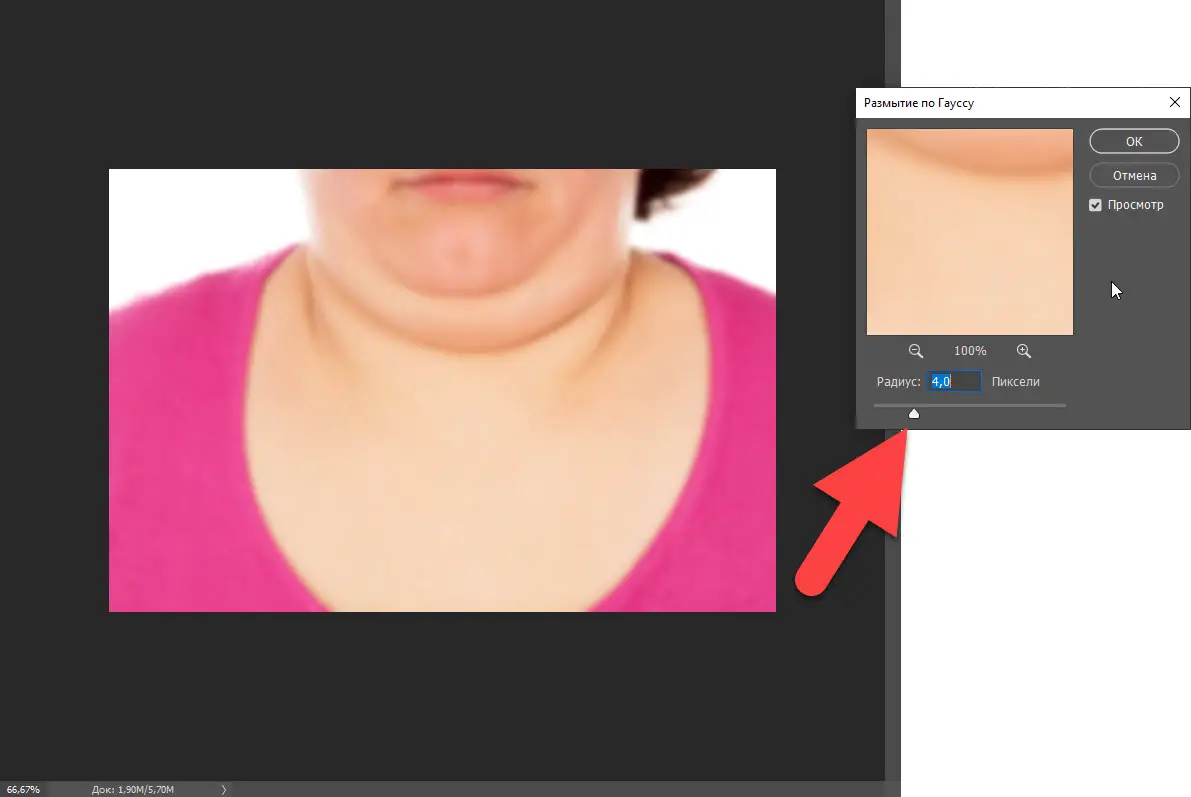
- Using the slider shown in the screenshot, set the blur to such a position that small details of the skin (its texture) are no longer visible. however, the black and white pattern must remain visible. In our case, the value of this parameter was 4 units.
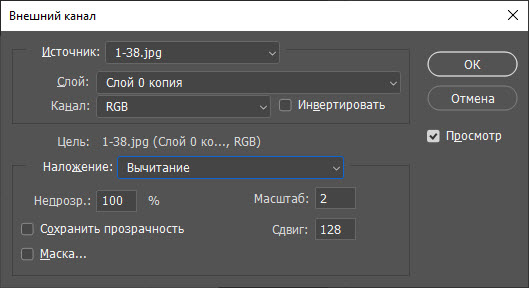
- Next, select the top layer by clicking on it with the left mouse button. At the same time, do not forget to return the icon with the image of the eye to its place. Open the main menu item "Image" and select "External channel" in the drop-down list. In the window that appears, set the same parameters as shown in the screenshot. Then we confirm the changes by clicking the "OK" button.
See also: How to cut an image in Photoshop and paste it on another background
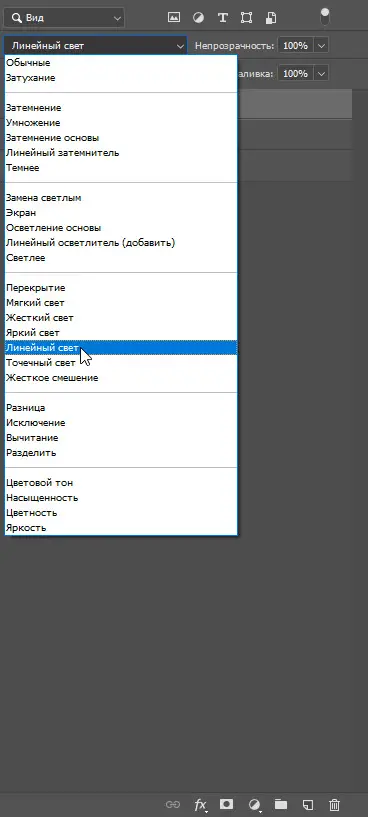
- In the field shown in the screenshot, select the blending mode "Linear Light".
- Turn off the first layer again by removing the icon with the image of the eye in front of it. After that, select the middle layer and switch to the brush tool. Opacity and pressure are set to 20%. The outline of the brush should be soft.
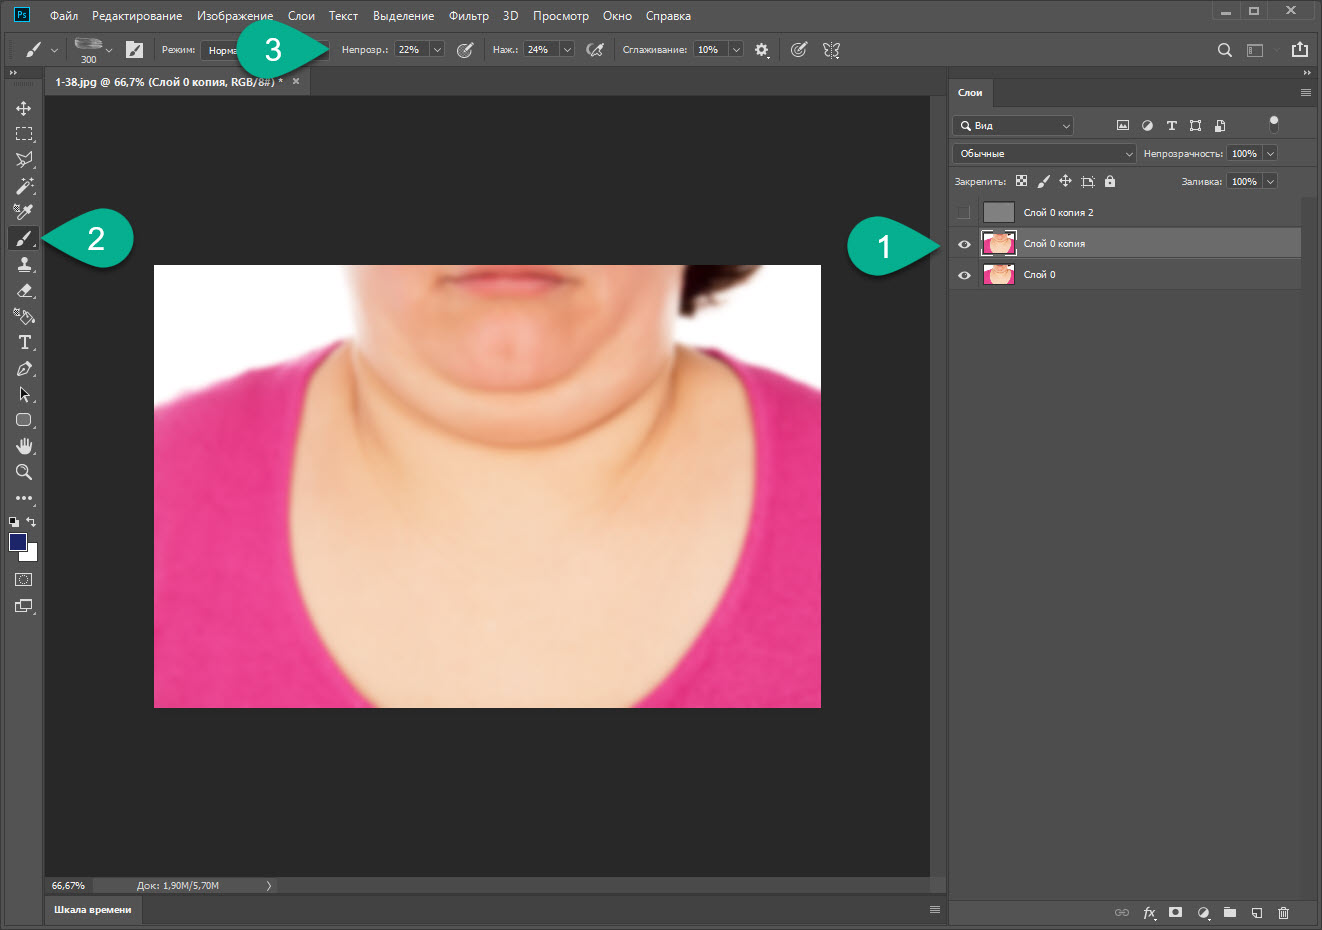
- Now we need to replace the double chin shadow with the skin color next to it. In order to take a sample of this skin, hold down the [knopka]Alt[/knopka] key and click with the brush. Then, releasing the button, paint with a brush over the shadow. As a result, we got some kind of result.
Expert opinion
Daria Stupnikova
Specialist in WEB-programming and computer systems. PHP/HTML/CSS editor for os-helper.ru site .
Ask Daria Naturally, in your photographs you should work out the cut-off pattern much more efficiently. Our task is simply to set an example.
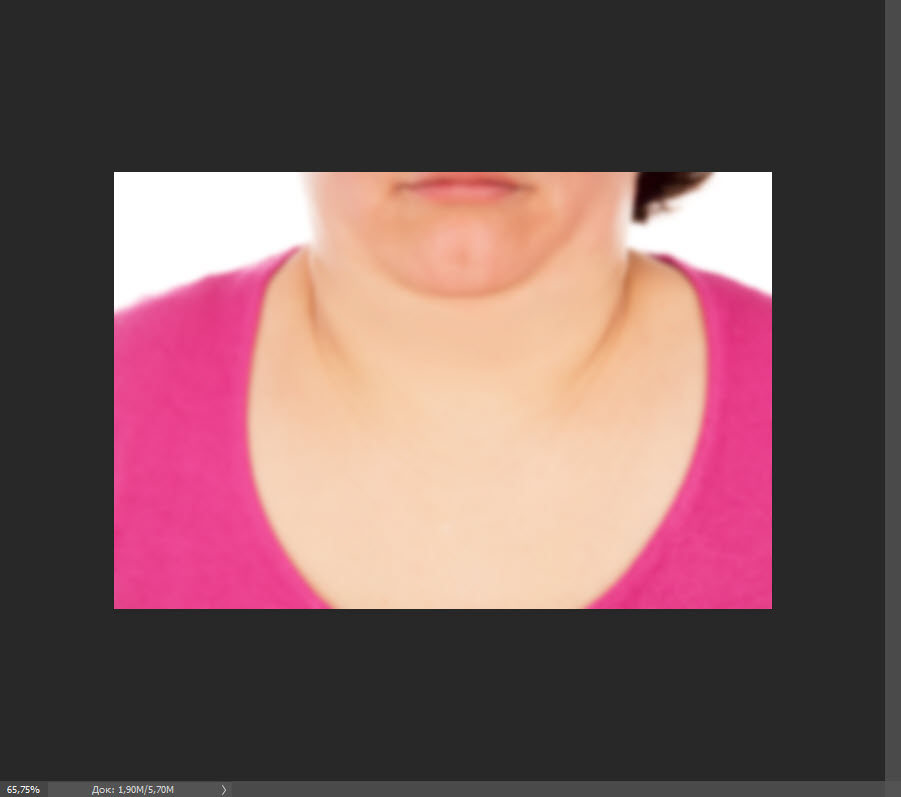
- Now, on the contrary, you need to apply shadows where there are none. Let's add dark areas on the border of the chin closer to the cheekbones. To do this, again, make a mouse click with the [knopka]Alt[/knopka] button held down on the dark area and, releasing the key, apply shadows to where they should be. After working for a few minutes, we got this result.

- Then we move on to working with small details. To do this, turn on the top layer and select it. As a result, we will see the emergence of new nuances that also need to be removed.
- For these purposes, we will use a tool called a stamp. Switch to it, set a hard edge, as well as pressure and opacity around 90%. Using the same key that sampled the light for the brush, we sample the area of skin for our stamp. After that, releasing the key, we work out the necessary places. In the end, everything looked better.
See also: In what format to save photos in Photoshop without losing quality
We just have to merge all 3 layers into 1. This is done using the hot key combination [knopka]Alt[/knopka]+[knopka]E[/knopka] (the layers must first be selected).
Video instruction
All the same things that we talked about in the article can be seen in this video. In it, the author tells in detail and shows how to remove the second chin in the photo.
Finally
Well, now you know how to remove the double chin in Photoshop. It remains only to move on to practice and see if you can do it. If you encounter any problems while editing, please let us know. At the very least, with practical advice, we will definitely help you.