How to install Windows 10 from a flash drive
Today we will look at how to properly install Windows 10 from a USB flash drive to a computer or laptop. In principle, the instructions are also suitable for those users who install their system from a DVD - the differences are only in a few nuances, which we will definitely mention. For more clarity, at the end of the article you can find a video that duplicates the installation process. Let's get started with installing Windows 10 from scratch.
Create a bootable flash drive
First we need to create media from which we can boot and install the system. Using the method that we will describe, you can make not only a USB drive, but also a DVD. Installing Windows 10, namely creating bootable media, is fundamentally different from previous versions. Previously, you had to download an OS image and burn it to a USB flash drive or blank using third-party software. Now everything is simpler: Microsoft has released a special utility that allows you to upgrade Windows 11 or 8 to the tenth version, create a system image or directly bootable flash drive. You can download the program a little lower - it is taken from the official Microsoft website, so the software and image that you download will be 100% original.
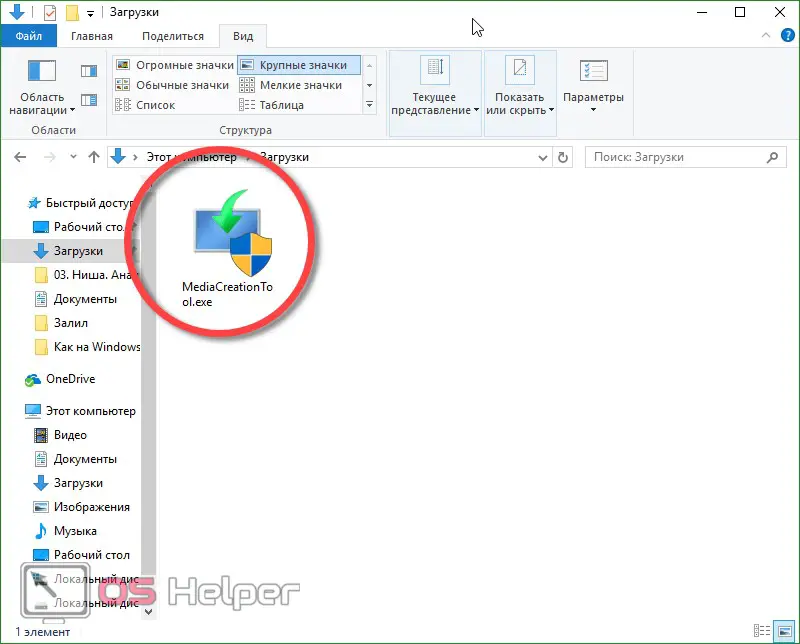
Download MediaCreationTool Once the tool called MediaCreationTool is loaded, do the following:
- We find the utility in the PC folder (by default it is “Downloads”) and launch it by double-clicking the left mouse button.
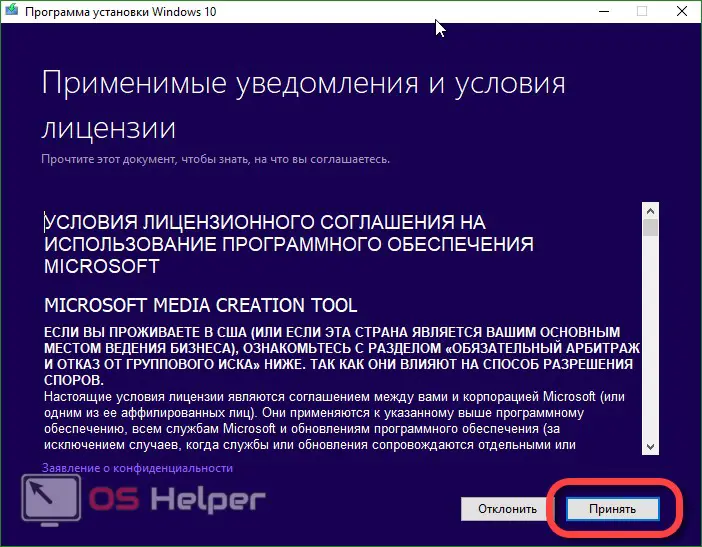
- The program will open. We need to agree to the terms of use, press the "Accept" button.
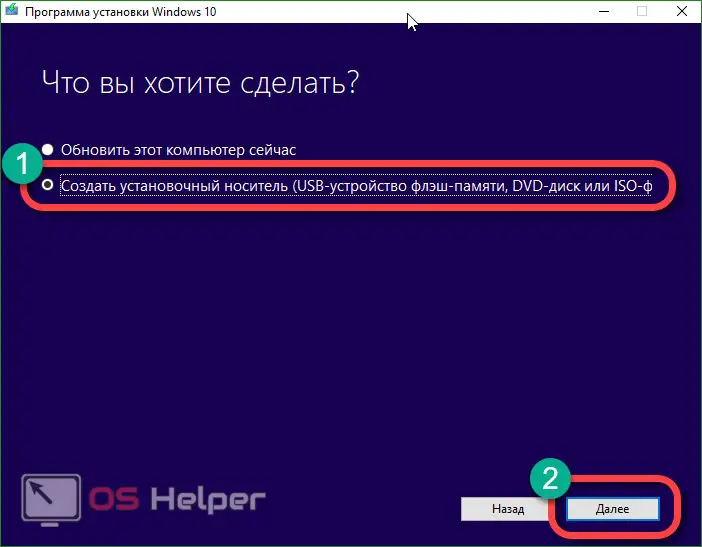
- We will be offered two options: upgrade the computer to Windows 10 or create installation media (this can be a USB, DVD or ISO file). Since we do not need to install Windows 10 on windows 7, we select the second option and click "Accept".
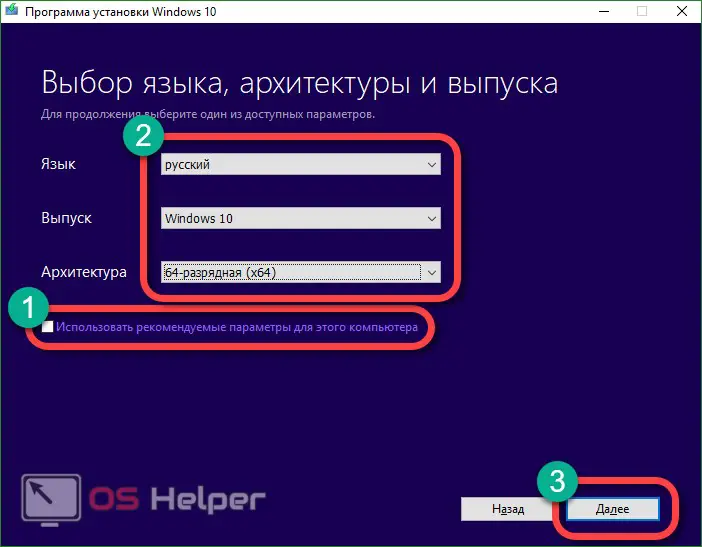
- Now you need to configure the future installation media. By default, its configuration is not available, but if you uncheck the box at number 1 in the screenshot, the settings are activated. It is important to choose the correct bit depth, language and version of Windows 10. When the settings are made, click on "Next".
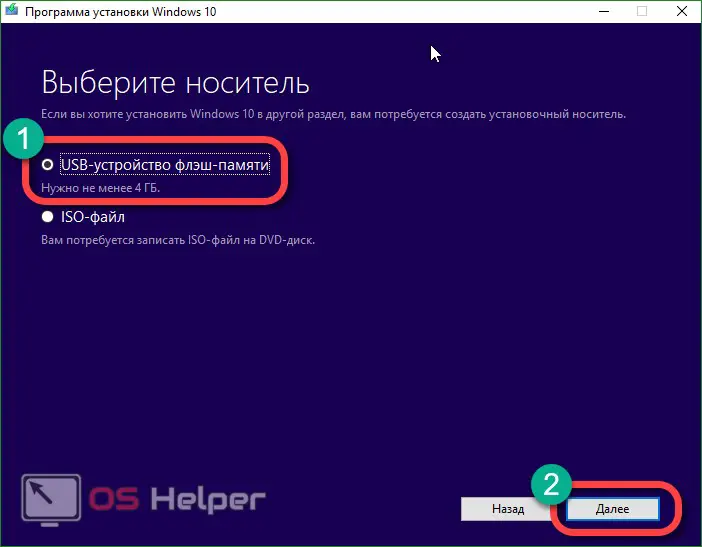
- Now you need to make a choice in favor of automatically creating bootable media (it is what allows you to install the Windows 10 image on a USB flash drive) or an ISO image, which can then be written to media, for example, via UltraISO. We choose the first option and click Next.
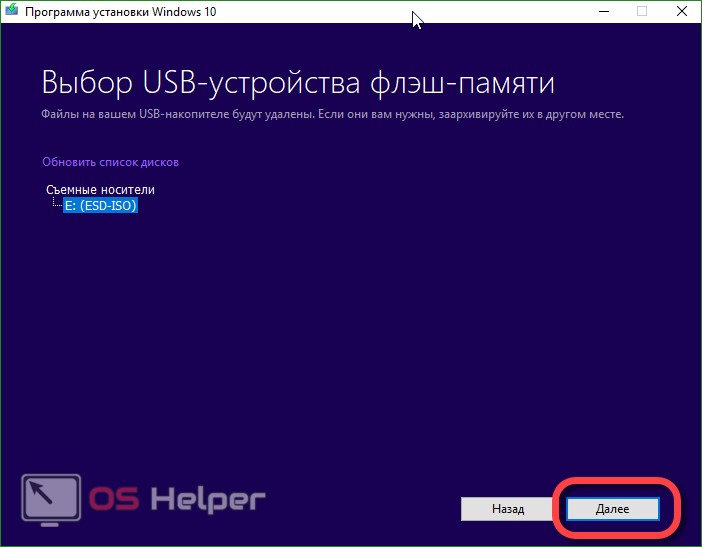
- Select the media to which the recording will be made, and click "Next" again.
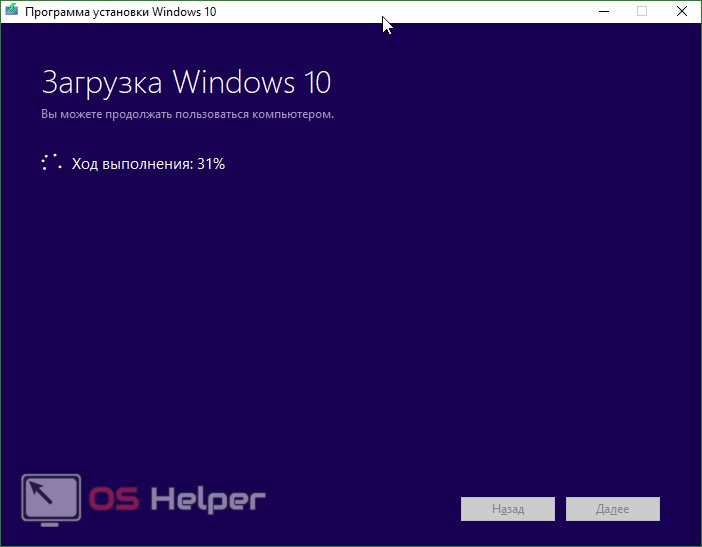
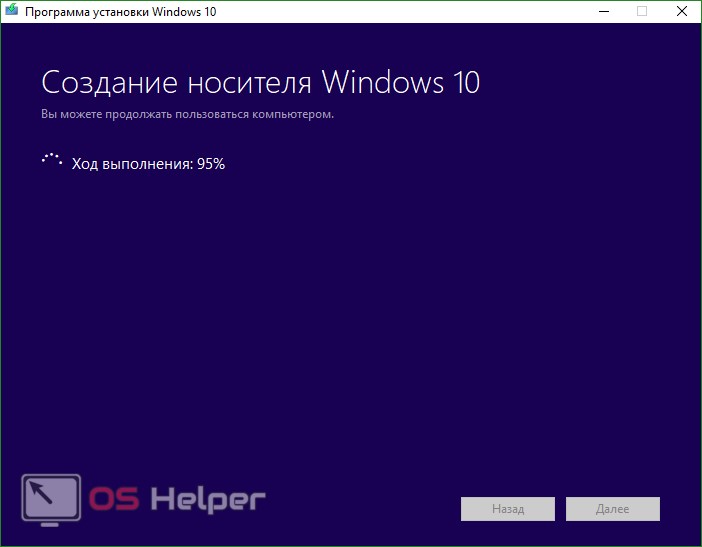
- It will automatically begin downloading all the files needed to install Windows 10, which may take a while depending on your connection speed.
- As soon as the distribution is downloaded, the program will start writing it to the USB drive.
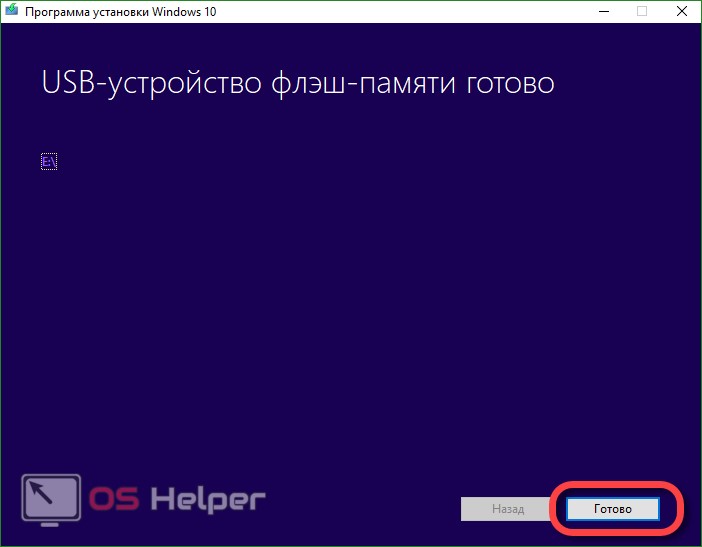
- When the recording of the bootable flash drive is completed, you will see the corresponding window (see screenshot). It remains only to click "Finish".
Many users contact us with the question: what if the Windows 10 setup program does not see the flash drive? There may be several reasons: a non-working USB connector, the flash drive itself or its file table. This is treated by replacing the equipment, and in the latter case, by formatting the media.
Preparing the computer for installation
Before proceeding directly to the installation itself, take care of the safety of your files. This applies primarily to the desktop, the Downloads and Documents folders. It is best to save data to cloud storage or an external drive. As a last resort, move them to an adjacent local partition of the hard drive. If there is none, below we will teach you how to create it. Well, the second important point that accompanies the installation is the inclusion of booting from removable media in the BIOS or UEFI.
Read also: How to enable updates in Windows 10
Some computers or laptops have a special key: if you press it when the PC starts, the boot menu will open, and we will simply select our USB flash drive (you can find out which button works on your computer using the search - in our case it is F11). If there is no such button on your PC, do the following: open the BIOS or UEFI and specify the USB flash drive as the main boot device. Press Del or F2 to get into the BIOS when starting the computer.
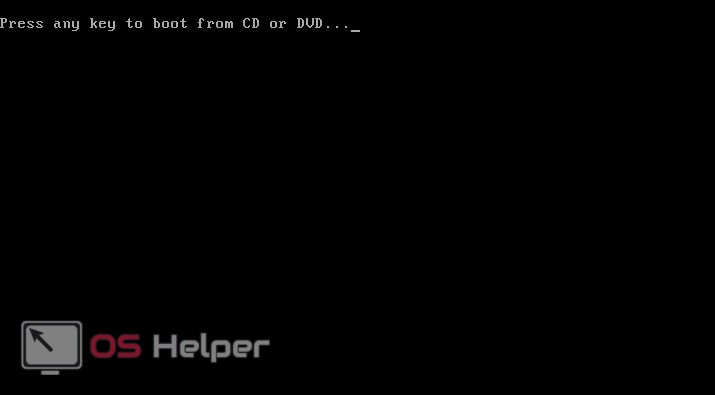
If everything goes right, you will see a prompt to boot from removable storage. To accept it and start the installation, press any button on your keyboard.
Installing Windows 10 from a flash drive
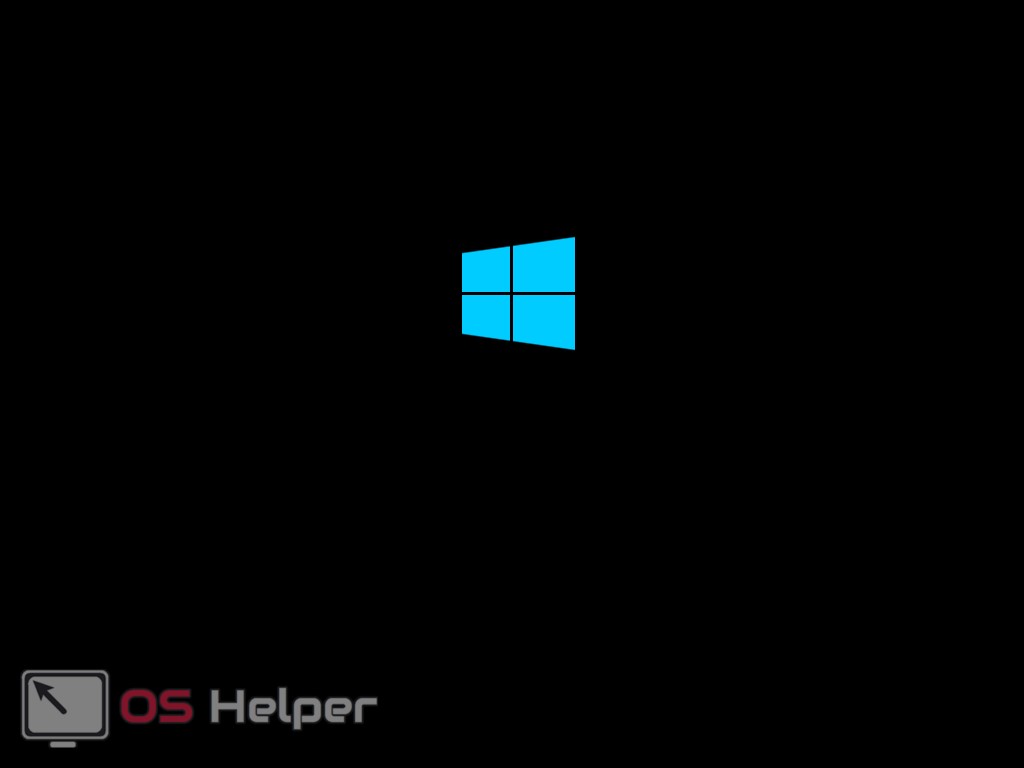
It's time to start installing Windows itself. After we press any button, the installer will start downloading and the Windows 10 logo will be displayed on the screen.
Then follow our step by step instructions:
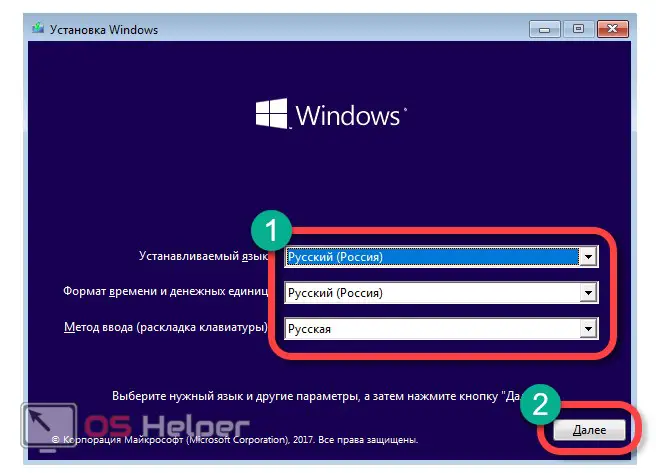
- At the first stage of the installation of Windows 10, we will be prompted to select the system language, time format and keyboard layout type. When the setup is completed, click on "Next".
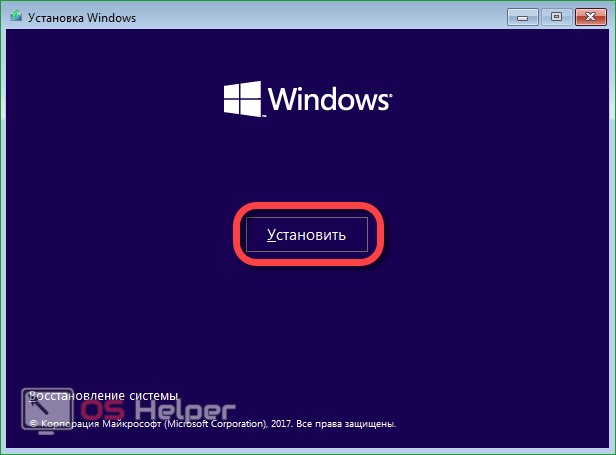
- Here we are waiting for the "Install" button, which we need to click. There is also a System Restore tool here: it is able to repair Windows, start it in safe mode, open a command prompt and fix the MBR (Master Boot Record).
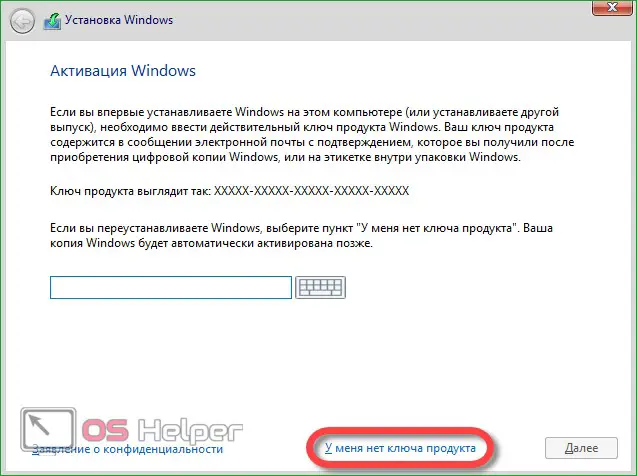
- This is the Windows activation window. Here we need to click on the inscription "I do not have an activation key." You can enter the license code after installing the system.
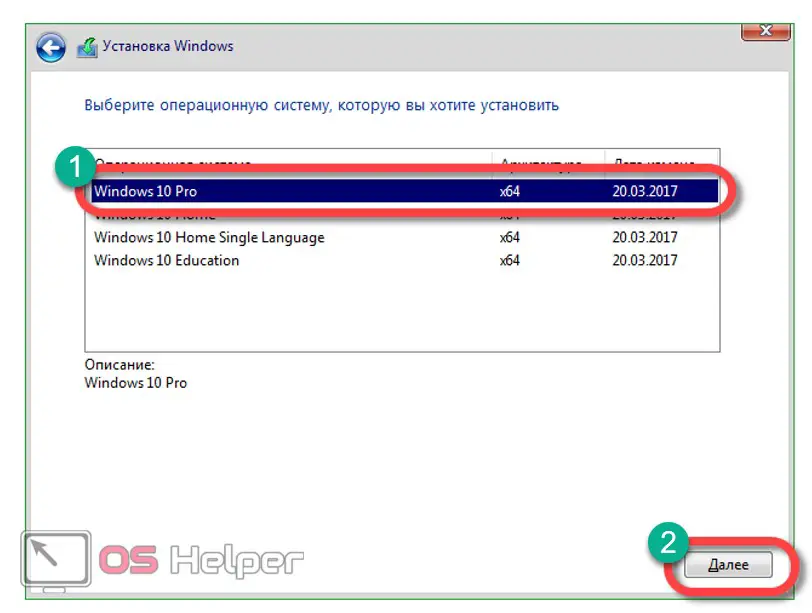
- The next step is to select the version of Windows. Choose the edition that matches the license. Otherwise, the product key simply won't work. In our case, this is Windows 10 Pro. Click "Next".
Installing Windows 10 is possible on an SSD - it will not be any different from that on a hard drive. Installation is possible even on a USB HDD (external hard drive). The only thing to keep in mind is never enable defragmentation on solid state drives: this will quickly disable expensive media.
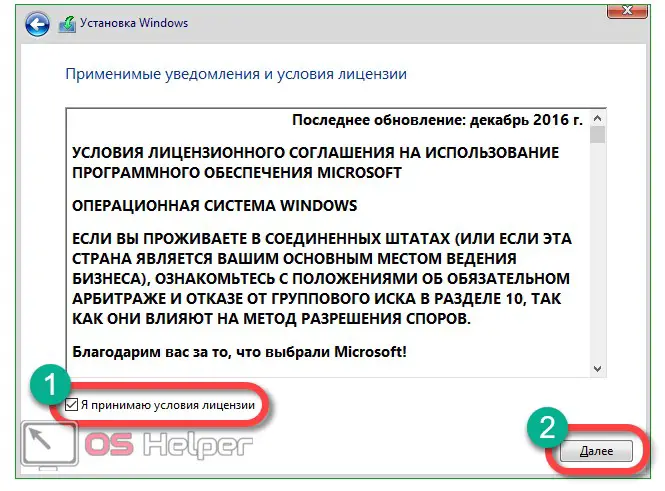
- We accept the Microsoft license agreement and click Next.
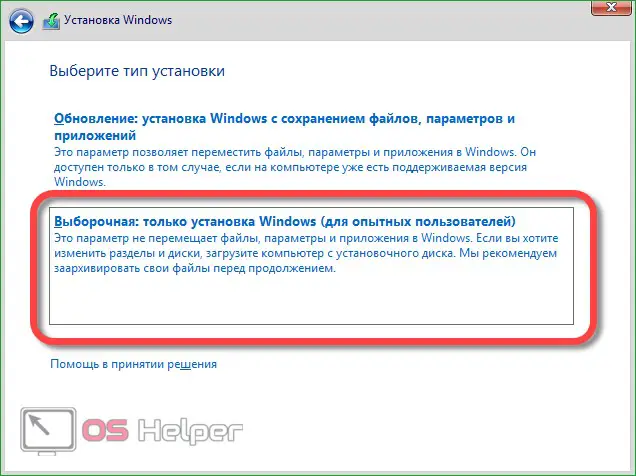
- The choice of installation mode for Windows 10 is very important. You can update the system (all user files remain in their places, and the system data is replaced with new ones) or reinstall the OS in a “clean” form when the disk is formatted and the partition file system is recreated. It is better to use the second option, since it is it that makes it possible to split the hard drive into logical ones and make the system truly new. Click on the option indicated in the screenshot.
Also Read: How To Disable Firewall On Windows 10
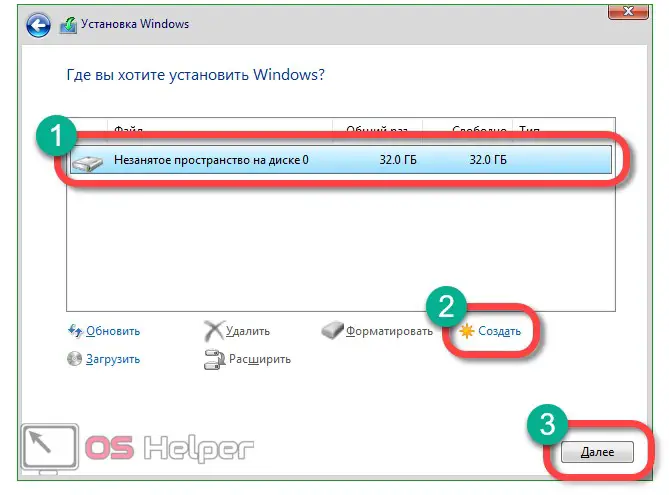
- The following window will open. This is a tool for working with a drive, whether it is a hard drive or an SSD. We have only one section displayed, because the system has not yet been installed. You can have 3, 4, 5 or even more. We need to put things in order here. It's important to find your data partition (usually D) and don't touch it. But ideally, you need to save the data of the old system to an external drive and repartition the hard drive. At the bottom of the window there are keys with which you can: create, delete, format and expand partitions.
If you bought a computer or laptop with the system installed, this window may contain additional disks, about 20 GB in size. They record the image of the system and, if necessary, you can quickly return the machine to the factory state. If there is enough disk space, deleting such a partition is not recommended.
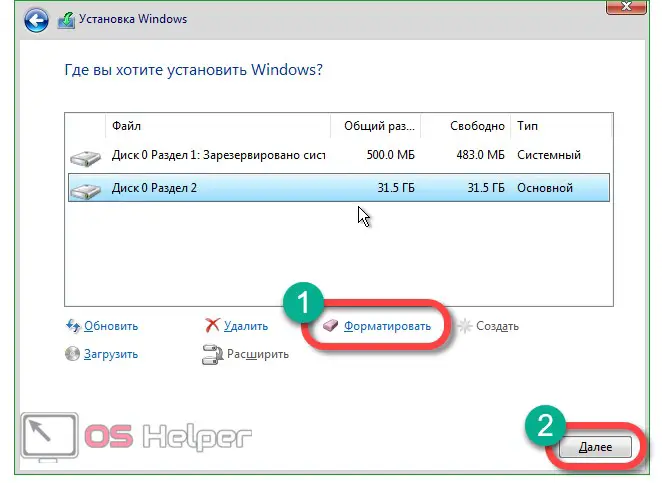
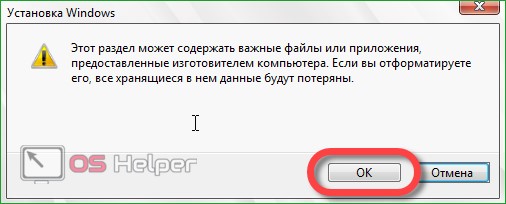
- Create a disk and format it. Please note that all data will be permanently deleted. Once again, make sure that this is not the drive where you saved your files, and click "Next".
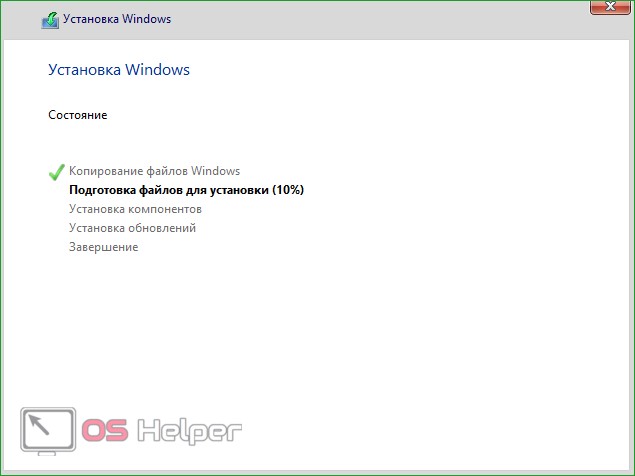
- Windows 10 is being installed.
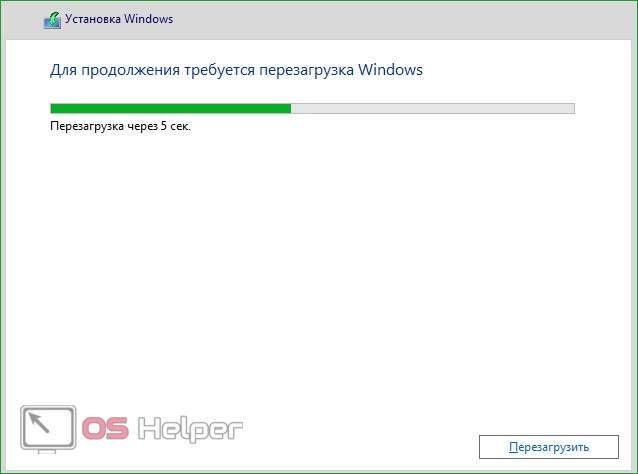
- After the installation is complete, our computer will restart.
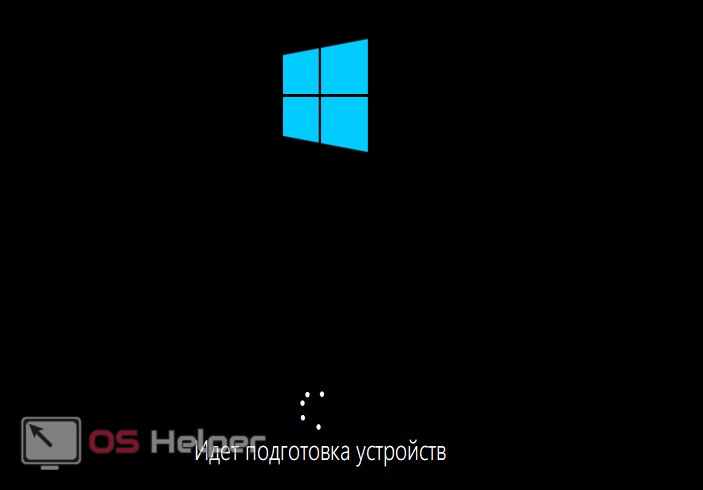
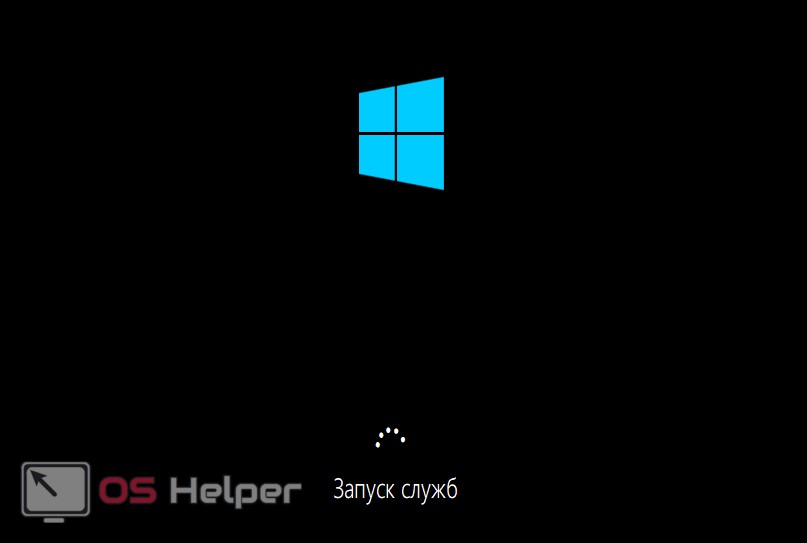
- The system starts to start, preparatory operations are underway: starting services and preparing devices.
- Once the initial setup is complete, Windows 10 will restart again.

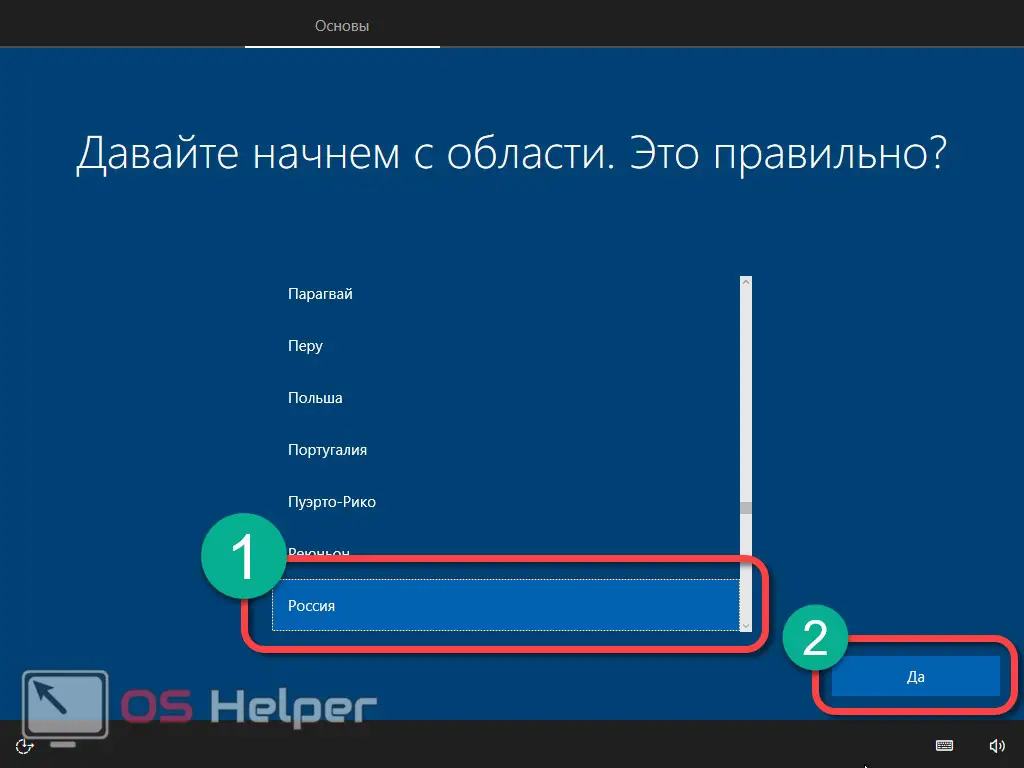
- We need to select the country of residence. Localization is very important. This is a kind of marker by which you will be recognized by browsers, search engines and sites. Select the desired item and click "Yes".
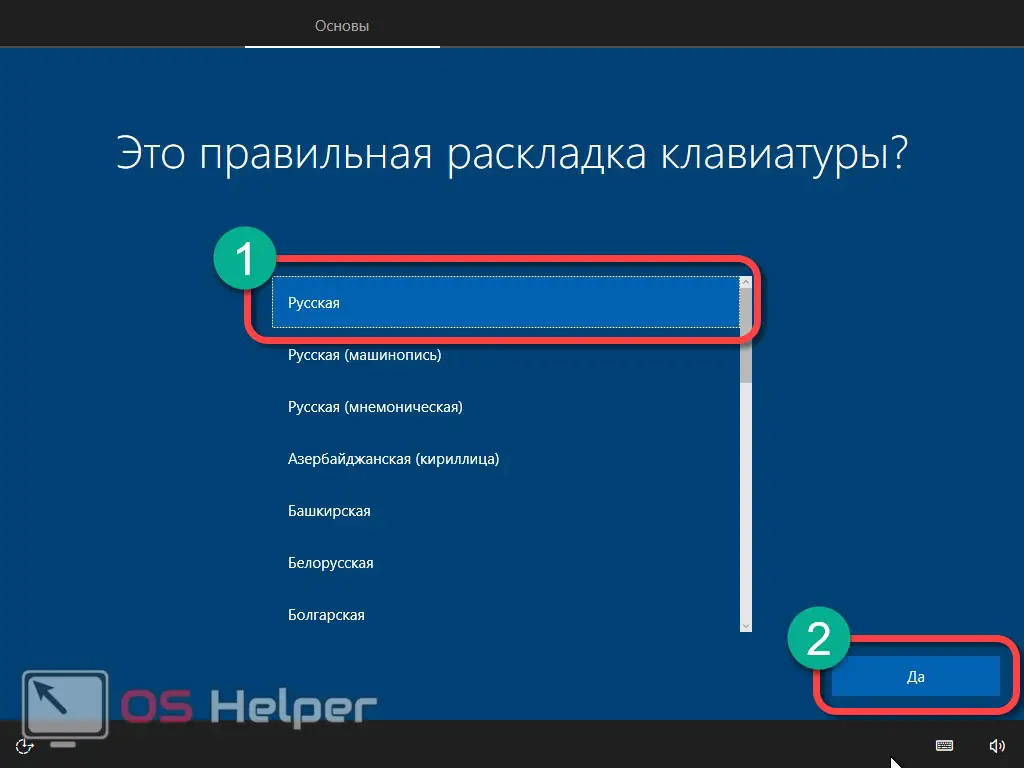
- Determine the keyboard layout. Select Russian and click on the "Yes" button. English is present in the system by default, it is impossible to disable it.
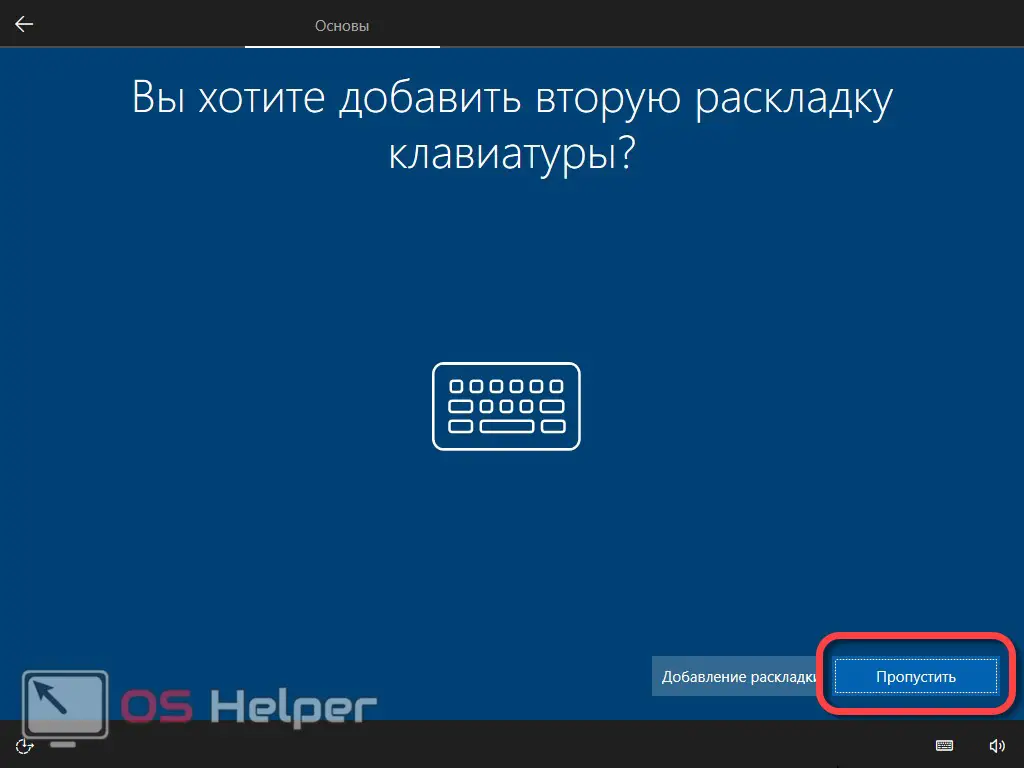
- We will be prompted to add another keyboard layout. This is necessary for people who enter text in different languages. We do not need this, especially since you can always configure it already in a running system. Click "Skip".
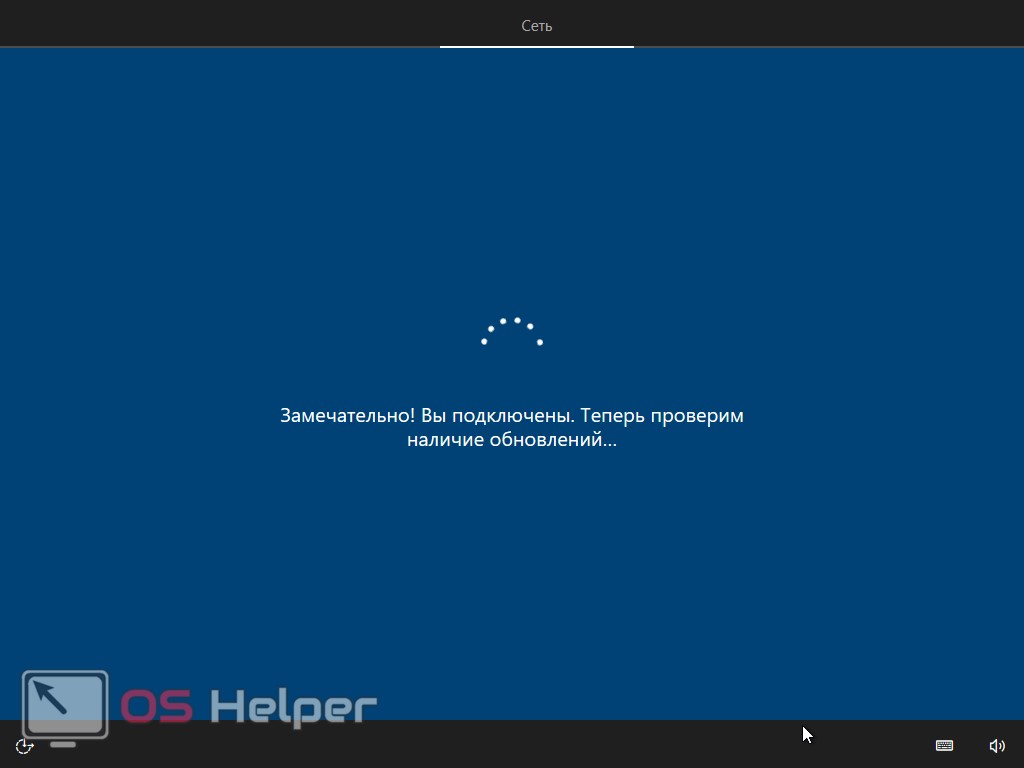
- Windows will independently check our connection to the network and if there is a necessary driver in its assortment, it will say about a successful connection to its repository and check for updates.
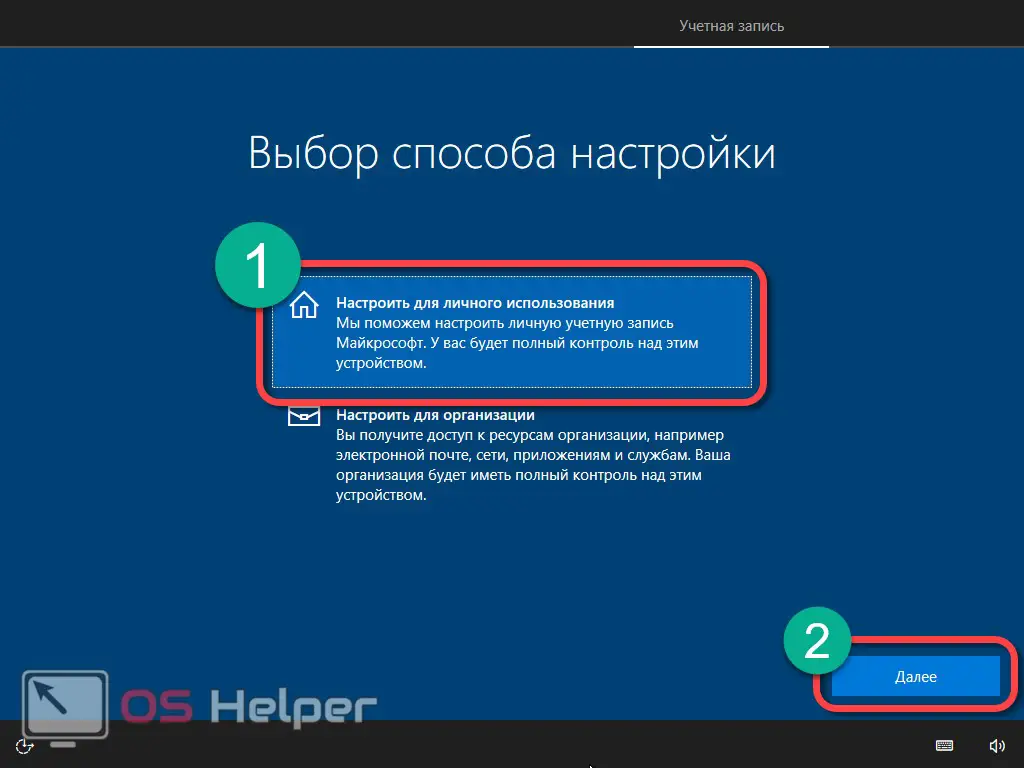
- Now we need to choose which network our computer belongs to. This could be an organization or a home network. The difference between them lies in the approach to security. Most of our users use their PCs at home, so we choose the second option and then click Next.
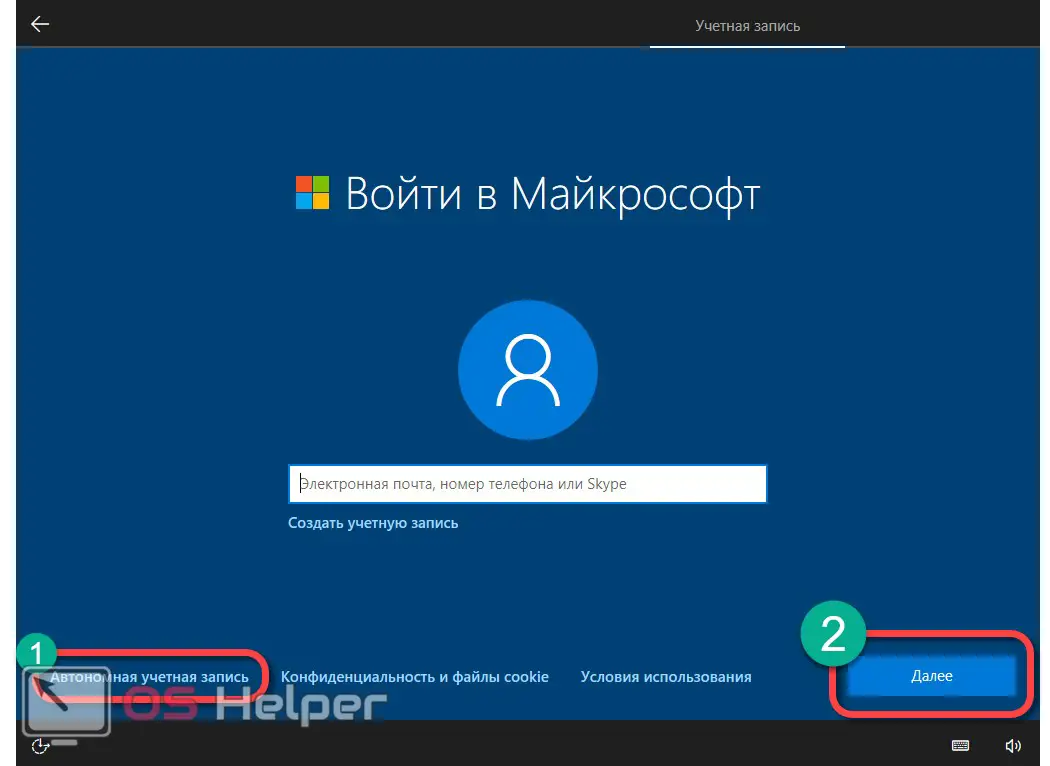
- This is the authorization menu and here we have several options. We can sign in with an existing Microsoft account, create one, or not use it at all. It is the last option that we will use. It's simple - not all people need to fuss with authorization and registration, especially if the computer will be at home. Moreover, not every PC is connected to the network, and without it, there can be no question of any input, let alone registration. In addition, you can set up an account, as in the case of the keyboard layout, after starting the system. Click on "Offline Account".
See also: Critical Process Died on Windows 10: fixing the problem
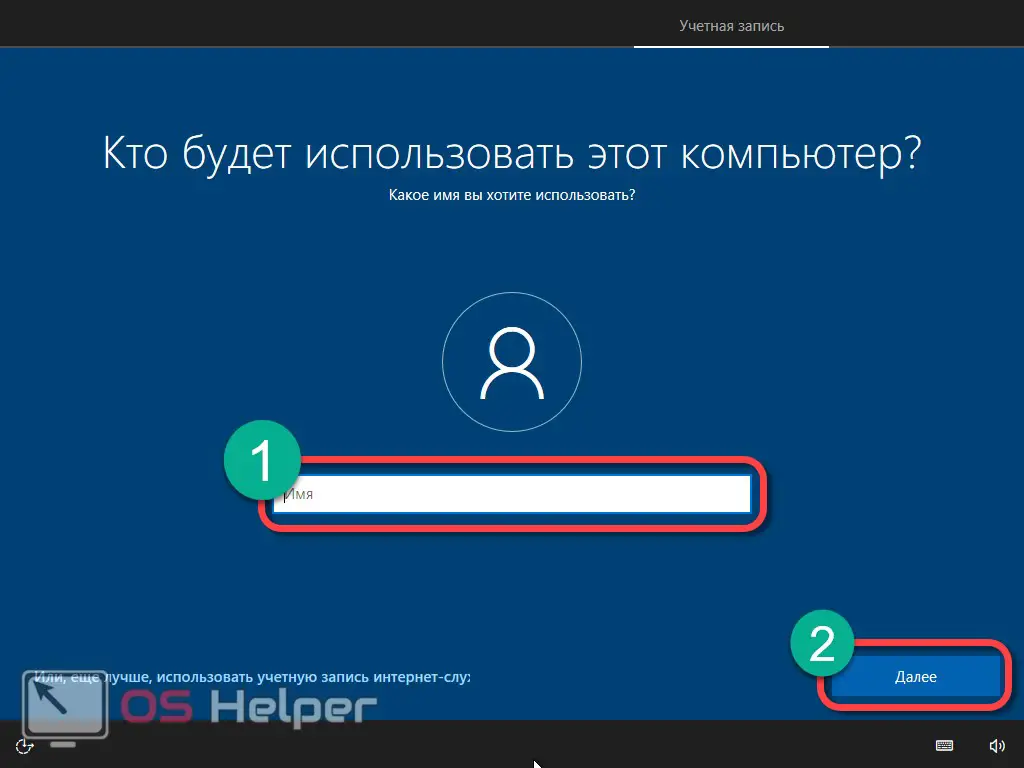
- Now you need to specify the name of the owner of the computer. When it is entered, click "Next".
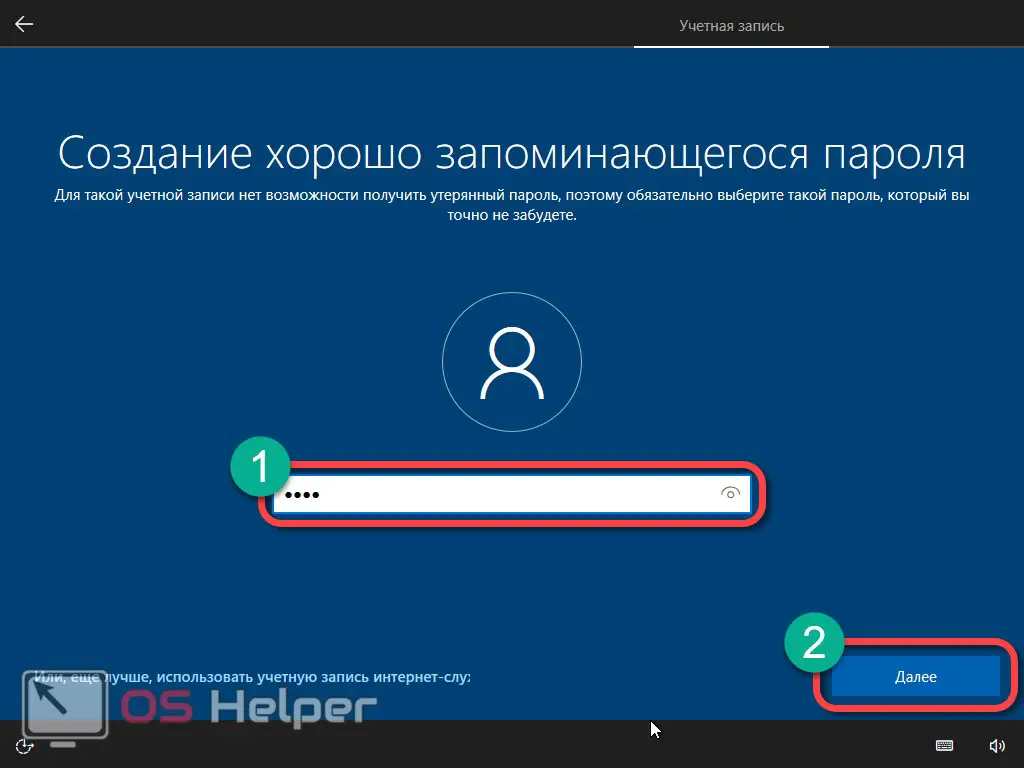
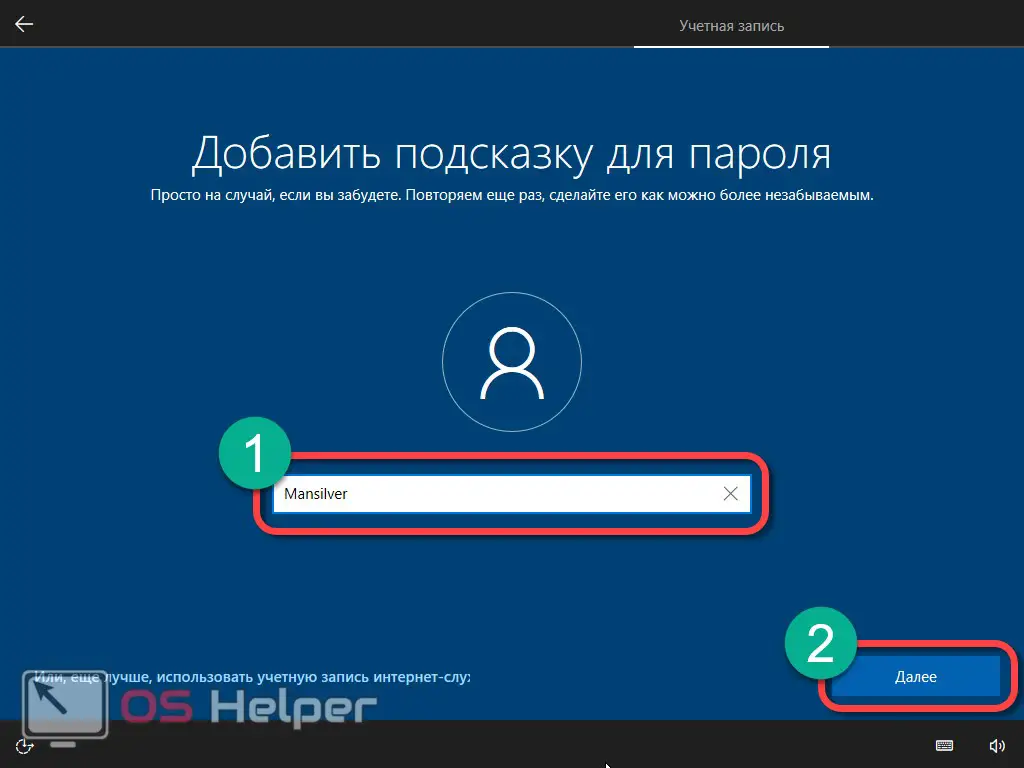
- We enter the password of our account and a hint to it (the word that you will be asked if the code is forgotten).
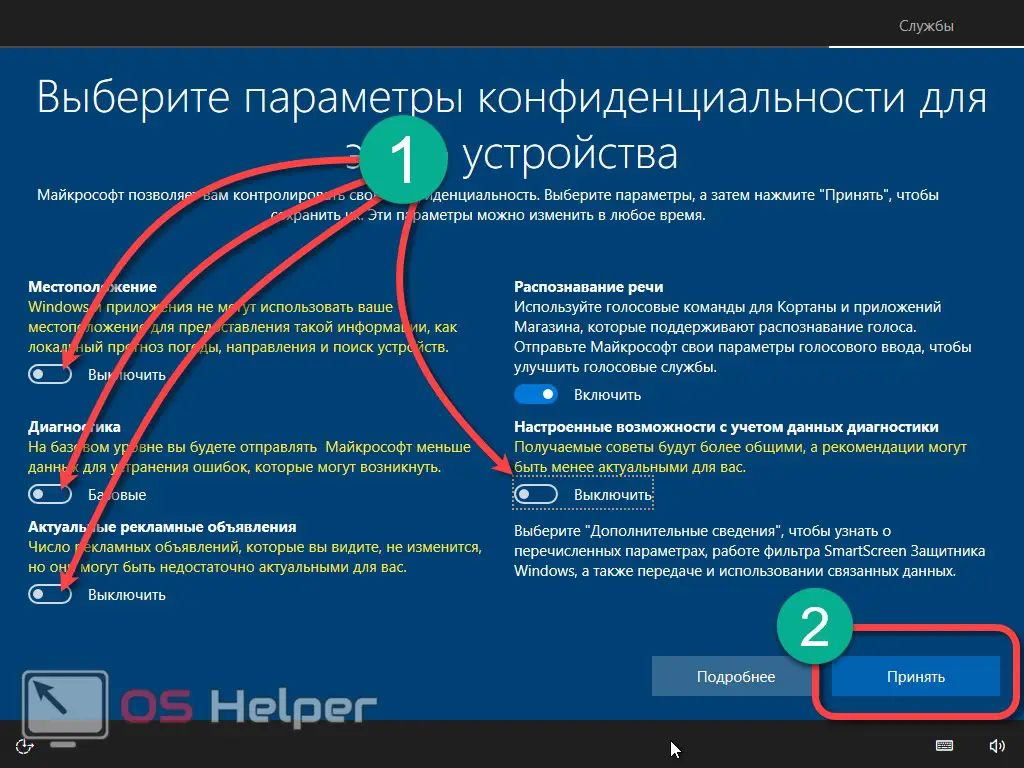
- These are the same Windows 10 features that everyone calls “spyware”. In fact, this is just sending data about the PC configuration, location, permission to show ads and voice input. Users with a weak network connection are better off turning off the excess - we will do just that. We set the switches properly and click "Accept".
- The setup is over, fresh "Ten" welcomes us.

- The preparatory phase has begun. It is only performed at the first start and may take some time depending on the performance of your computer.

- This is the last screen of our setup. The operating system invites us to start using the PC.

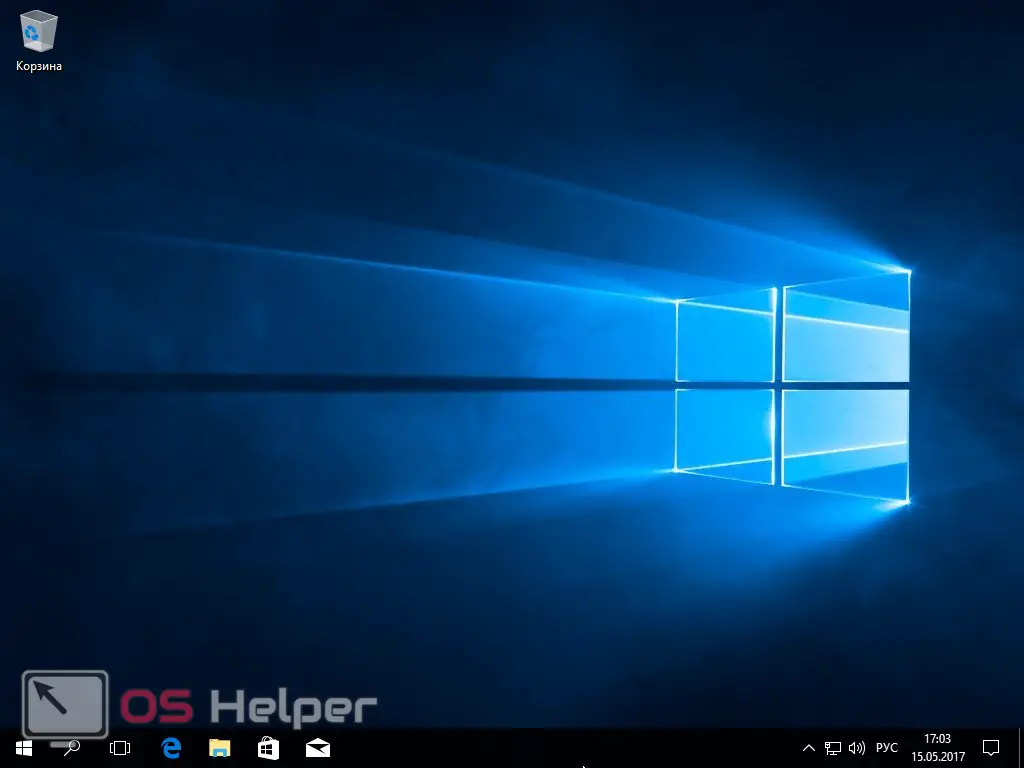
This is what a freshly installed Windows 10 Pro looks like. The process is over, you can proceed to get acquainted with the OS.
First steps after installing Windows 10
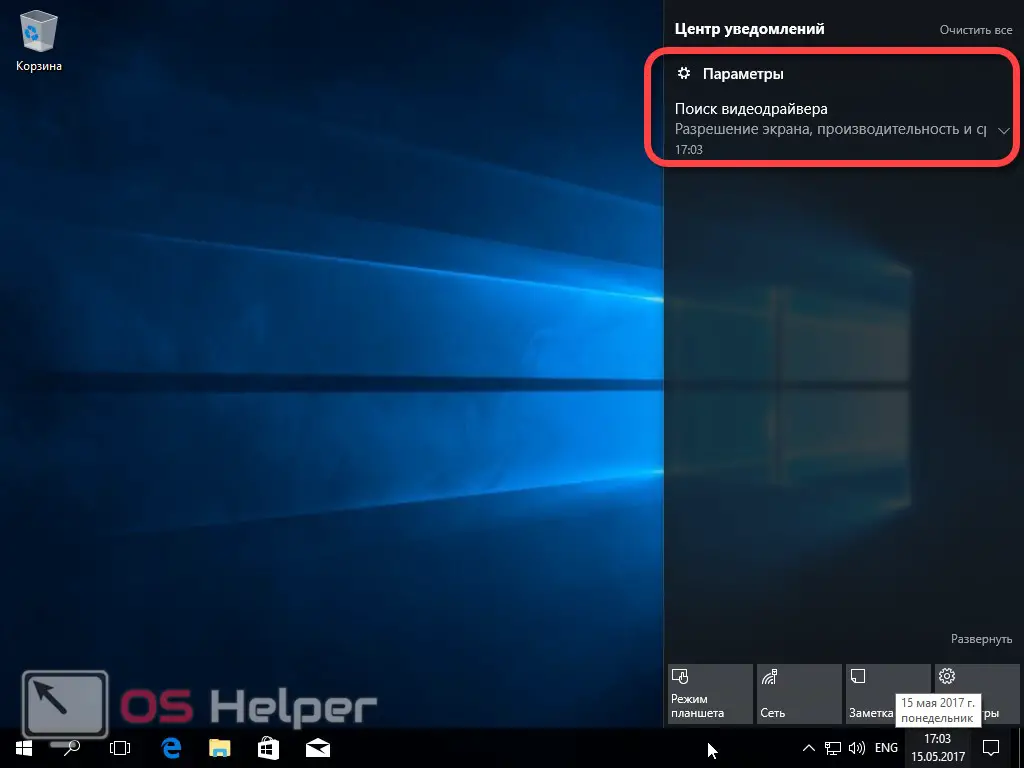
For normal operation of any PC, you must install all the necessary drivers for it. And here the magic of Windows 10 begins - the system itself checks the configuration of the installed hardware and scans its storage for the latest driver version. If there is one (and it happens in most cases), then the system will automatically download and install it.
But in some cases, you have to look for software yourself. The fact is that there are a lot of varieties of computer hardware, so when installing drivers, be guided by the following principles:
- for laptops. Download drivers only on the official website of the device using the search by model;
- for computer. Just like with laptops, look for your motherboard model on the manufacturer's official resource;
- for the graphics adapter. Visit the official website of AMD, Intel or NVidia and download the software you need from there;
Another important step after installing the operating system is backing up the entire volume. To do this, you can use both a regular tool and third-party software. As a result, in the future you will not need to install again - you will just need to restore the backup.
Summing up
In the instructions described above, we told you how to install Windows 10 from a USB flash drive or DVD. If you have any problems during the installation or other questions, then ask them in the comments, and we will be happy to help you find the right solution.