How to set up Viber on Android: step by step instructions
 Viber has gained a lot of popularity in recent years. It is used by both adults and children. And not only for everyday communication, but also for doing business. A lot of goods are sold through Viber today, etc. Installing the program is not so difficult, but you need to be able to set it up correctly and transfer all the data in case of a move. Today we will just talk about how to do this on an Android smartphone.
How to install
Initially, we will tell you how to install Viber on your phone. This is easy to do: carefully follow the step-by-step instructions below.
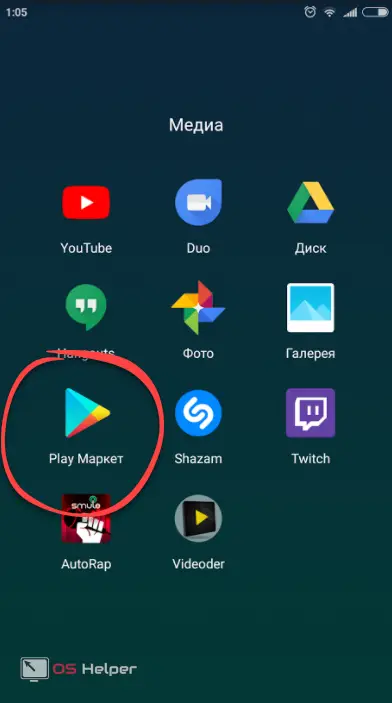
- Since any applications in the Android operating system should be installed through the Play Market, open it. You can find the store either in the application menu or directly on the smartphone's home screen.
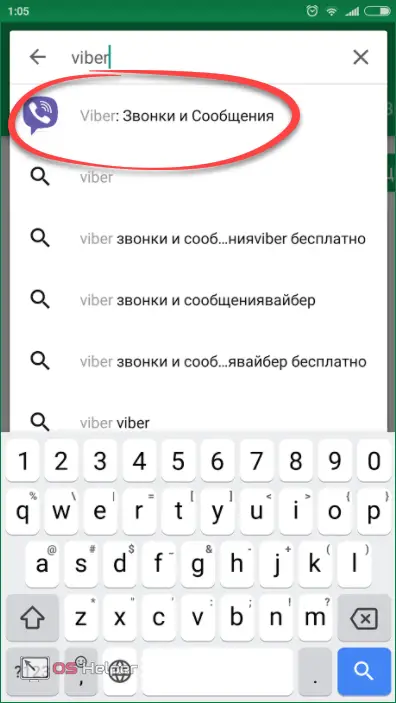
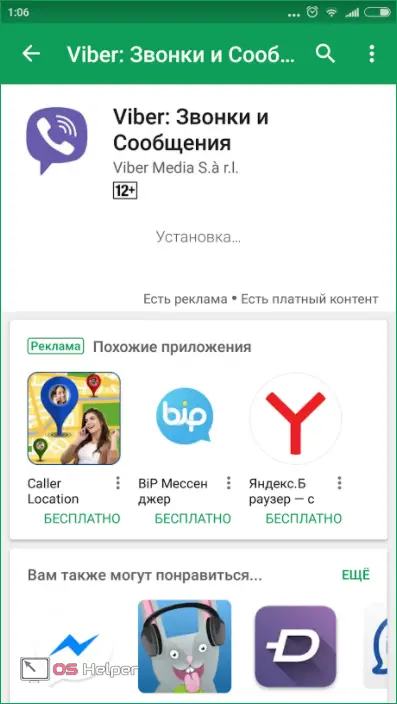
- We activate the search bar and begin to enter the name of the application of interest to us. As soon as the desired element (marked with a red frame) appears in the search results, click on it.
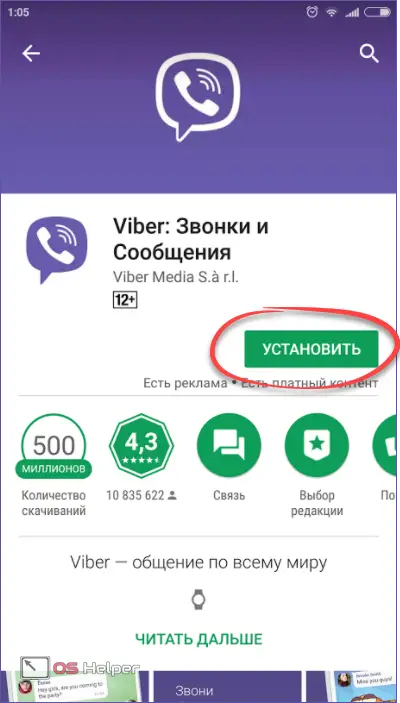
- There is a single green button on the Viber home page. It is on it that you need to tap.
- The APK file will start downloading. We are waiting for its completion.
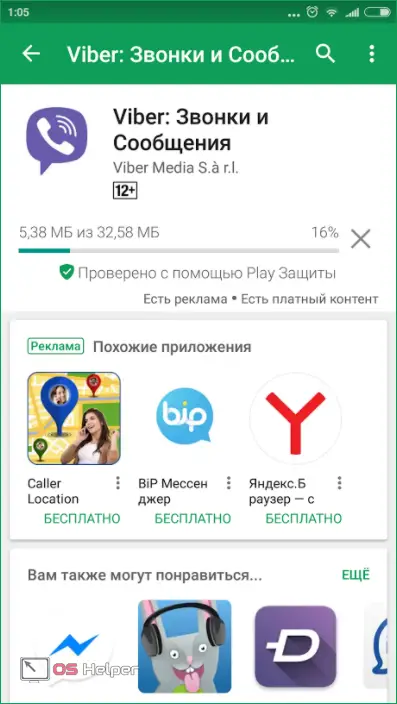
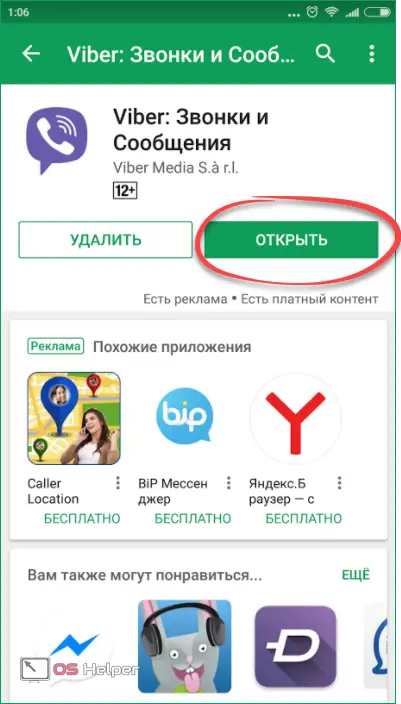
- When the download is complete, the automatic installation of our messenger will begin.
You can launch Viber directly from the store. There is an "Open" button for this.
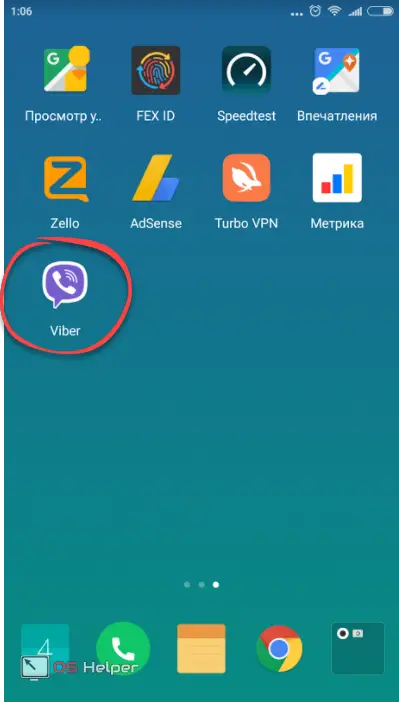
Also, a shortcut to the program will appear on the home screen, unless, of course, the corresponding option is activated in the Google Play settings.
This is where we finished installing Viber, we can move on to why we are all here, in fact, gathered. We begin the review of the messenger.
Overview and setup
In the course of the material presented, we will talk about the functionality of the program and at the same time consider how to use it.
As soon as the software is launched for the first time, we will have 2 options: either start using it from scratch, or restore existing data. So you can copy the history of correspondence, photos, contacts and other objects that were in your previous Viber. This is necessary, for example, when we change the phone.
- To start restoring data from a backup, select the item marked in the screenshot below.
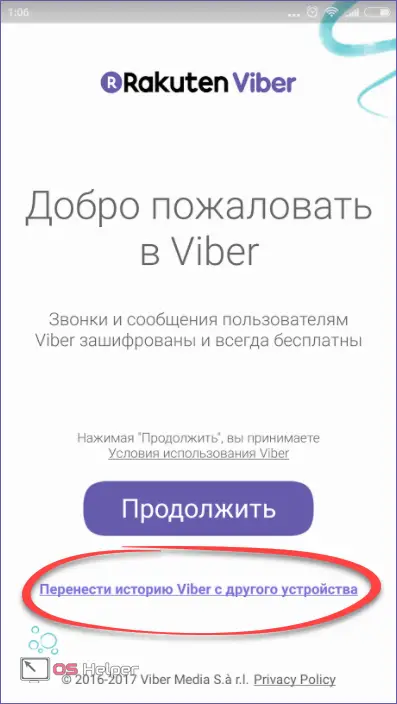
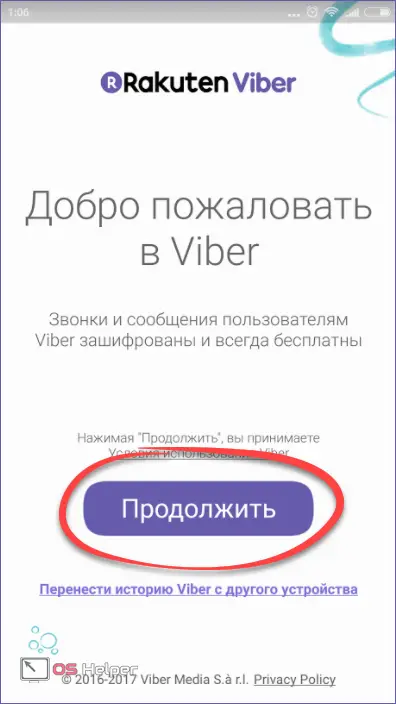
- We will consider using it again, so click on "Continue".
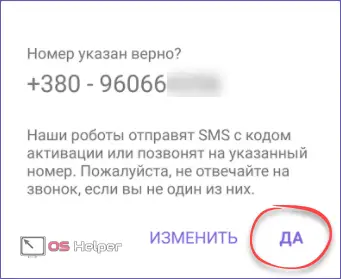
- This program works on the principle of binding to a telephone number. Therefore, to get started, you need to specify it and click the button marked in the screenshot.

- We will be asked again if the number is correct. If so, tap on "OK".
- In order for authorization to occur in automatic mode, you must provide the program with access to phone calls. Therefore, we press the button marked in the picture.
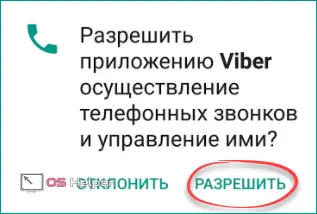
After that, if the data is correct, activation will begin. You do not need to enter any codes, Viber and the GSM module of your gadget will do everything themselves.

Main interface
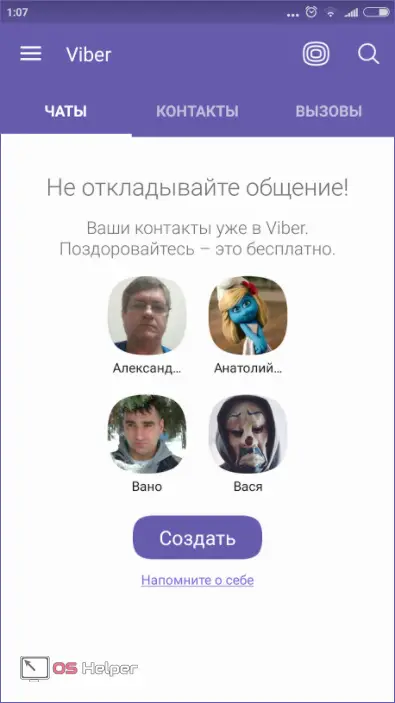
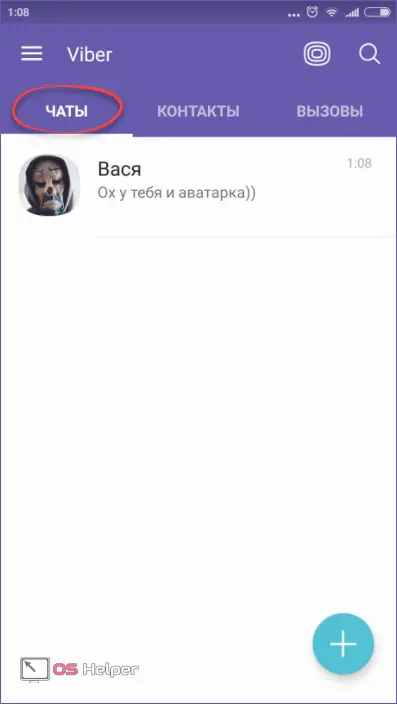
This is what the Viber API looks like. In its upper left part there is a menu button, and in the main work area there are 3 tabs, such as: "CHATS", "CONTACTS" and "CALLS".
Chats, contacts and calls
This section of the main workspace of our messenger stores all the correspondence that has been started or accepted by us for the entire time of work. Next to each object is the time of the last message.
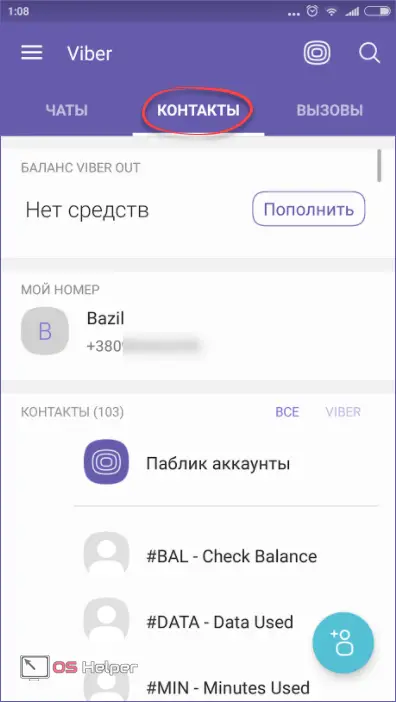
In the tab "CONTACTS" we see our entire phone book. People who use Viber will be marked with the corresponding icon here. So you can understand which of your friends is online and write to him.
Also Read: How To Enable Developer Mode In Android
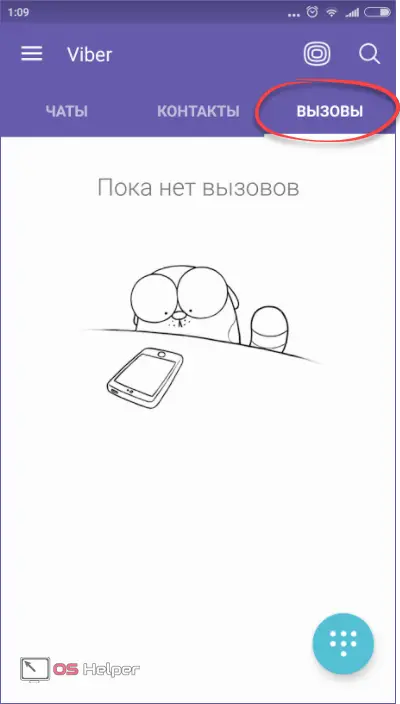
The last tab is CHALLENGES. Since here you can not only write, but also make voice and video calls, the developers have provided this section.
Public menu
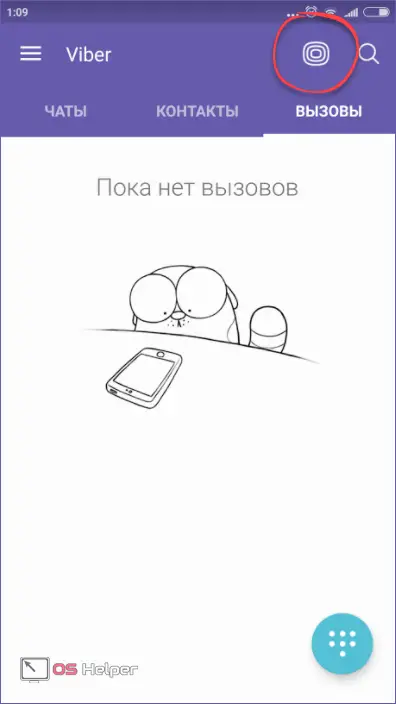
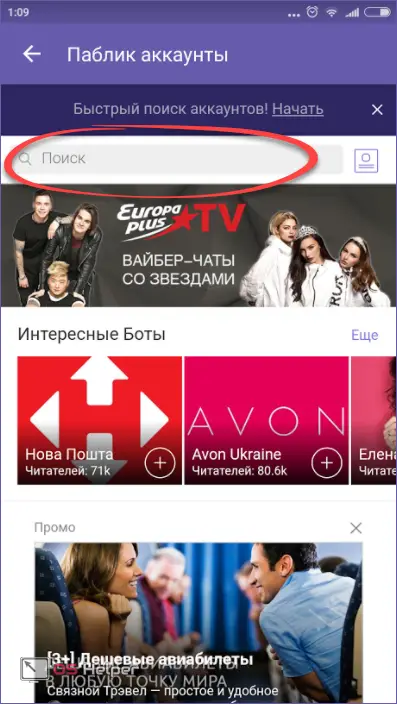
In Viber, as well as in other combine messengers, there are groups and public pages that can have subscribers and, accordingly, be viewed. Below you will find a button surrounded by a red frame: it is this that opens the public menu.
The section is made in the form of a tiled menu, and the tiles here, as in the Windows 10 Start menu, are of different shapes. Naturally, there is a search function.
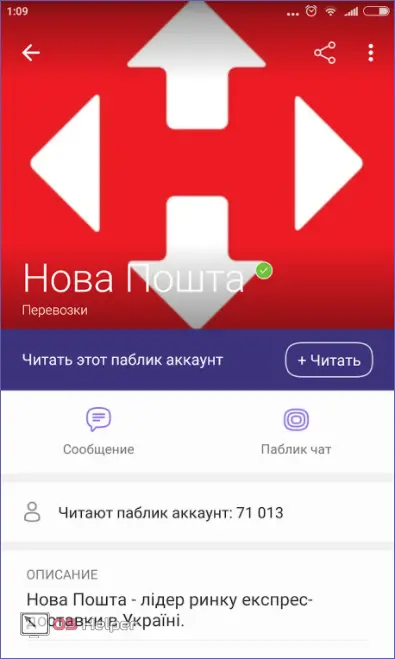
We went into one of the publics and see that there are a number of auxiliary tools to work with it. Here is their list:
- Share menu. We can send information about this public page to any messenger;
- Action menu. Here you can complain about the activities of the group, start reading it, turn on the dialogue, learn more about publics or return to the search screen;
- Message. Community owners can write anything;
- Public chat. This is where the subscribers of the public communicate.
It all looks like this:
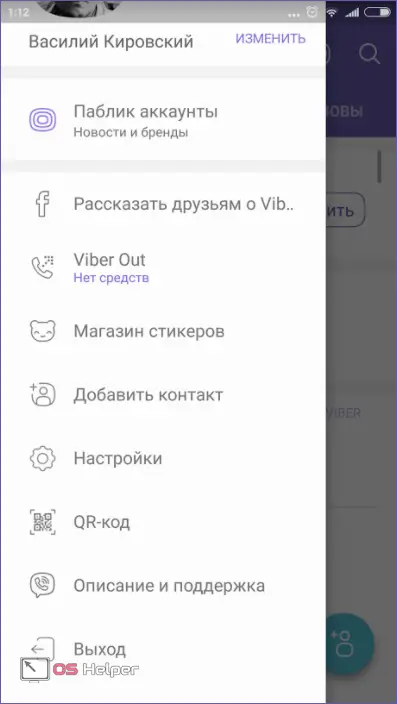
Main menu
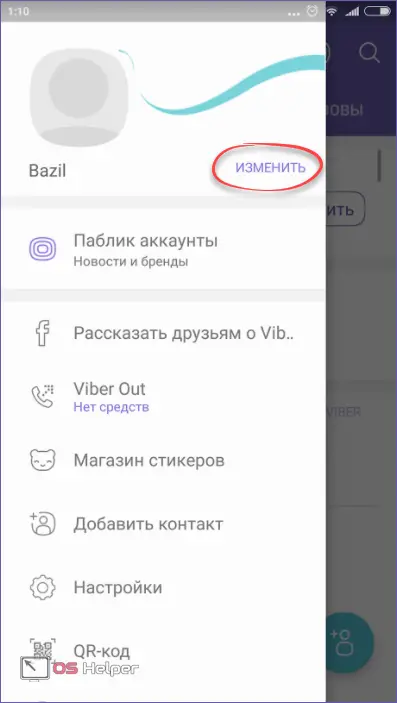
All the settings of our messenger are concentrated here, as well as its main functions. Let's take a closer look at the Viber main menu, which can be launched using the button marked below.

The first thing that catches your eye is the lack of photography. Since our article is not just a review, but also an instruction for setting up the program, we will tell you how to create your own avatar and thus decorate the messenger for us and for the interlocutors.
- Initially, tap on the item "CHANGE".
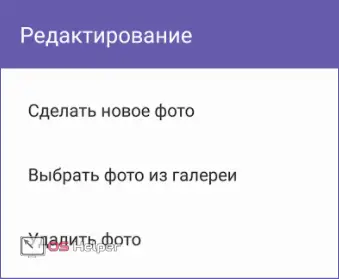
- The profile menu opens. Here you need to tap again on the item marked in the picture.
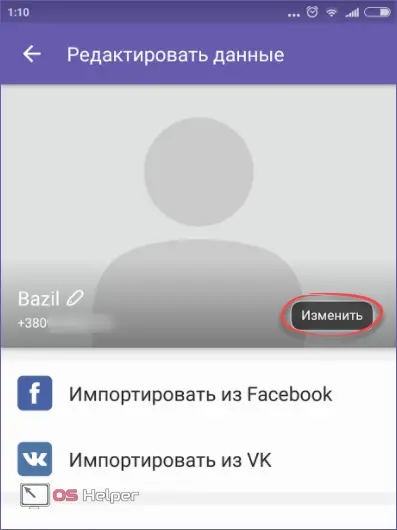
- We can take a picture directly from the camera, select a file from the phone or remove the profile picture if it was set.
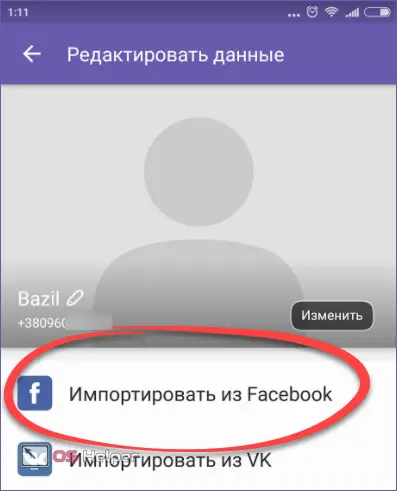
- You can also not bother and import data from social networks Facebook or VKontakte.
- When one of the buttons is pressed, you will be redirected to the social network site and asked to confirm the import.
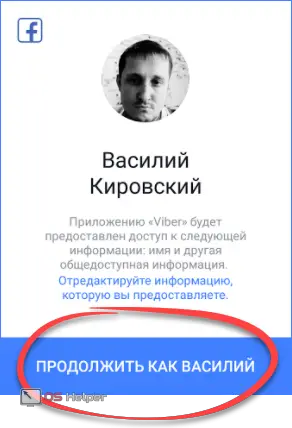
Ready. As you can see, the data from Facebook was pulled up to our profile without any problems.

We go further, we have to consider the functionality of the main menu.
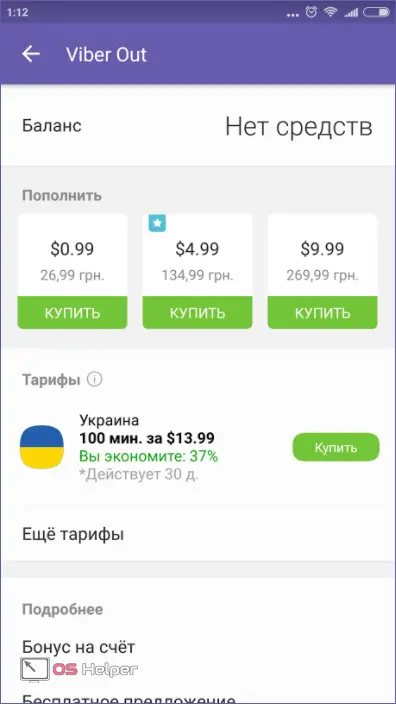
viber out
In addition to the standard functionality inherent in other messengers, Viber has one interesting and useful feature. Directly from the program, we can call any mobile operator in the world anywhere in the world. Naturally, not for free. You can see the prices for this pleasure on your screens. At first glance, it is a little expensive, but not more expensive than international calls at the rates of your operator.
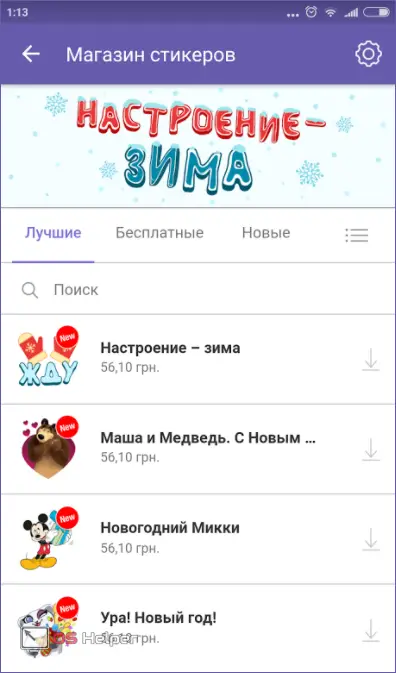
Sticker Shop
Stickers are almost the same as emoticons, with the only difference that they are larger, much better drawn and more diverse. Viber has both paid and free stickers. You can install them in your set with a simple tap on the download arrow on the right side of each item.
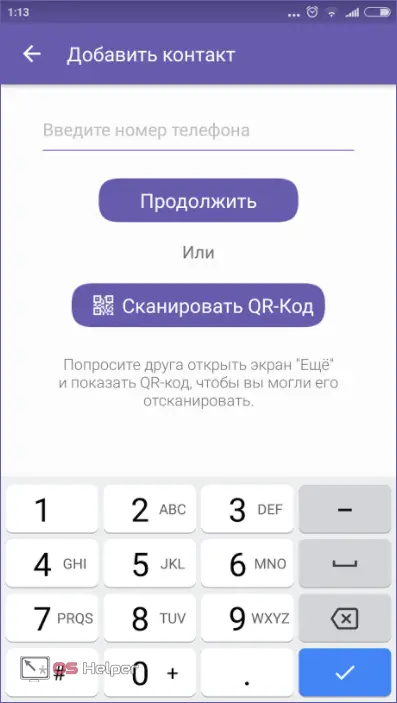
Adding a contact
In order to add a new person to your phone book, you need to know his number. In the field located in this menu, there is a column for entering it. Enter your opponent's mobile number and click "CONTINUE".
You can also add a person as a friend by scanning a QR code (a fairly universal method). The user you want to authorize must open the main menu, or rather, its “QR-code” section, and allow it to be scanned. After that it will be automatically added to contacts.
viber settings
All the settings present in the program, we will consider in detail below. For greater clarity, we will attach a screenshot to each of the points.
Also Read: Transfer Contacts from Android to Windows Phone

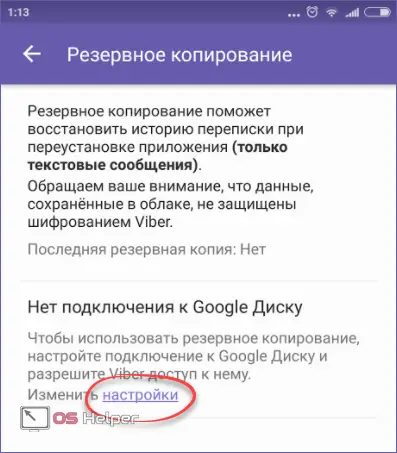
The first thing that catches your eye is the backup functionality. Let's open it.
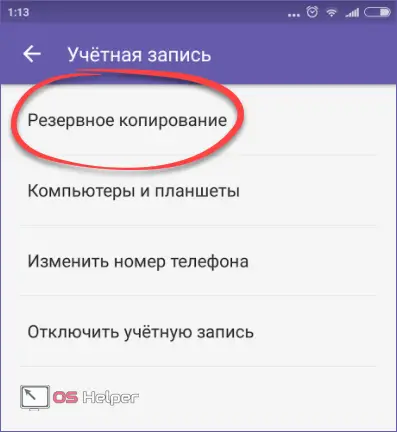
We don't have a copy button. This is because the program is not connected to a Google account. Let's fix the situation: click the item marked in the screenshot.
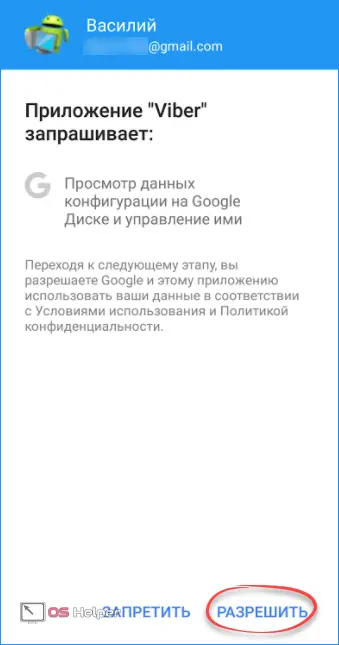
There can be several Google accounts on the same Android smartphone. If so, then choose one of them. When the choice is made, click "OK".

You will also need to confirm your intention to Google already.
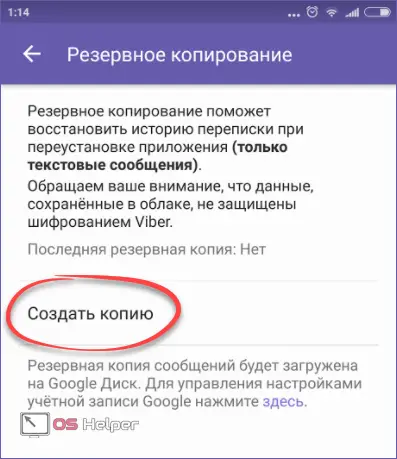
Now we will have a button "Create a copy" and we can start backing up data.
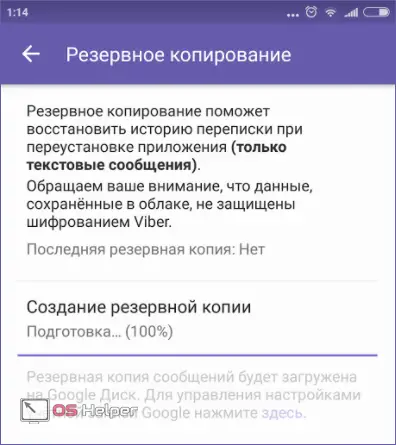
The process does not last long, and its progress can be tracked by the progress bar immediately available.
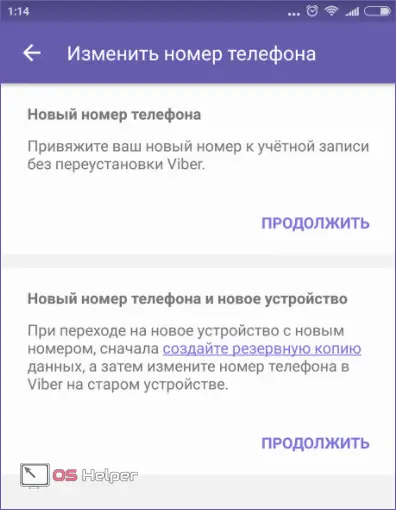
The second item of our settings is changing the phone number. If for some reason you had to change it, this functionality will come in handy.
The last section in the "Account" menu is the toolkit for disabling it. It is not clear why such functionality is needed, but, nevertheless, it is there.

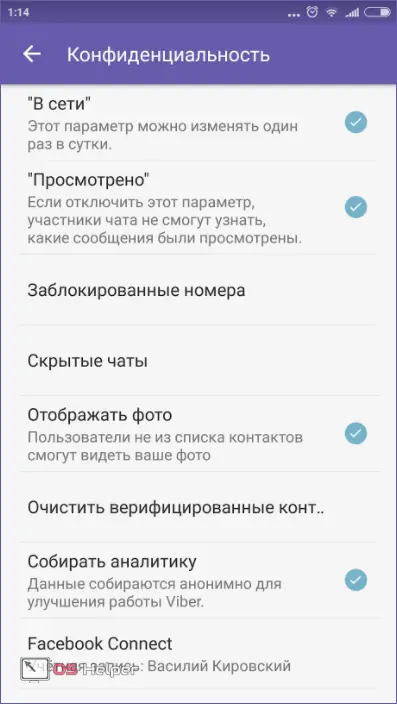
Next we have privacy. That is, everything related to the security of your personal data. We can turn off notifications about our appearance on the network, uncheck the box that shows that we have read the message and access the blacklist.
You can also prevent people who are not in your contacts from seeing the profile picture. Even lower, you can turn off the collection of data that is anonymously sent to the Viber servers or view synchronization with the social network that you have installed.
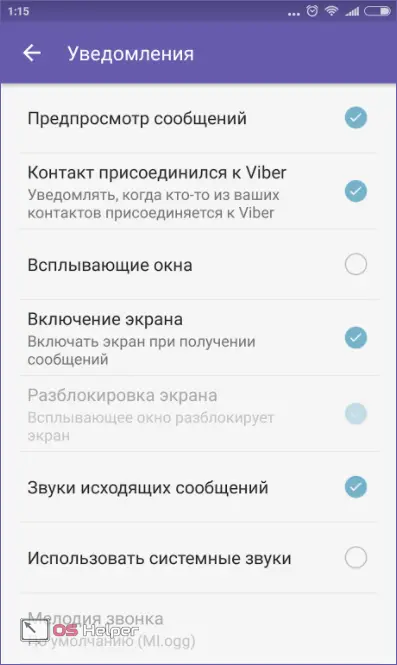
If you want the messenger to always notify you of important events, you can use this menu:
- message preview;
- notification about the joined contact;
- enable or disable pop-ups. If enabled, incoming messages will be displayed directly on the Android desktop and in all running applications;
- enable or disable the screen;
- turn on message sounds or use system ones.
This is what our settings screen looks like:
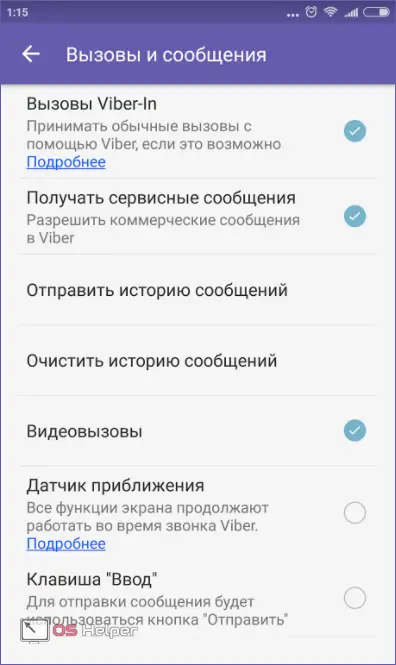
Next, we can set up calls and messages. First of all, Viber In is turned on and off. This is a functionality that allows you to forward incoming calls to your phone directly to Viber. Next comes the activation of the mode of receiving service messages, as well as sending and clearing the history of correspondence.
Even lower, we can turn off or turn on video calls, activate the proximity sensor and set up sending messages in the chat by pressing the "Enter" button.
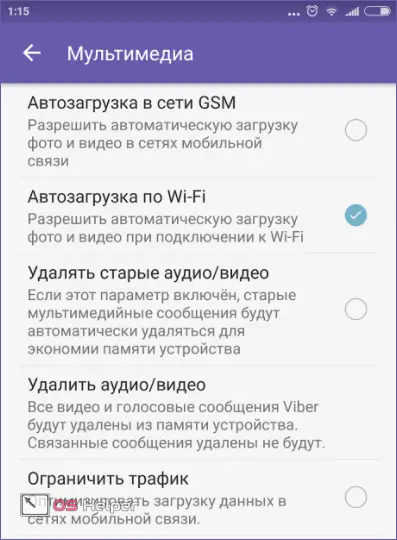
Next comes the section responsible for processing media data. Its functionality is as follows:
- Autoload in GSM-network. All media will automatically download on mobile networks. This is dangerous due to increased traffic consumption, so before enabling the option, make sure that you have a suitable tariff for network access;
- Auto download over Wi-Fi;
- Removing obsolete data. Since the memory of even the most expensive Android device is not rubber, sooner or later it gets cluttered with messages, videos and plain text. It is precisely in order to prevent this that this paragraph is needed;
- Delete all audio and video. Clicking on the button will delete all media data. Messages will not be affected;
- Download optimization. This functionality should save the traffic used in the mobile network.
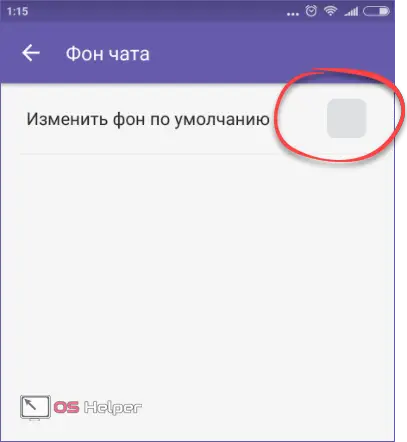
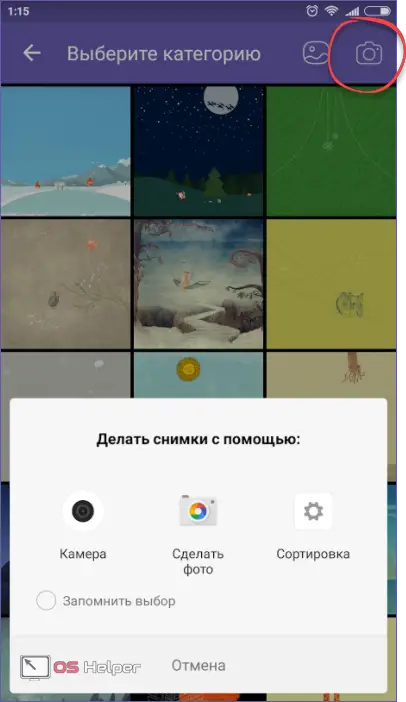
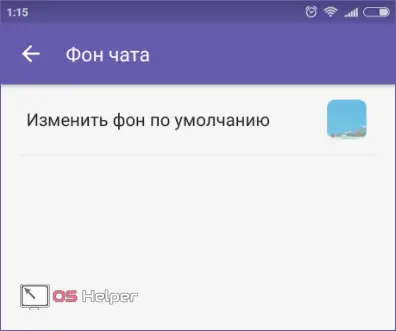
Here we can change the chat background by choosing a new picture from the existing collection or adding our own. Initially, click on the indicated item.
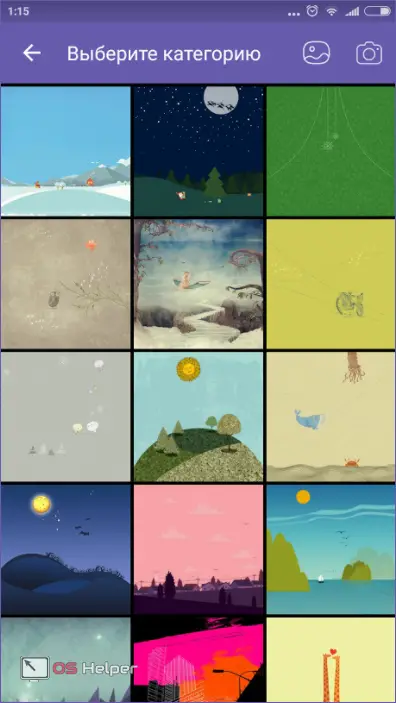
This is a gallery of ready-made solutions - we can choose one of the drawings available here.
Clicking on the button marked in the screenshot below will allow us to add any picture from the phone's memory.
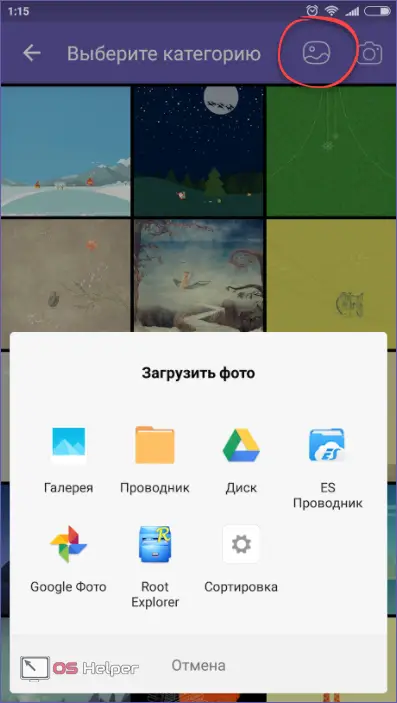
If we tap on the icon with the image of the camera, the camera will open, with which it will be possible to take a picture of the future background.
Read also: Can I turn off Android internal memory on SD card?
The changed background will be displayed in the same menu, and your communication will become much more pleasant.
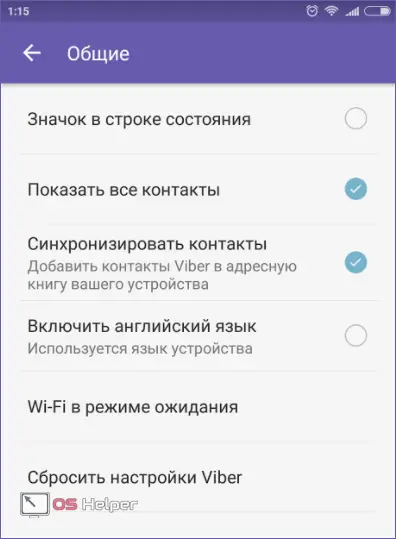
We go further and proceed to consider the settings item called "General". Here you can turn on the Viber icon in the Android status bar, activate the display of all contacts, set up their synchronization, turn on the English interface language, or put Wi-Fi into standby mode. There is also an item to completely reset all program settings.
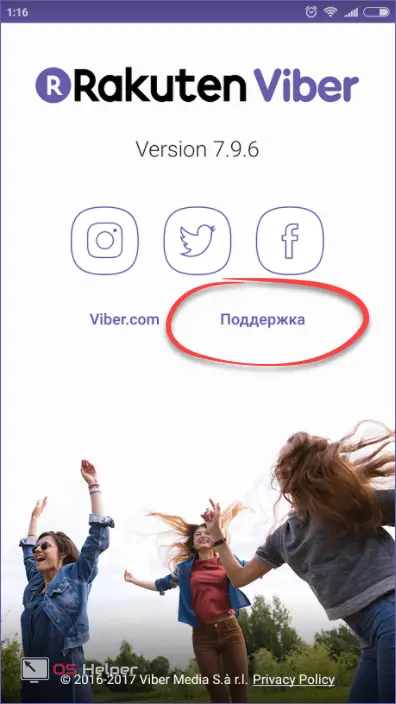
Description and support
This is the last section of the Viber main menu. There are official product communities from Racuten, as well as their website and support service.
Dialogues
The main working area of Viber, where, in fact, all correspondence is conducted, is a dialogue. Below we will describe in detail all its features and available functionality.
Chat menu
By tapping on the icon with the image of three dots, we will open the auxiliary menu of the messenger. The function is located in the upper right corner.
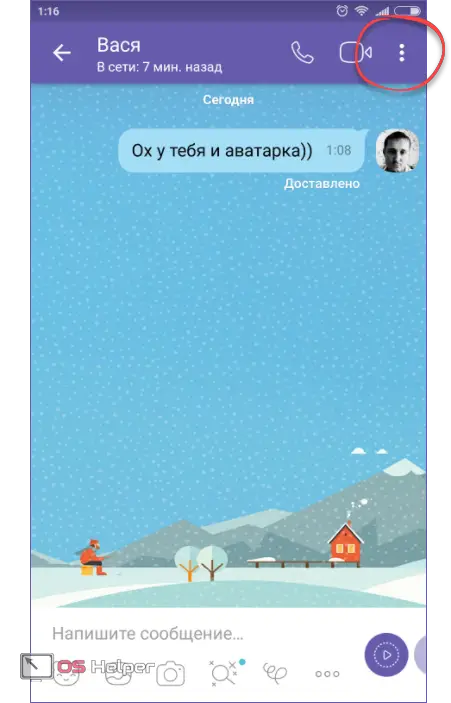
Here you can make an outgoing Viber Out, create a dialogue, edit messages, go to a secret chat and get basic data about the correspondence.

Secret Chat is a special type of dialogue that supports additional features:
- message disappear timer;
- screenshot notifications;
- message forwarding protection;
- end-to-end encryption.
We made sure the features worked well, we weren't even able to take a screenshot of the secret chat.
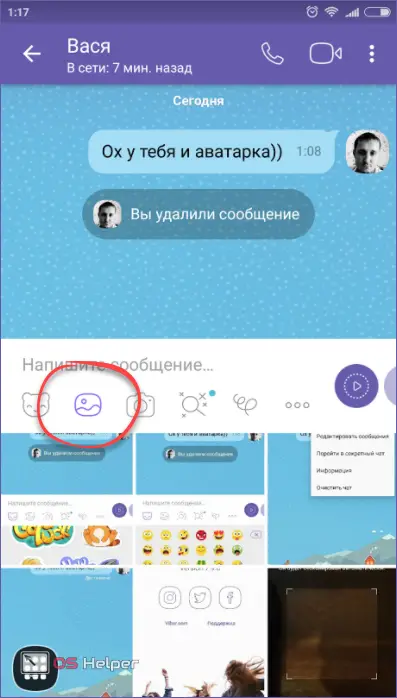
Let's move on to another moment for which users love Viber so much. These are, of course, his stickers. At the bottom of the screen, you can switch between them and regular emoticons. As new stickers are added, tabs will immediately appear to switch between them.

There is also a button to access the gallery. With its help, you can send your interlocutor a picture or video.
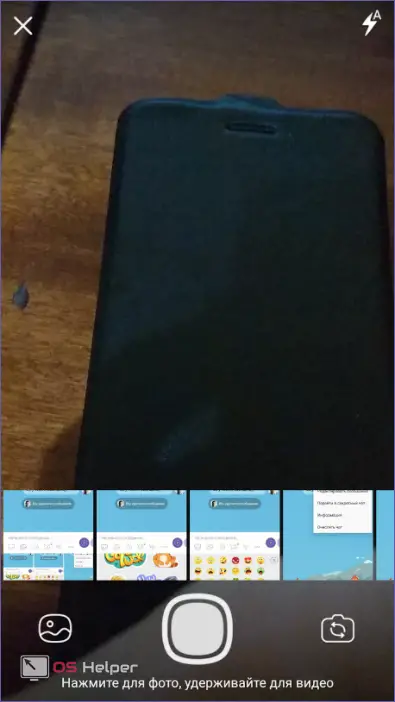
By tapping on the camera start button, we can take a picture and immediately brag about it to a loved one.
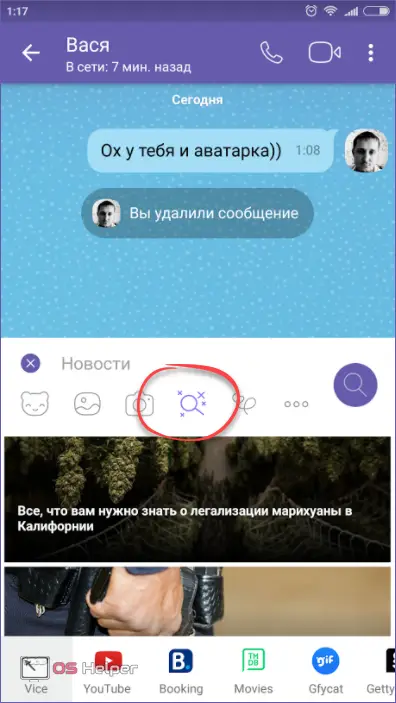
The next section is additional features. There are a lot of different addons here, for example, YouTube, Booking, Movies, Gfycat, etc.
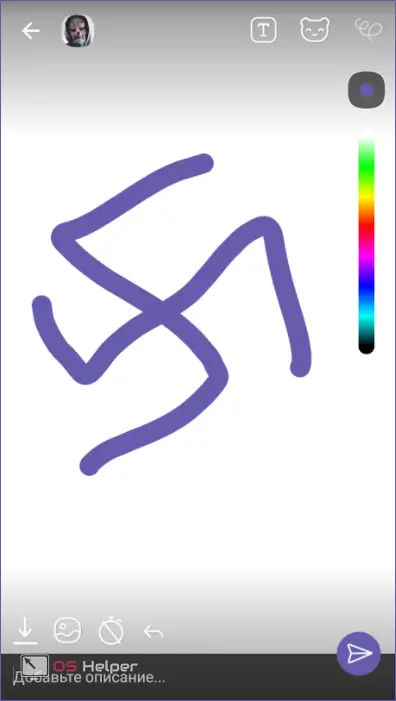
Another distinctive feature of the messenger is handwritten stickers, which are called doodles here. We can choose the color, size and shape of the pen, and then sketch something freehand and send it right away.
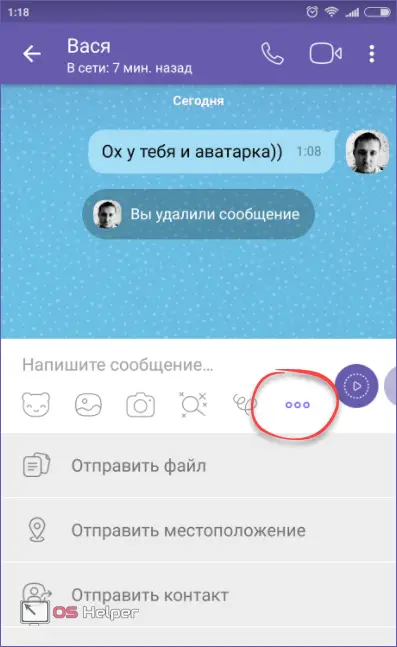
The last item we have is the file menu. Through it, you can send a file, location or contact.
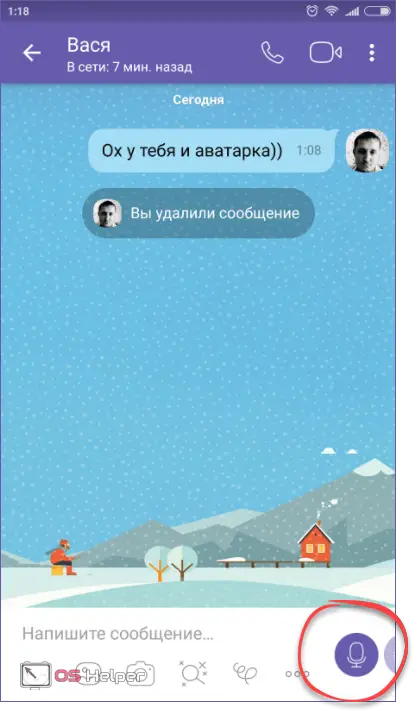
As we have already said, short voice messages are supported in Viber. To launch them, you need to hold the button indicated in the screenshot and speak.
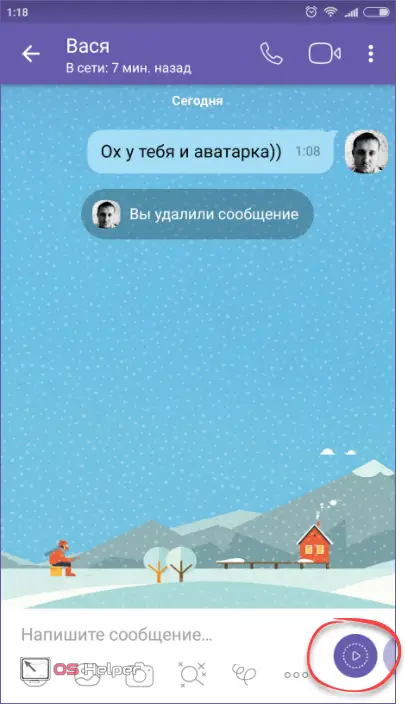
But if you do not hold the icon, but simply tap it, the short video message mode is activated, which makes communication even more fun.
The instruction is suitable for any smartphones and tablets based on Android, for example, Lenovo, Fly, Samsung, etc.
Results and comments
So, we have fully considered the functionality of Viber. In our opinion, this application is undoubtedly good, but by no means the best: Telegram is inexorably on its heels. In the latter, although there is no function for calls to mobile operators, it has simplicity, speed, lack of advertising and security.
However, as you know, tastes do not argue, and everyone has the right to choose the messenger that he likes. We just shared our subjective point of view on the issue. In any case, write in the comments what is best for you, and, in fact, why. Both us and other users will be interested in a fresh, unbiased opinion from the outside.
Video
For those who did not have enough written, we have prepared a video review of the Viber messenger.