How to transfer a table from Excel to Word: a simple solution
 Today, everyone knows that Microsoft Excel is the best and most convenient multifunctional spreadsheet program. It will be very difficult to repeat the same steps in a text editor. But how to combine the work of these two applications? In this tutorial, we'll show you how to transfer a table from Excel to Word and look at a few basic methods to do it.
The easy way
So, let's get down to business.
- Let's start by creating a table in Excel.
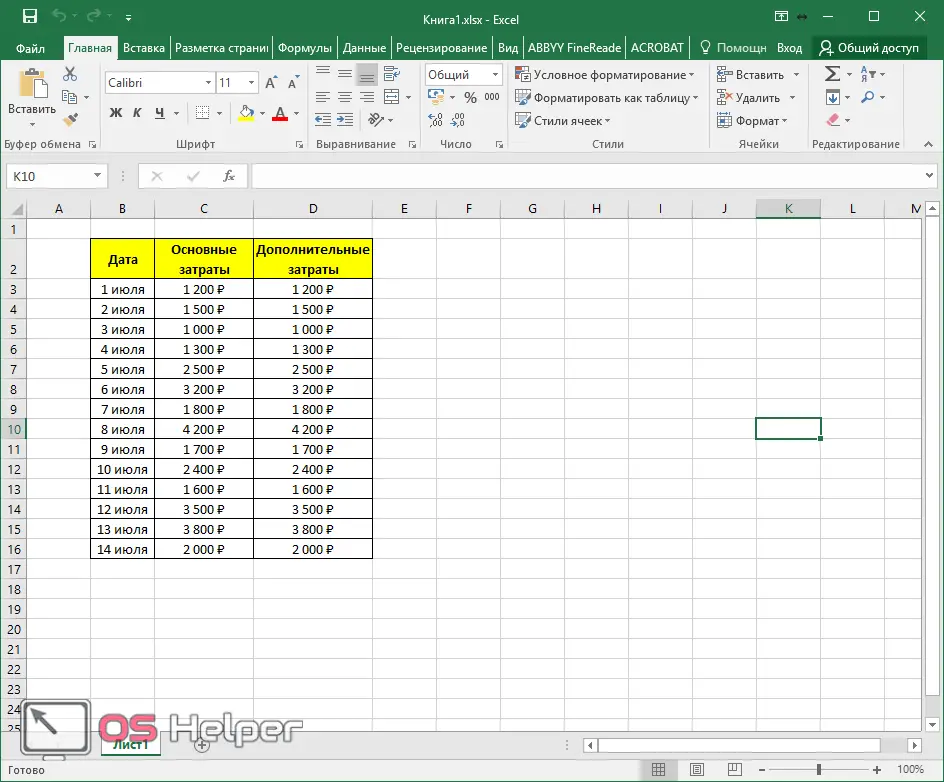
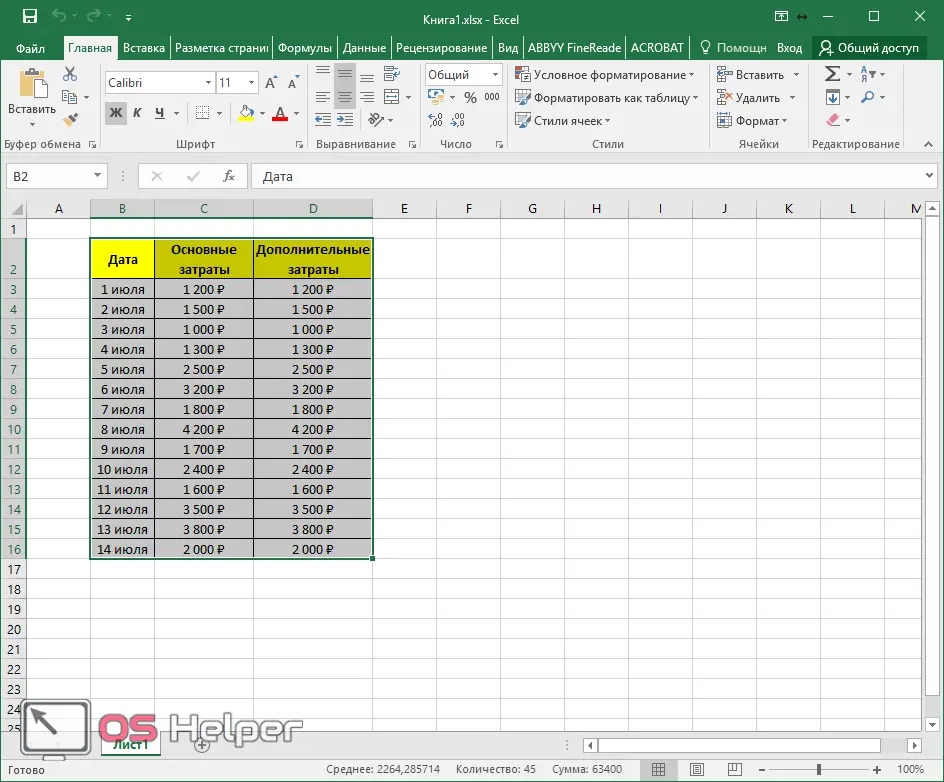
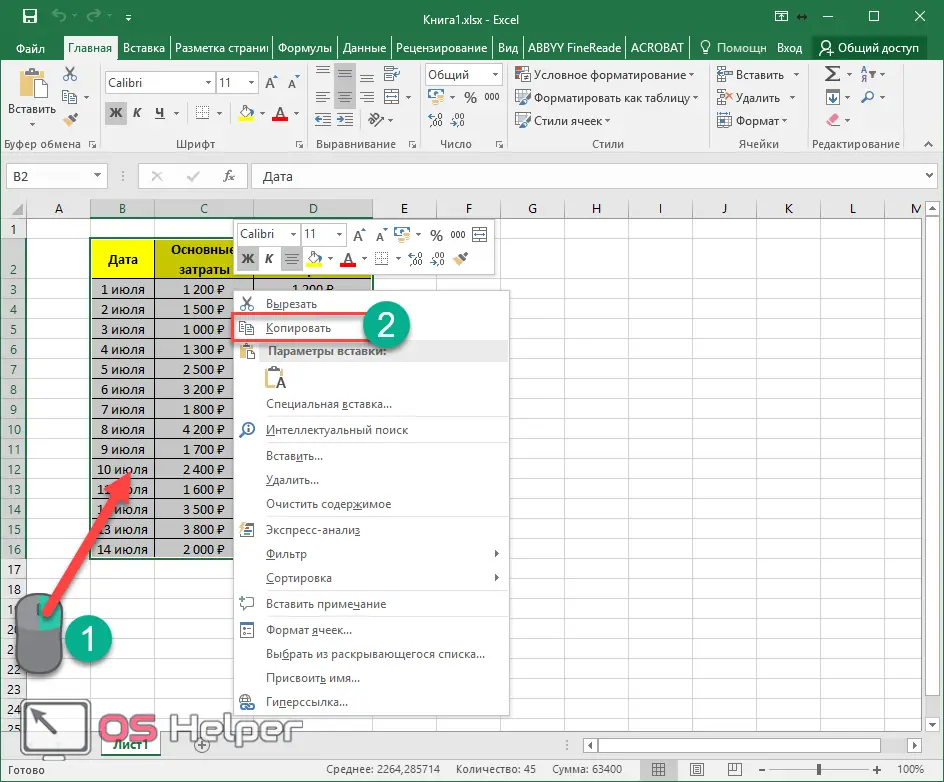
- Now we need to select the entire table.
Copy by table
After that we have three options:
- Press the hotkeys [knopka]Ctrl[/knopka]+[knopka]C[/knopka] or right-click and select "Copy" from the context menu.
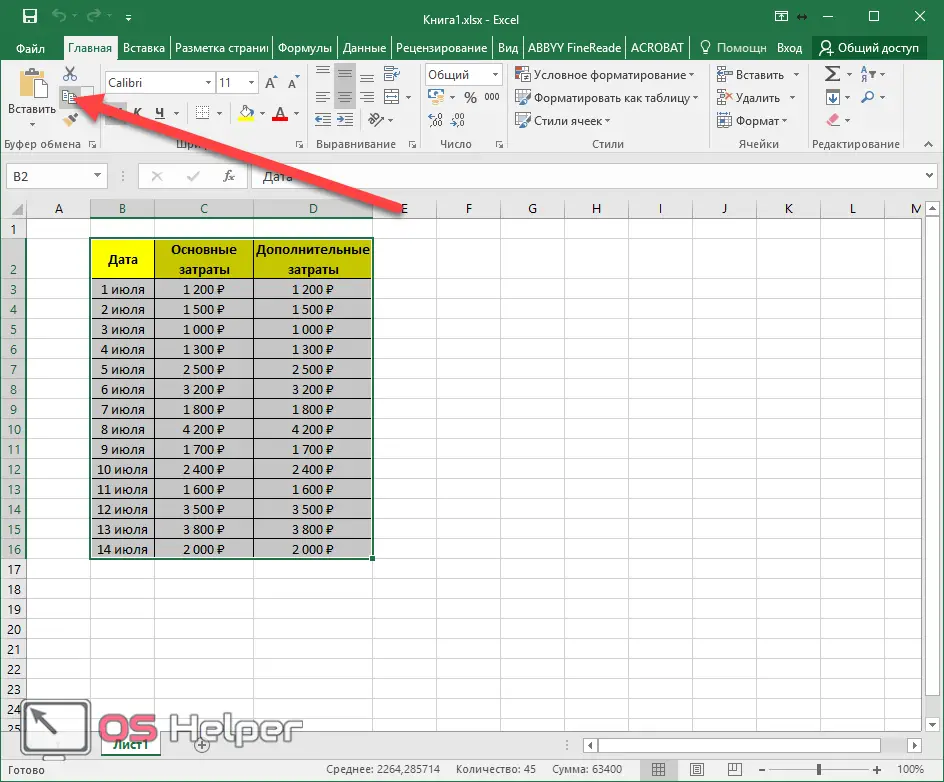
- Click on the "Copy" icon on the main toolbar.
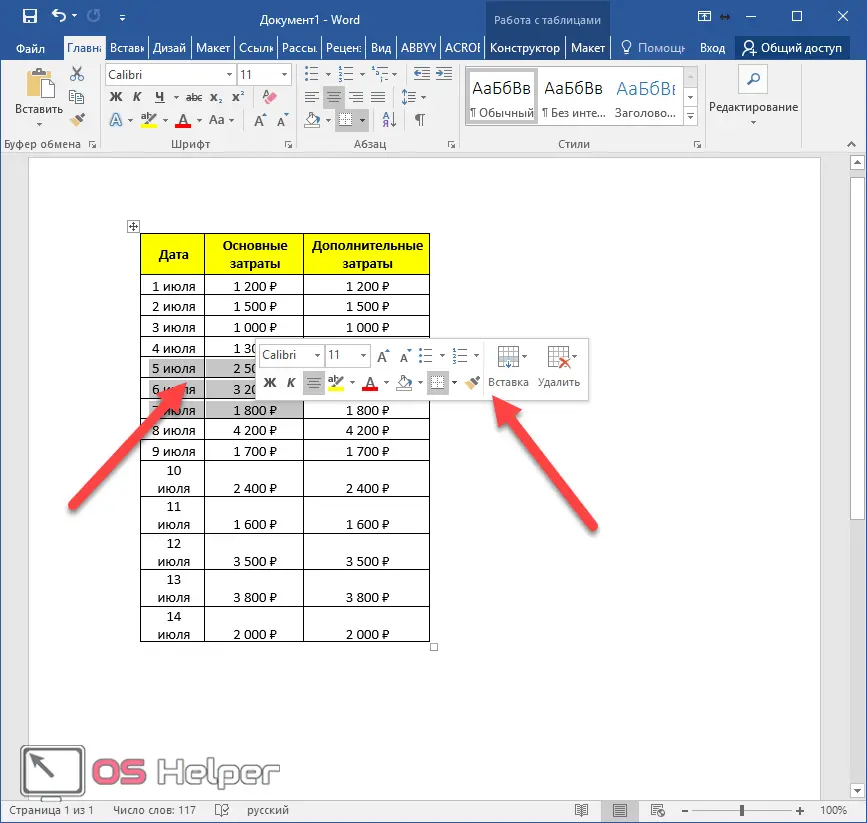
In all the methods described above, we will copy the object while preserving the properties of the table. That is, we will be able to edit this table in the future after we insert it into a Word document.
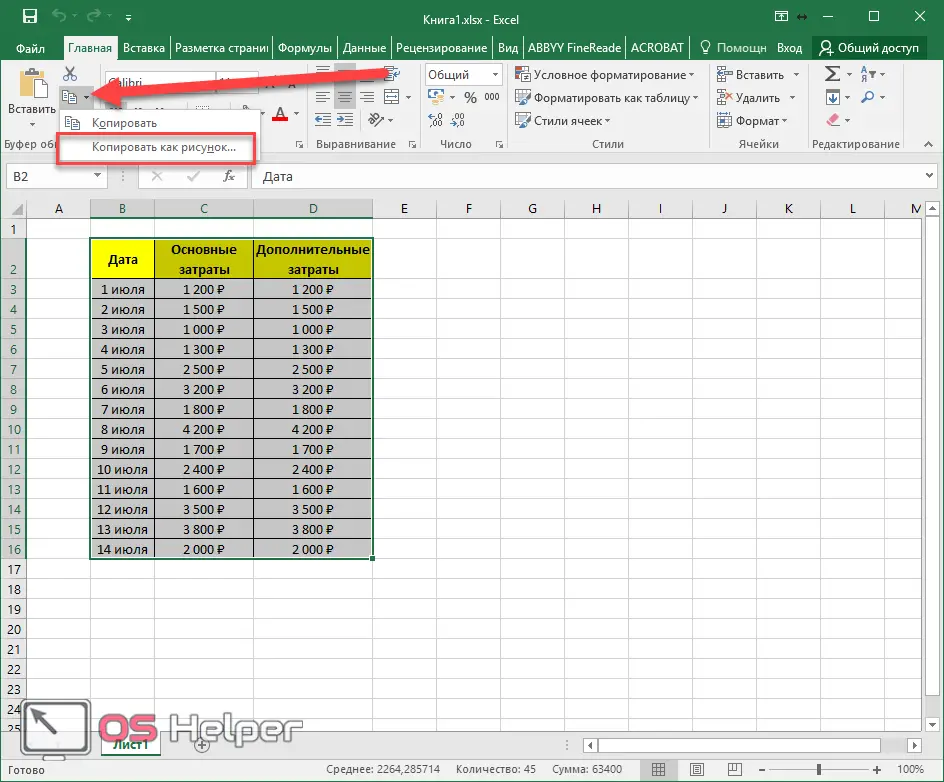
Copy as picture
But if in the third method you click not on the button, but on the “triangle” next to it, you can see an additional menu. In it, you need to select the second item.
Insert in Word
It does not matter in what format you copied the contents of the table - you can transfer all this to the document in the following ways:
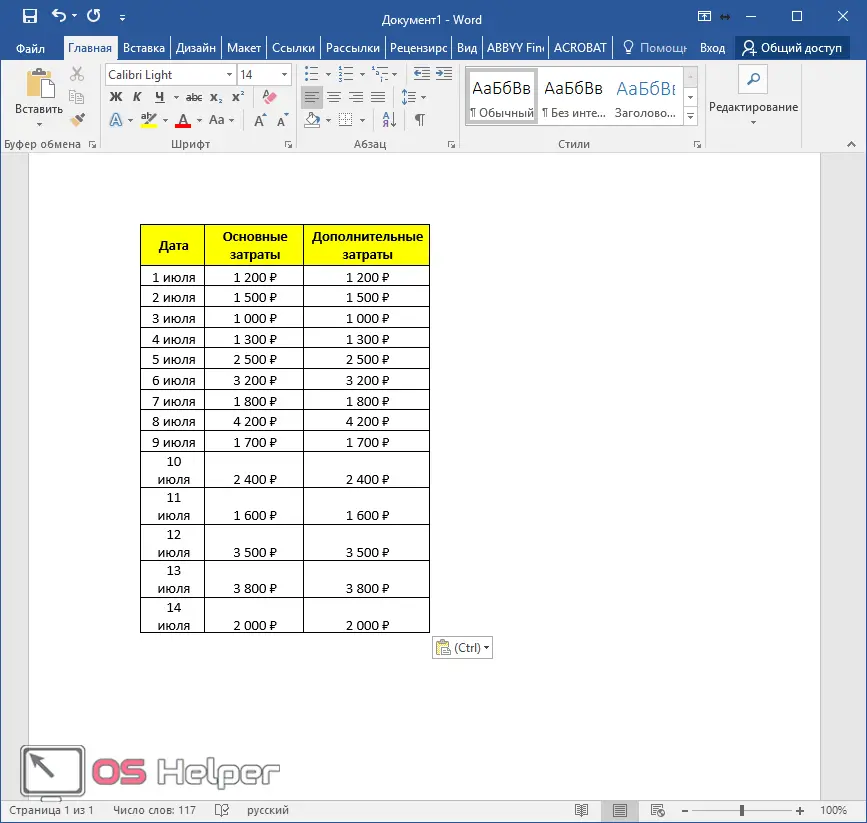
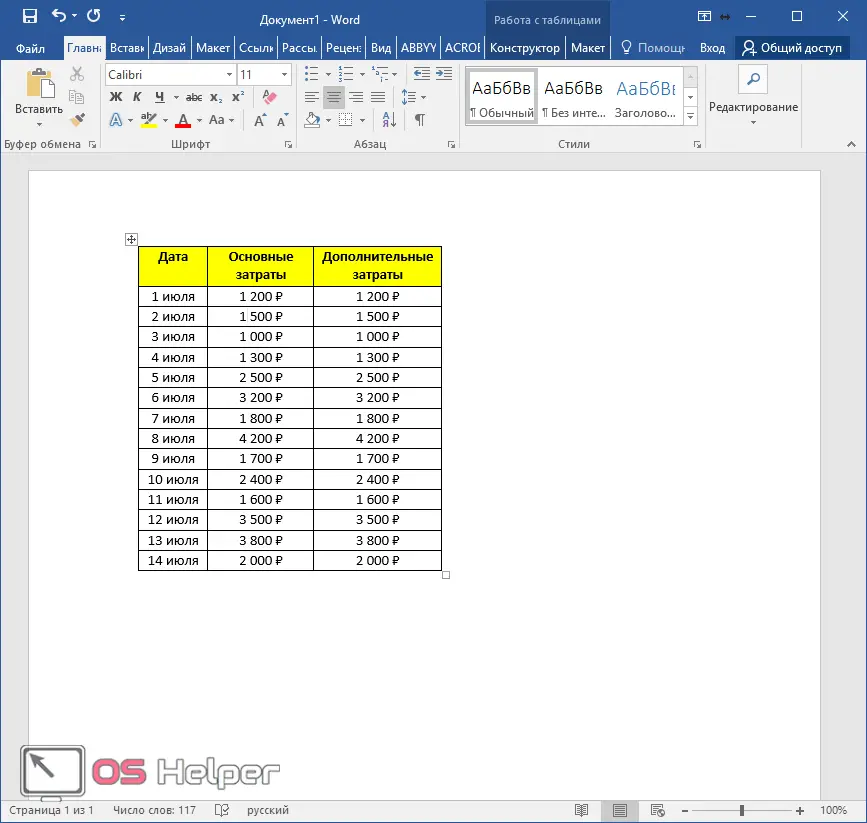
- Press the hotkeys [knopka]Ctrl[/knopka]+[knopka]V[/knopka]. As a result of this, you will see the following.
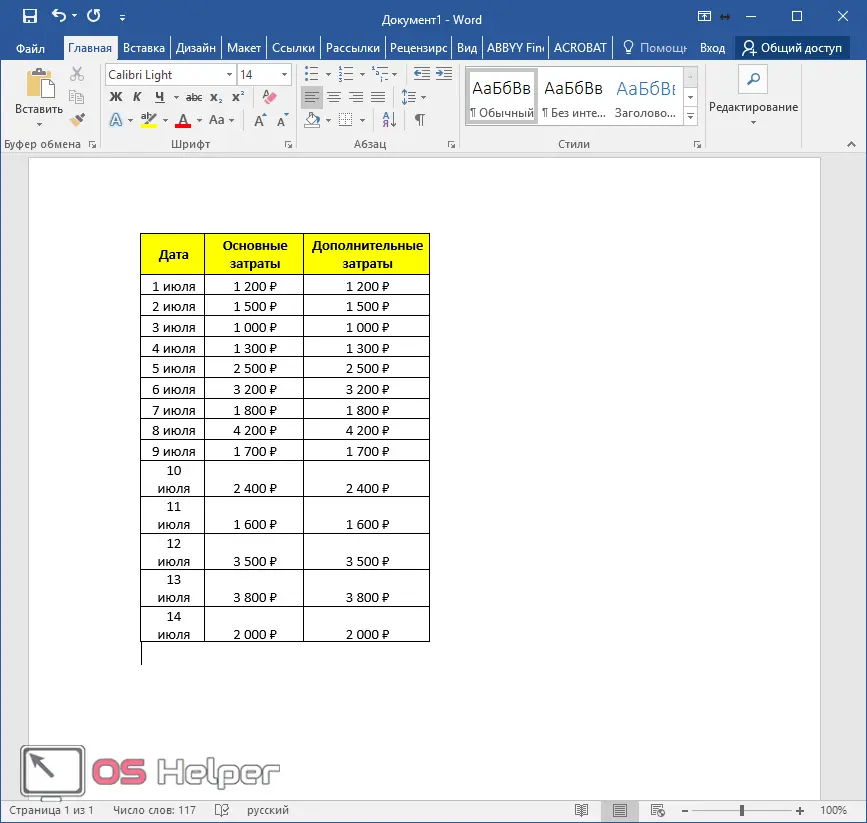
In this case, all functions for changing the content and data format will be available.
- Open the Word editor and click on the "Insert" button on the main toolbar.

As a result, the table will be inserted automatically.
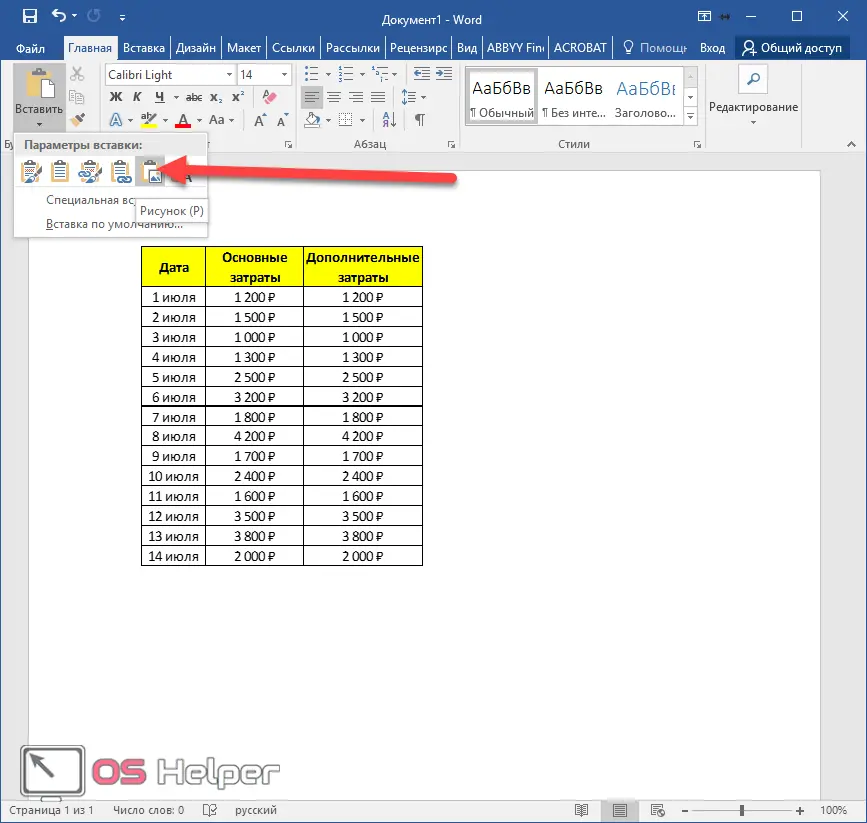
But if you click not on the button, but not on the “triangle” below it, then you will see several different options.
See also: autofilter in excel

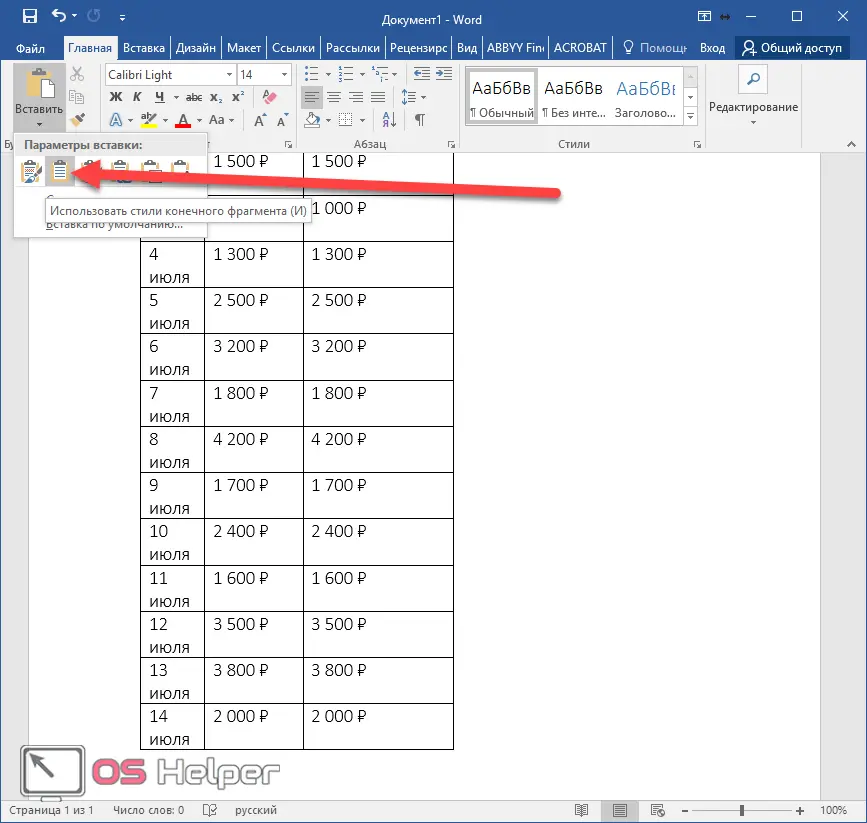
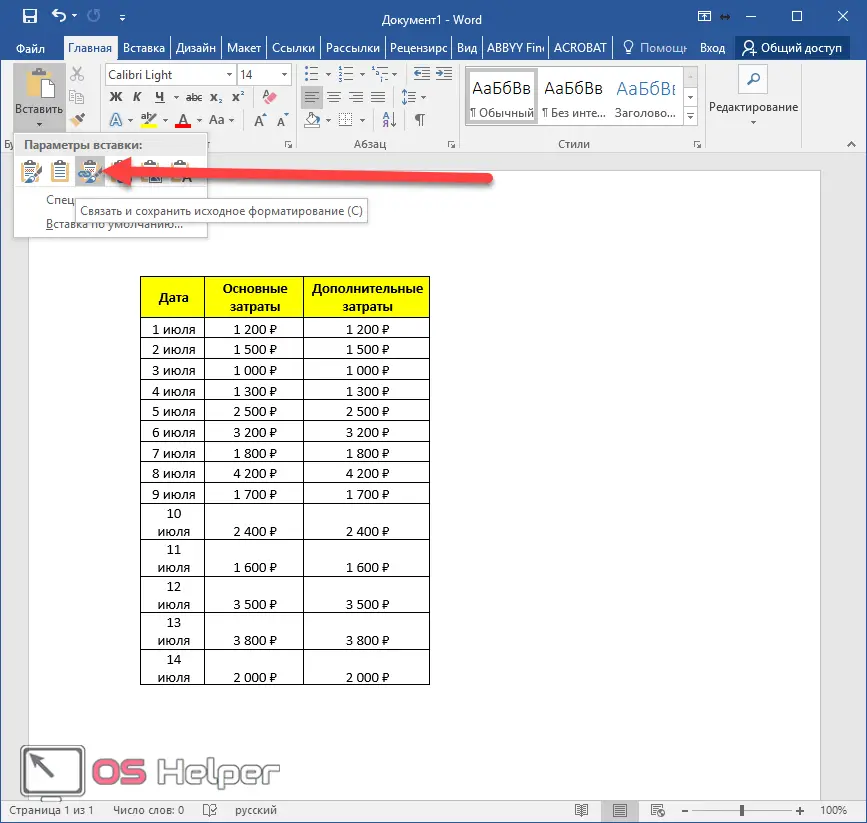
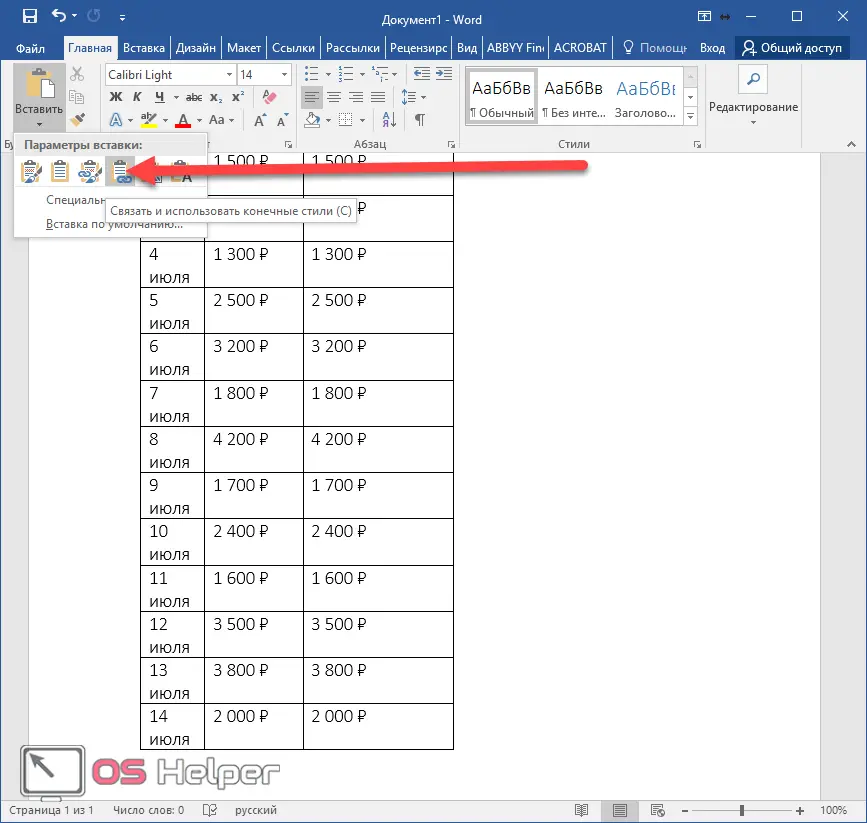
Let's take a closer look at them (hovering over each icon will give you a preview):
- while maintaining the original formatting;

- use the styles of the final fragment;
- link and keep the original formatting;
- link and use final styles;
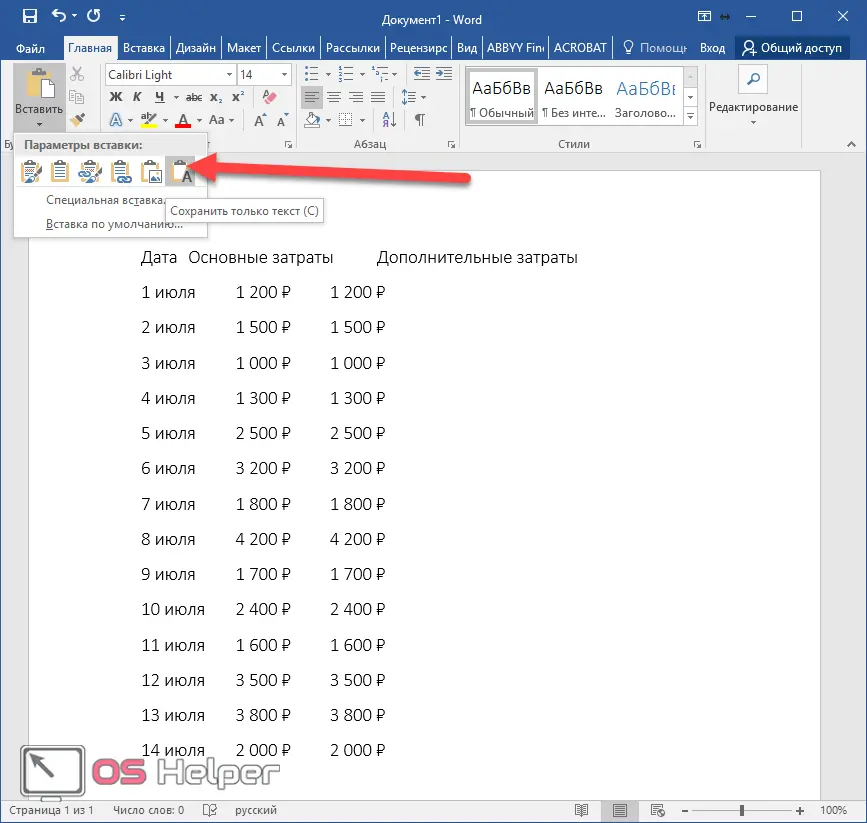
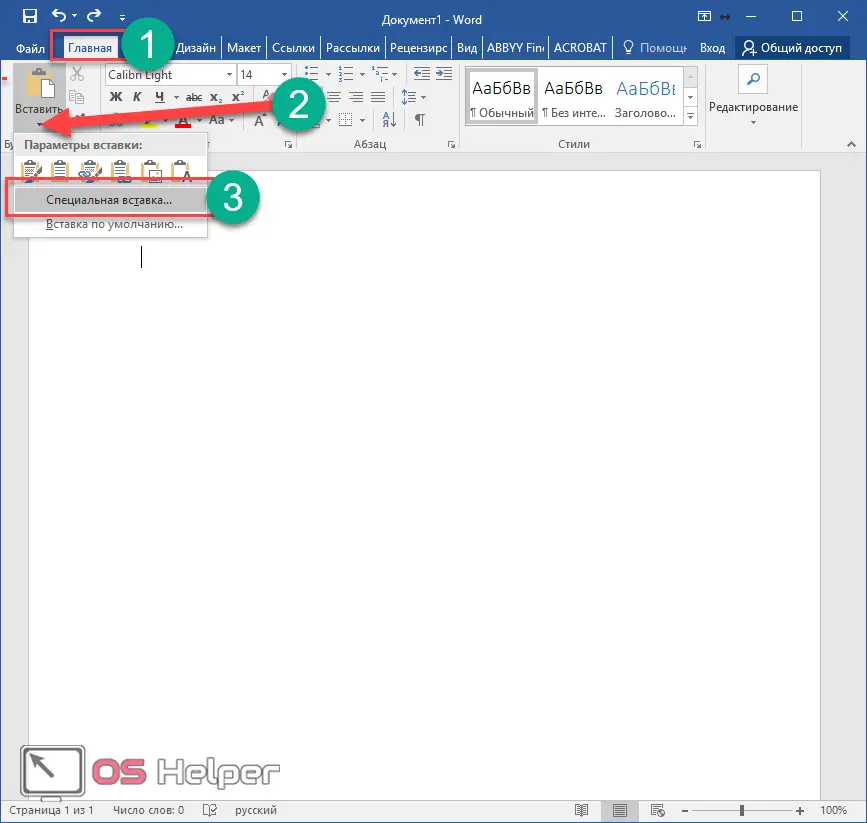
Special insert
After you copy the table (not as an image), go to the "Home" tab in Word, then click on the "triangle" under the "Paste" button and select "Paste Special".
After that, you will be presented with the following options:
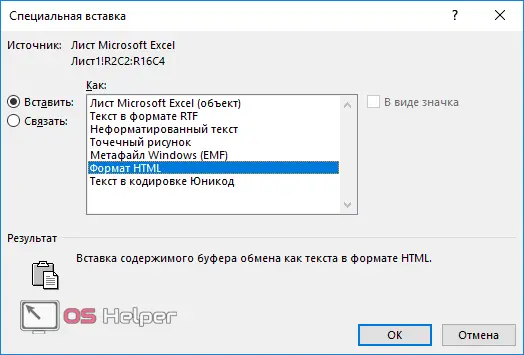
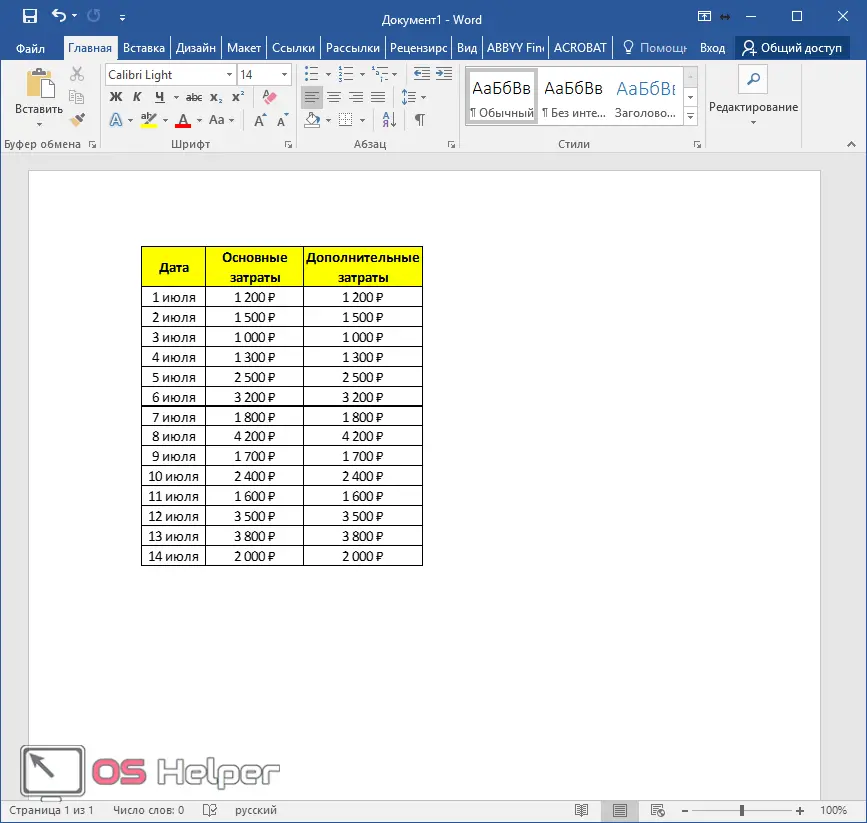
- Microsoft Excel sheet (the insertion will take place in the form of a picture, that is, you will no longer be able to edit the table);
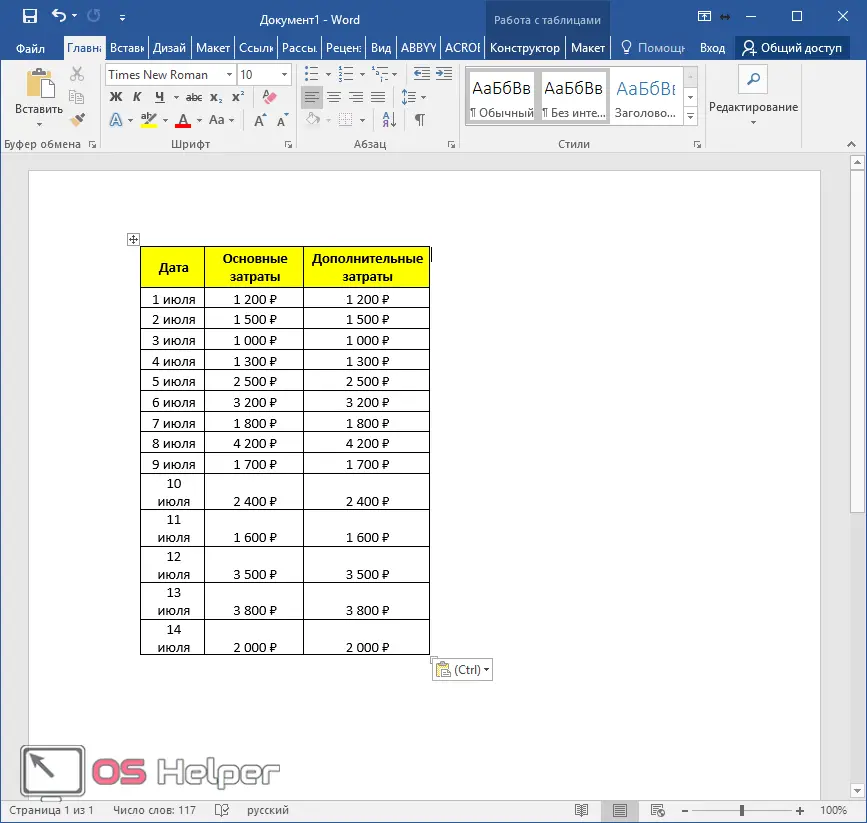
- text in RTF format (everything will be inserted unchanged);
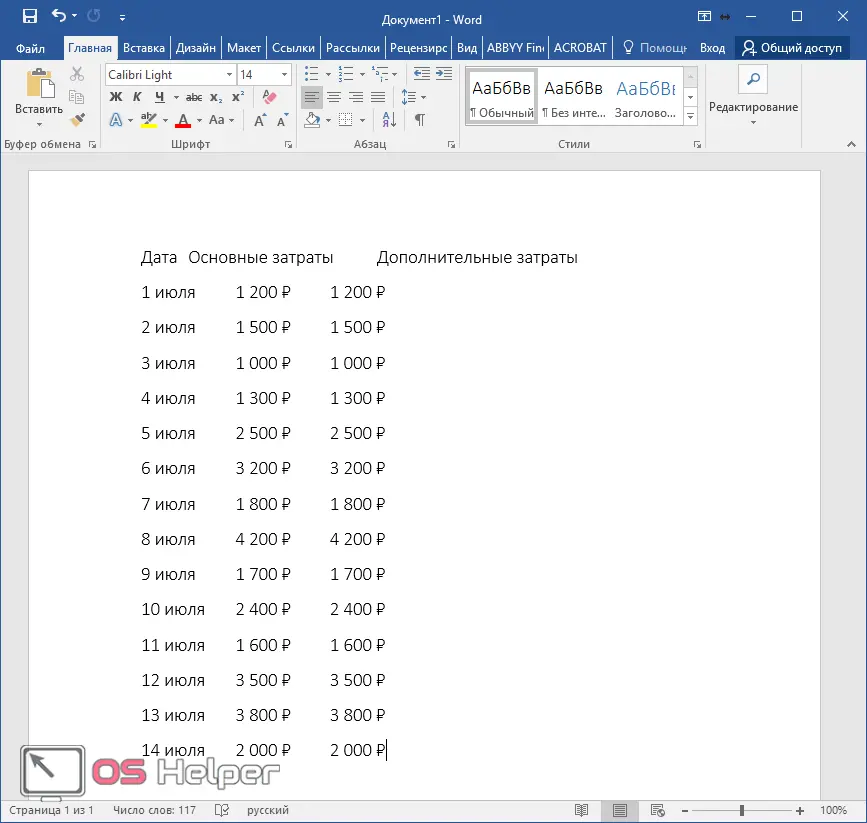
- unformatted text (nothing will remain of the table);

- bitmap (you will get the image as in the first paragraph, but its appearance will be much prettier and neater);

- Windows metafile (almost the same picture as in the first case, but with neater borders);
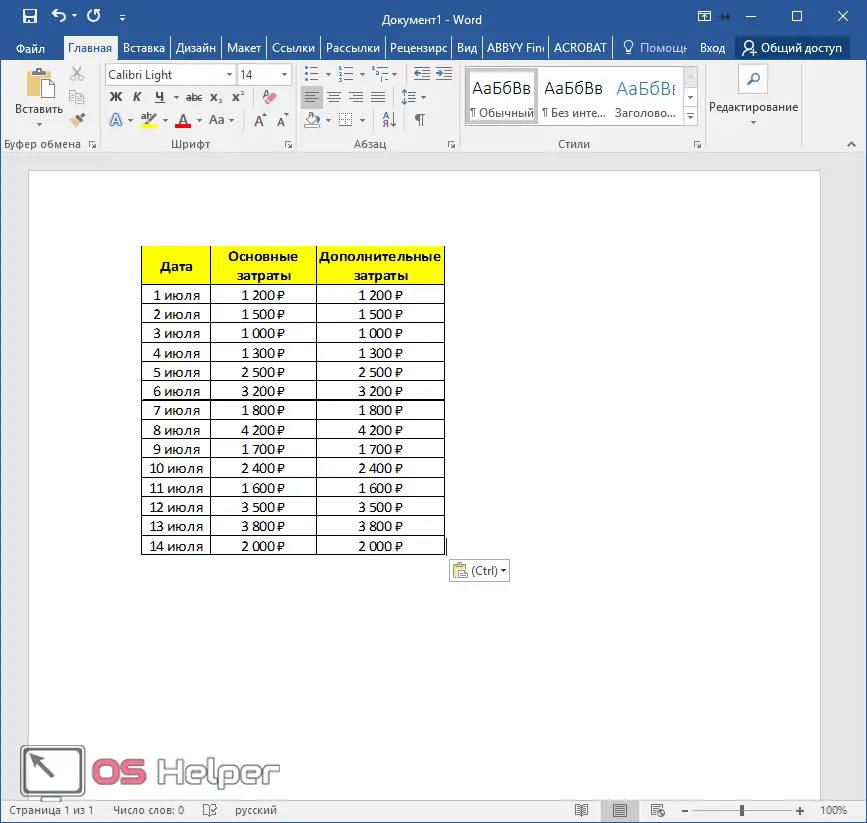
- HTML format (a regular table that can be created with a hypertext markup language, that is, various visual effects from Microsoft Excel will disappear);
Insert from file
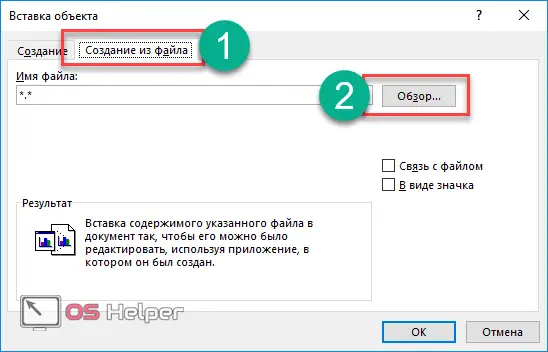
Microsoft Word has the ability to import various files. To do this, go to the "Insert" tab, click on the "Text" button and select the "Object" item.

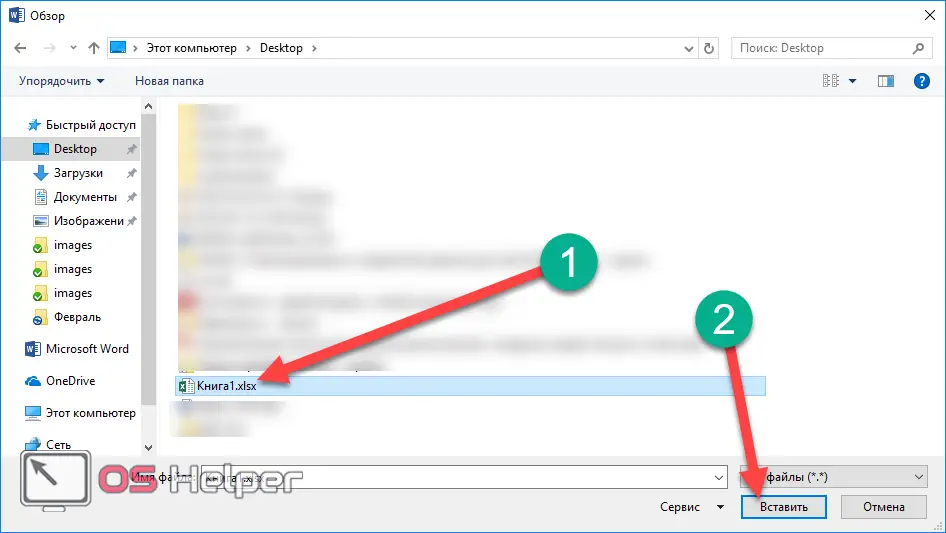
In the window that appears, go to the "Create from file" tab and click on the "Browse" button.
After that, specify the file and click on the "Insert" button.
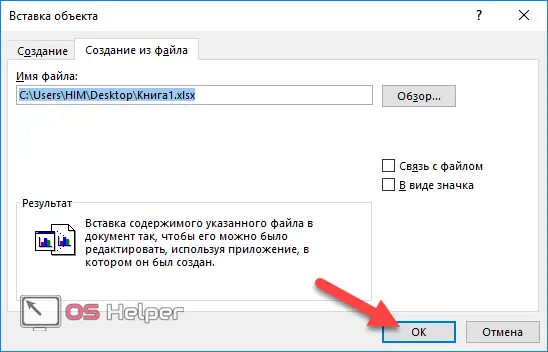
The path will be set automatically, click on "OK".
As a result of this, you will see the following output.
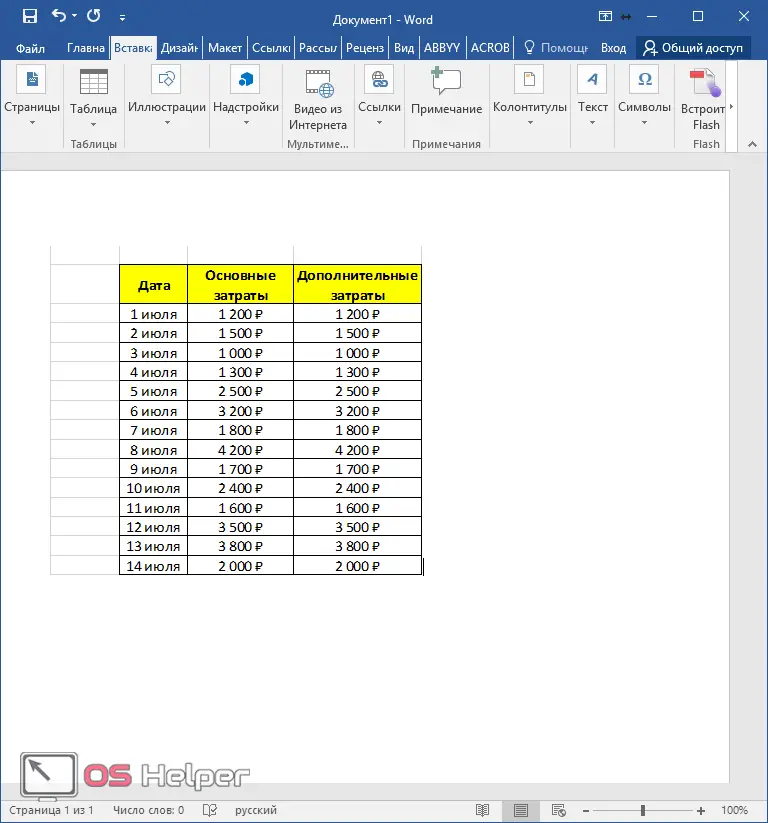
Please note that the table is inserted as an image. Moreover, everything that was above and to the left of it also fell into our document. That is, the insertion occurs from 1 cell to the last one, where there is at least some information.
Also Read: How To Turn Off Compatibility Mode In Excel
Export a table from Excel
In order to use this option, you need to take the following steps.
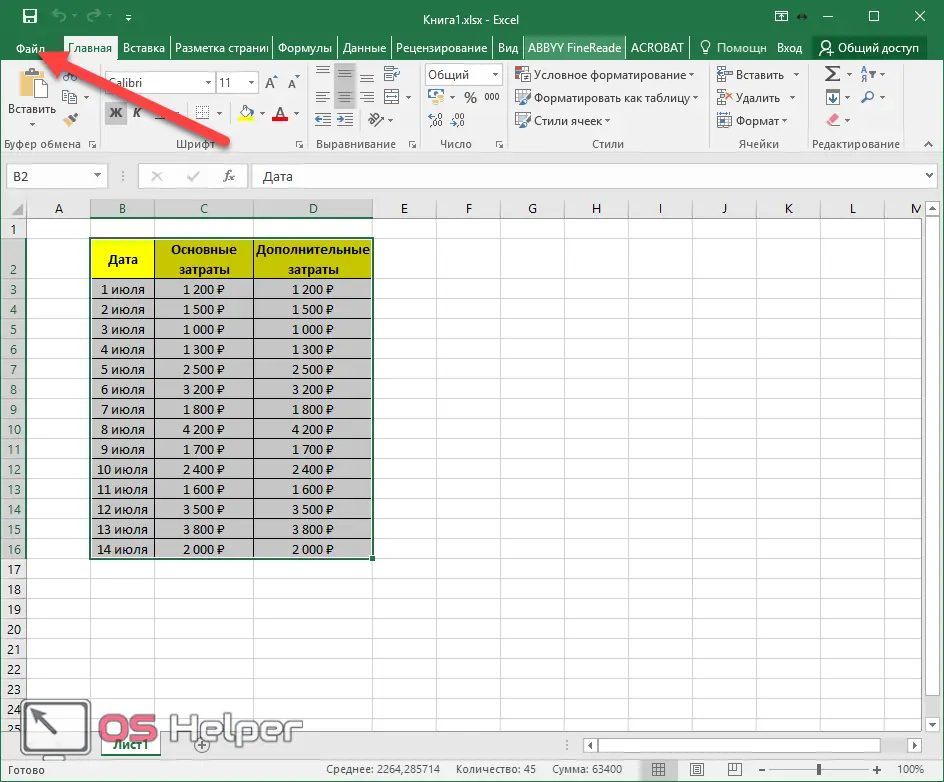
- Open Excel and click on the "File" tab.
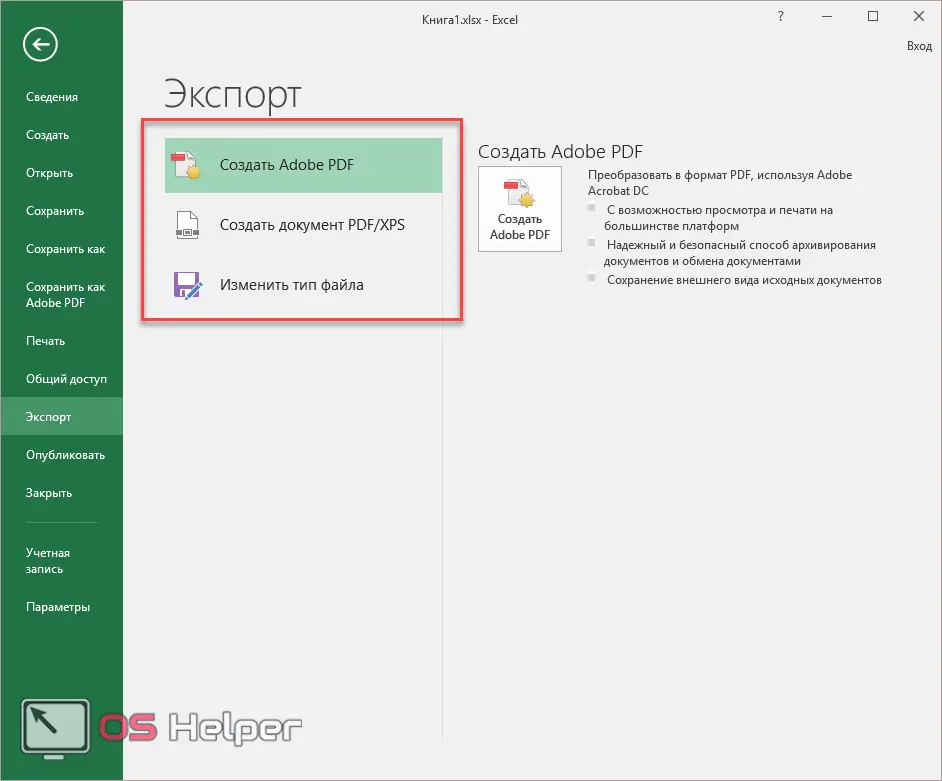
- In the menu that appears, go to the "Export" section.

- Here you can:
- create a PDF file;
- create a PDF/XPS document;
- change file type.
- If you select the last item, you will see the following (you will be offered various document formats).
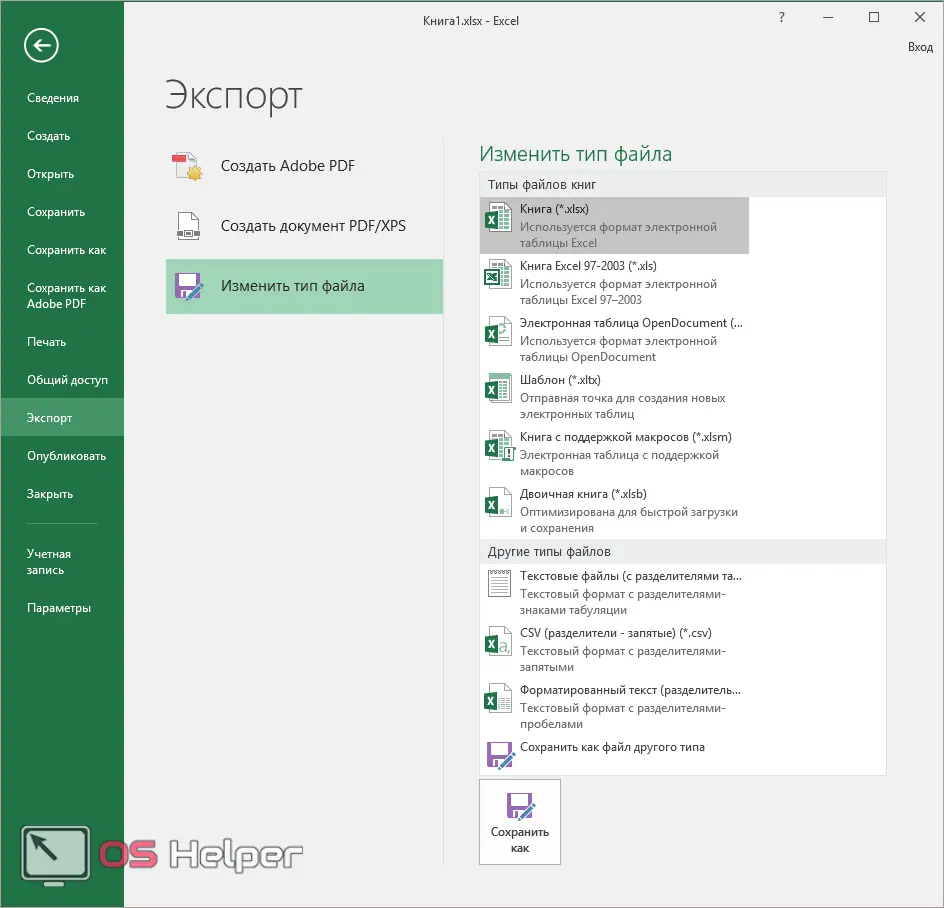
- By clicking on the "Save As" button, you can choose even more formats.

Possible problems
Sometimes it happens that the user is trying to insert a table that is much wider than the page of the document. In this case, you will see data distortion and the whole design becomes unreadable. Or the right part of the information disappears from the field of view.

In this case, you have several options:
- Never do that.
- Reduce document margins.
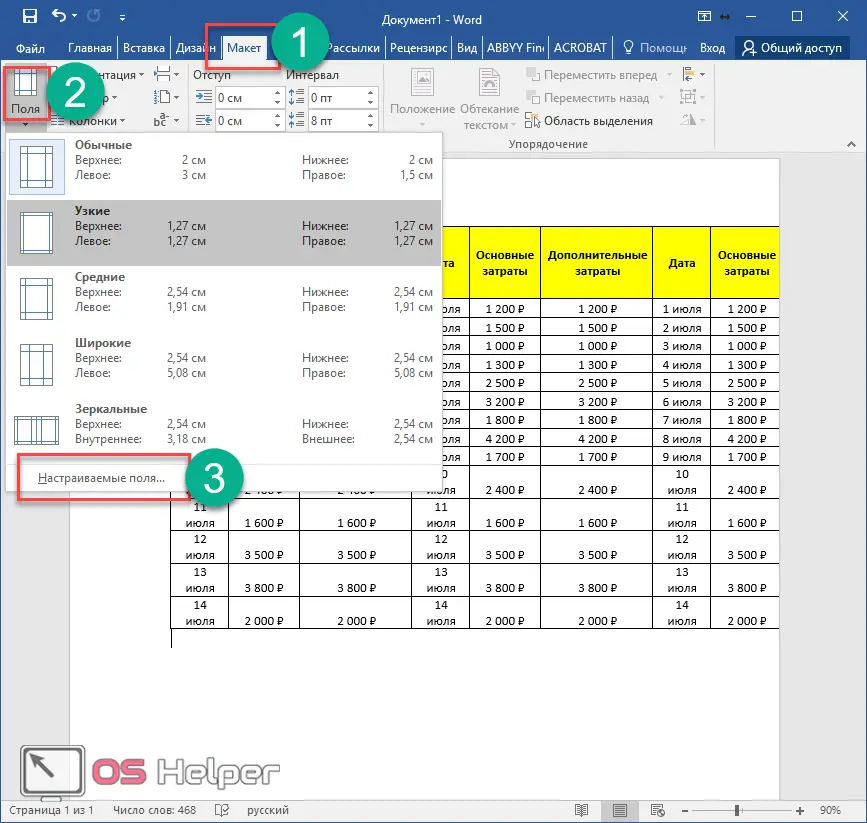
To do this, go to the "Home" tab, click on the "Fields" button and select "Narrow".
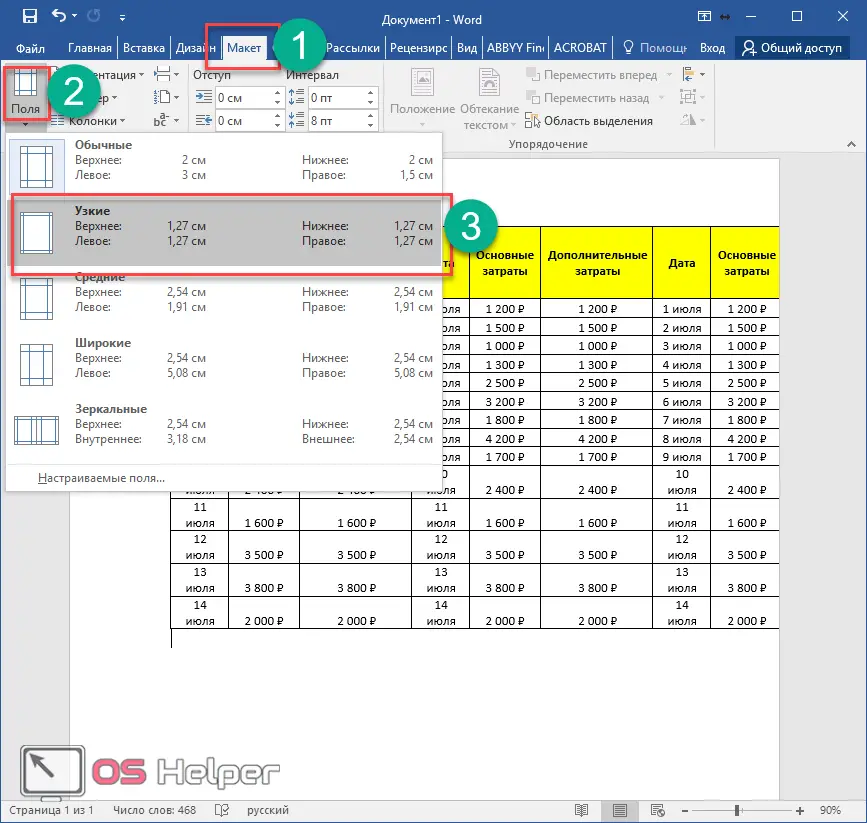
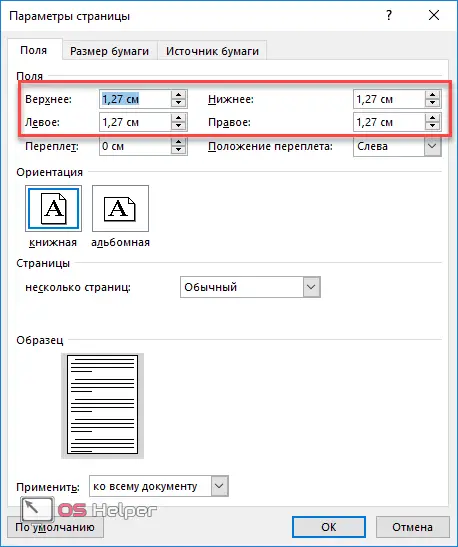
If this is not enough, then try selecting the "Custom fields" item.
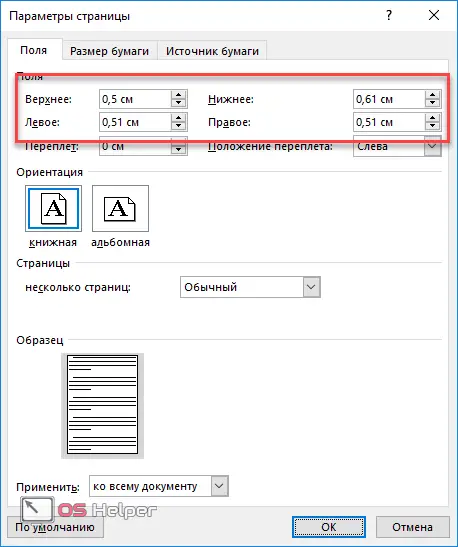
Reduce these values to 0.5 centimeters.
After clicking on the "OK" button, you will see an error that the fields are outside the printable area. Click on "Fix".

After that, the Word editor will automatically substitute the desired minimum size. Click the "OK" button to finish.
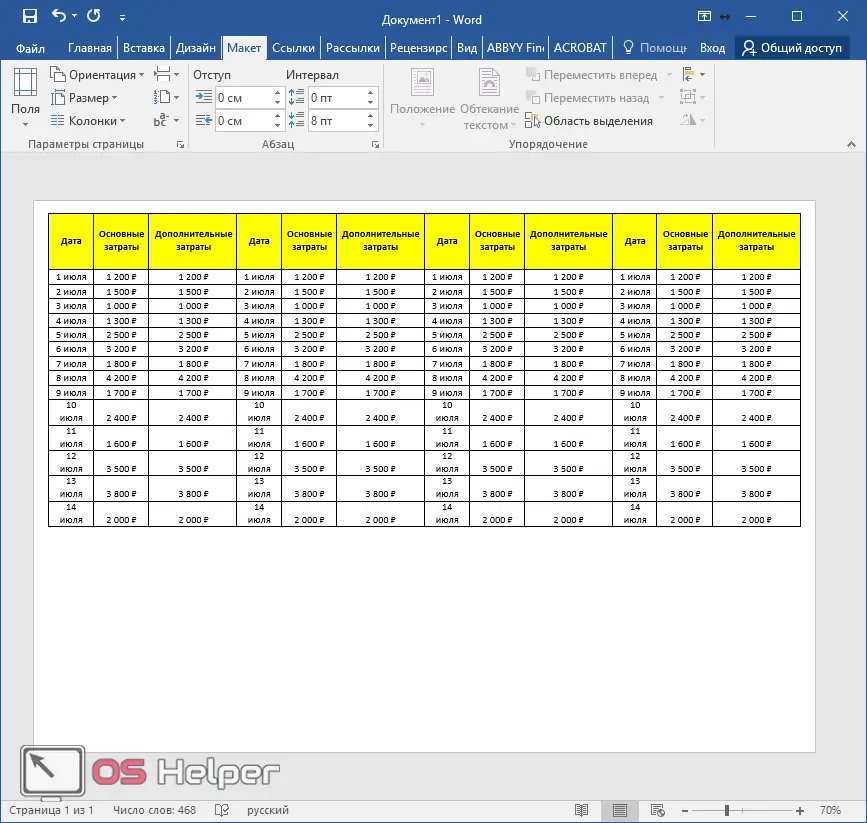
- But if that's not enough, there's only one option left. To change the orientation of a document, go to the Layout tab, click on the Orientation button, and select Landscape.
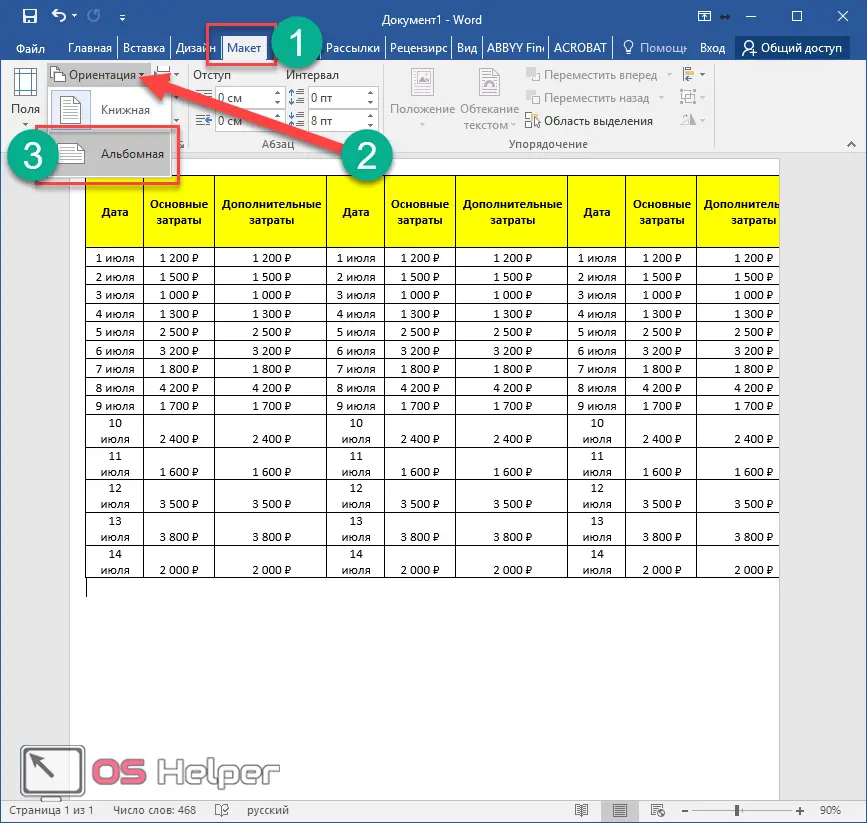
Now everything fits perfectly.
Conclusion
This article discussed various options for transferring tables from Excel to Word. Please note that for each specific goal there is a ready-made method, that is, the usual key combination [knopka]Ctrl[/knopka]+[knopka]C[/knopka] and [knopka]Ctrl[/knopka]+[knopka] V[/knopka] will not always be the best method.
In addition, some menu items may change depending on what is on the clipboard.
Video instruction
For those who still have any questions, below is a video with additional comments on the above instructions.
Also Read: How to Delete Blank Rows in Excel