How to add a row in an Excel table: all the ways
 Nowadays, many people use Excel. But at the same time, not everyone knows how to add a row in his table. On the one hand, this may seem like a very simple action. But on the other hand, there are a lot of "pitfalls" here. Let's look at different cases.
Beginning of work
The first step is to create a spreadsheet in Excel. To do this, you must perform the following steps.
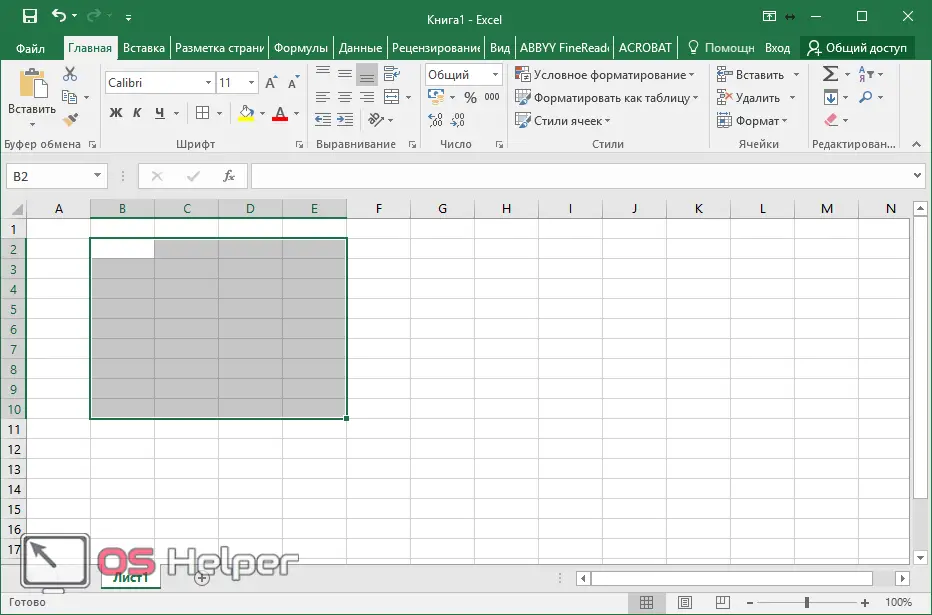
- Select any area. Make a left mouse click on an arbitrary point on the sheet and, without releasing your finger, drag to the right and down.
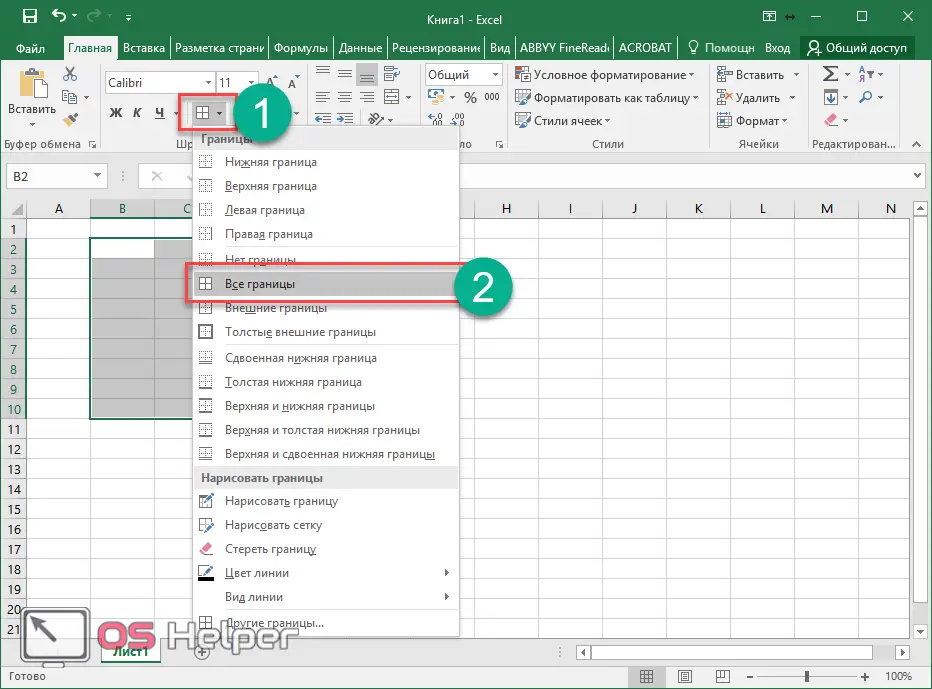
- Click on the "Home" tab on the "Borders" icon. Then select "All Borders" from the drop-down menu.
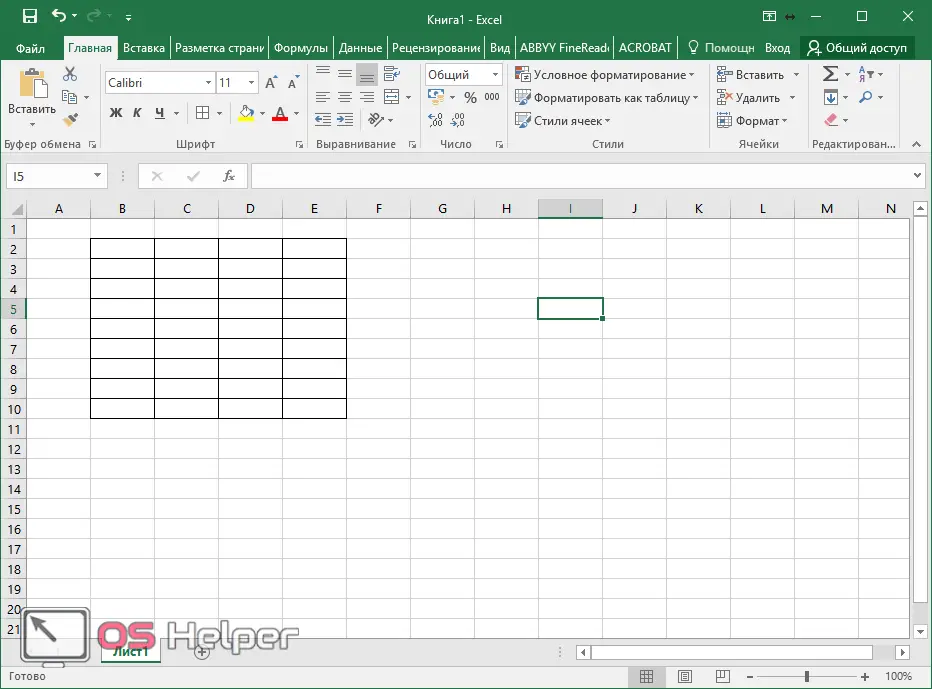
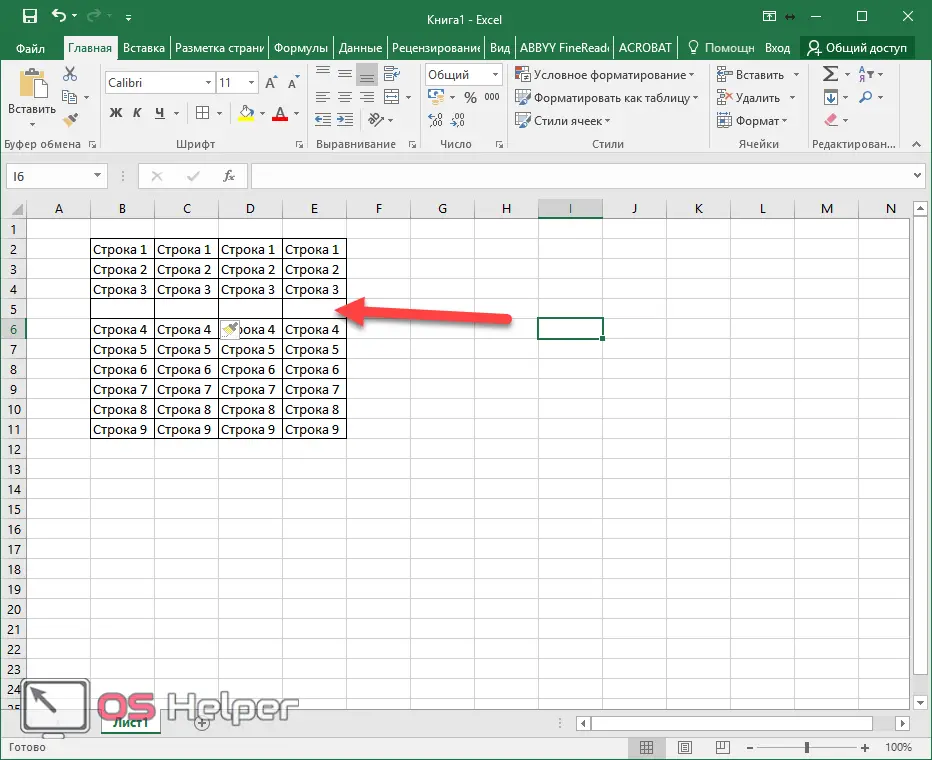
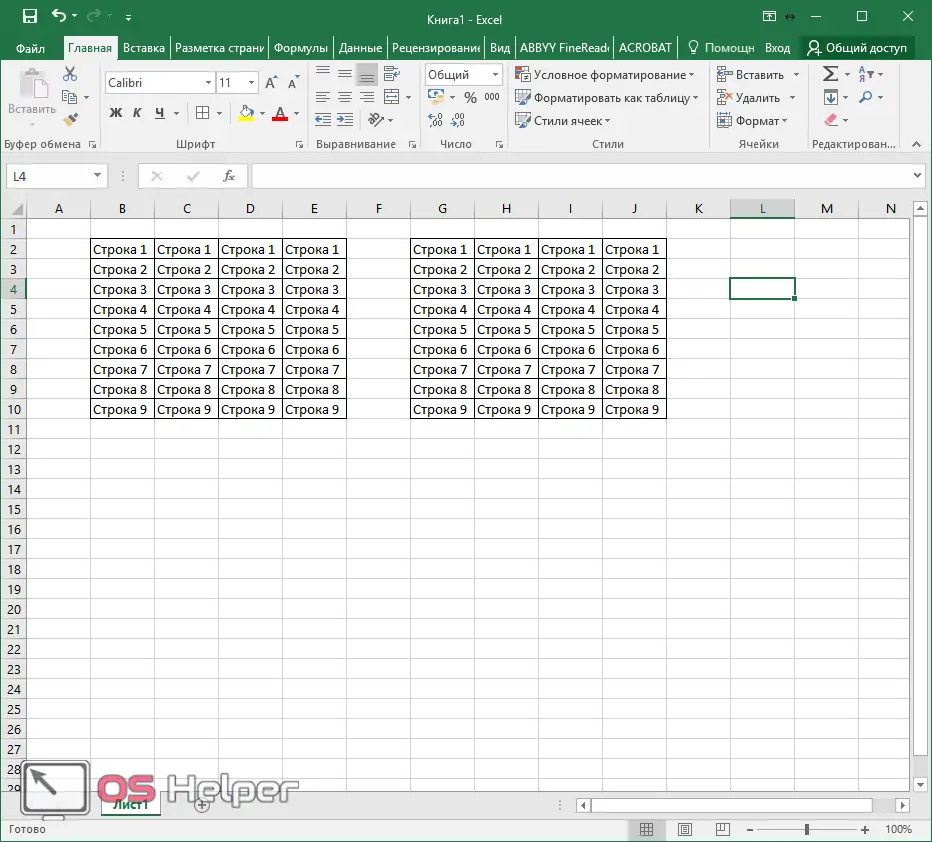
- As a result of this, you will have a small table. You can also use ready-made templates.
- Fill it in with any values.
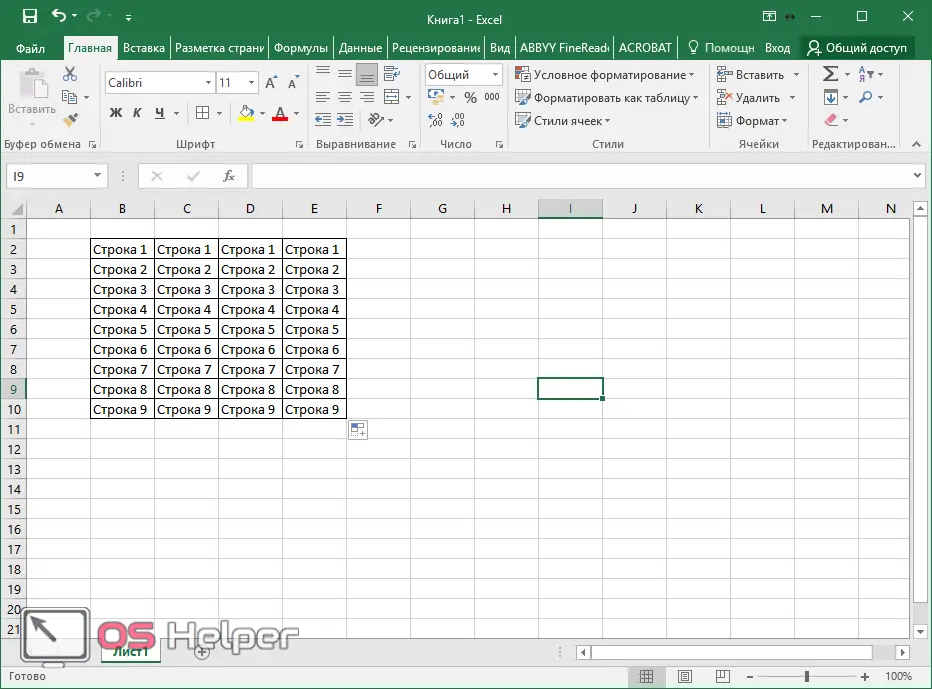
Numerical values were used for clarity of further steps in filling.
Using the context menu
To insert a row, do the following.
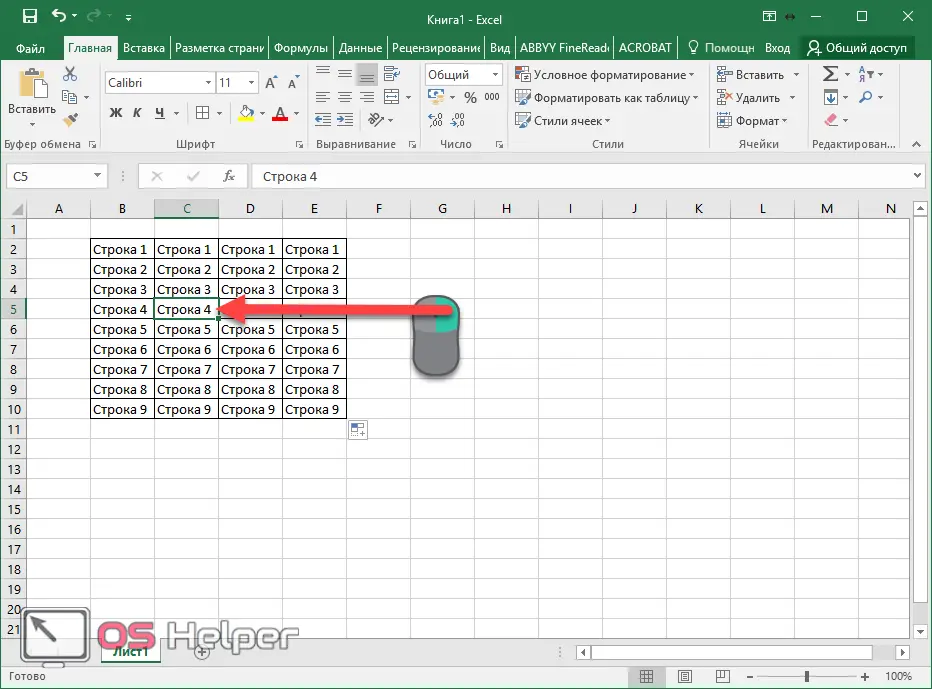
- Move the cursor anywhere. Make a right mouse click.
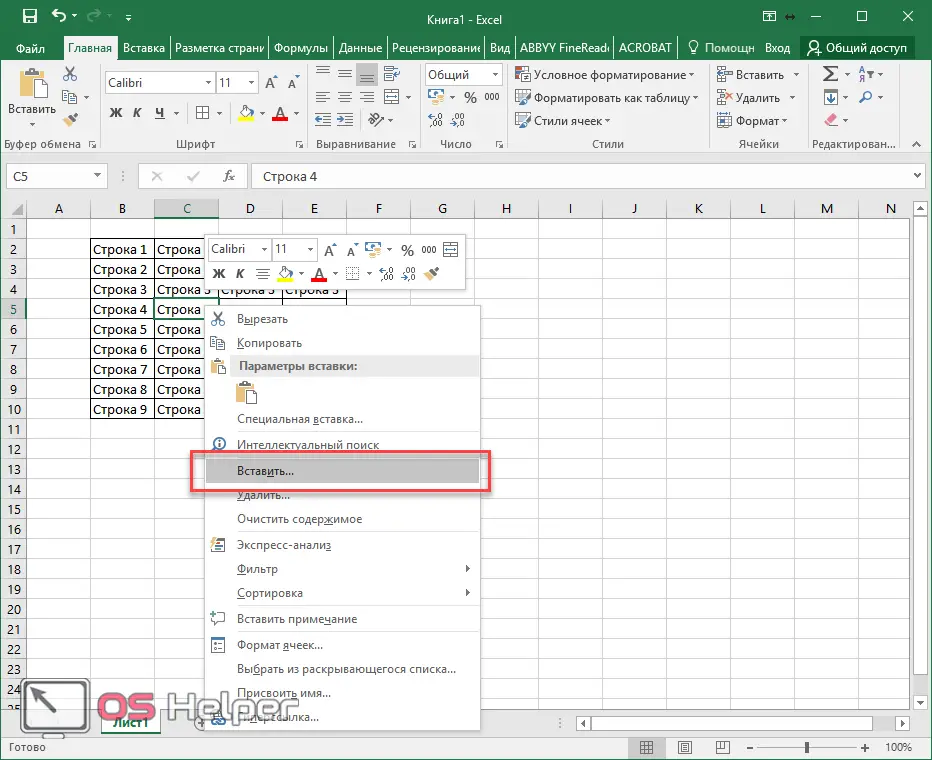
- In the menu that appears, click on the item "Insert ...".
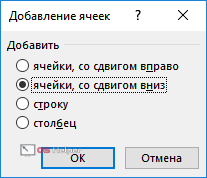
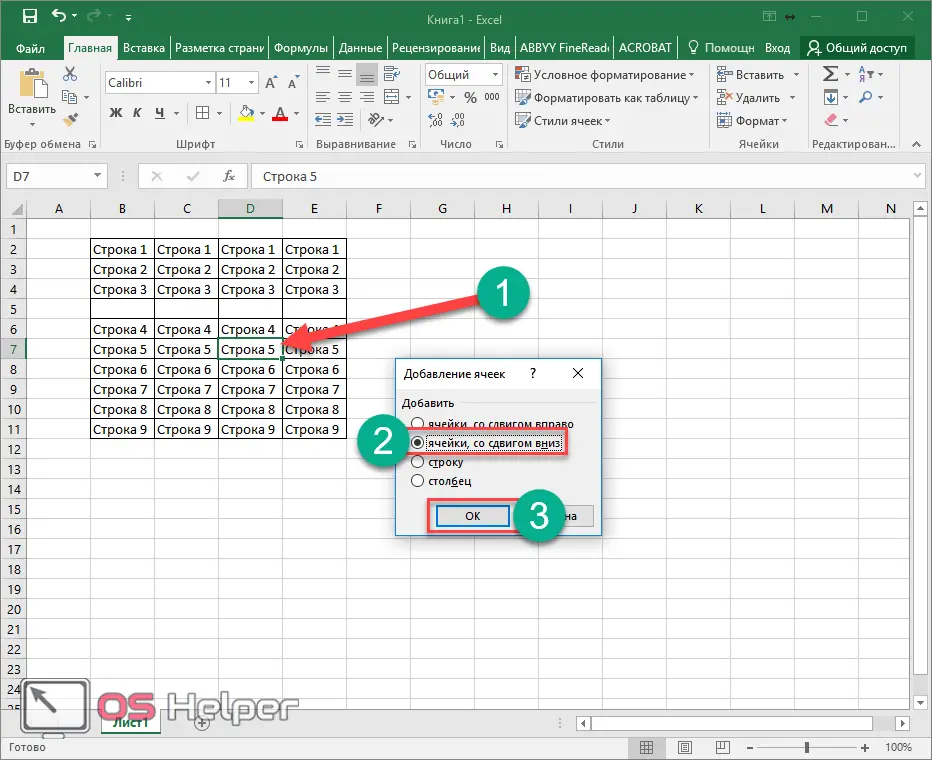
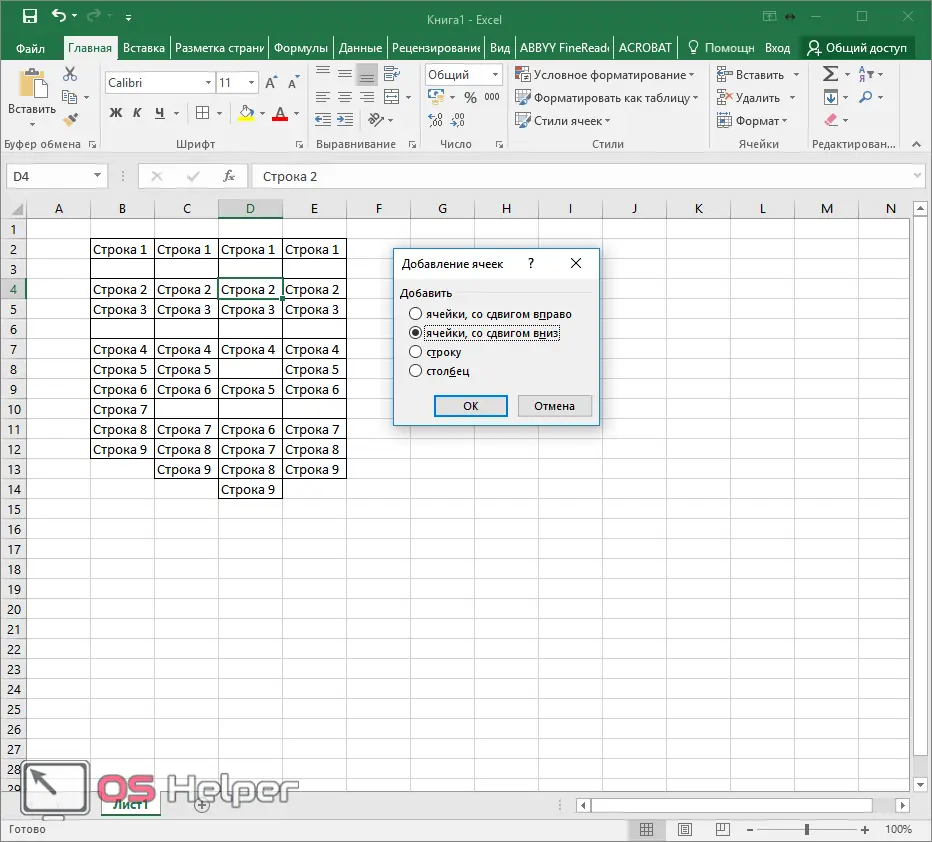
- As a result of this, you will see several options:
- cells, shifted to the right;
- with a shift down;
- line;
- column.
- Select the third item and then click on the "OK" button.
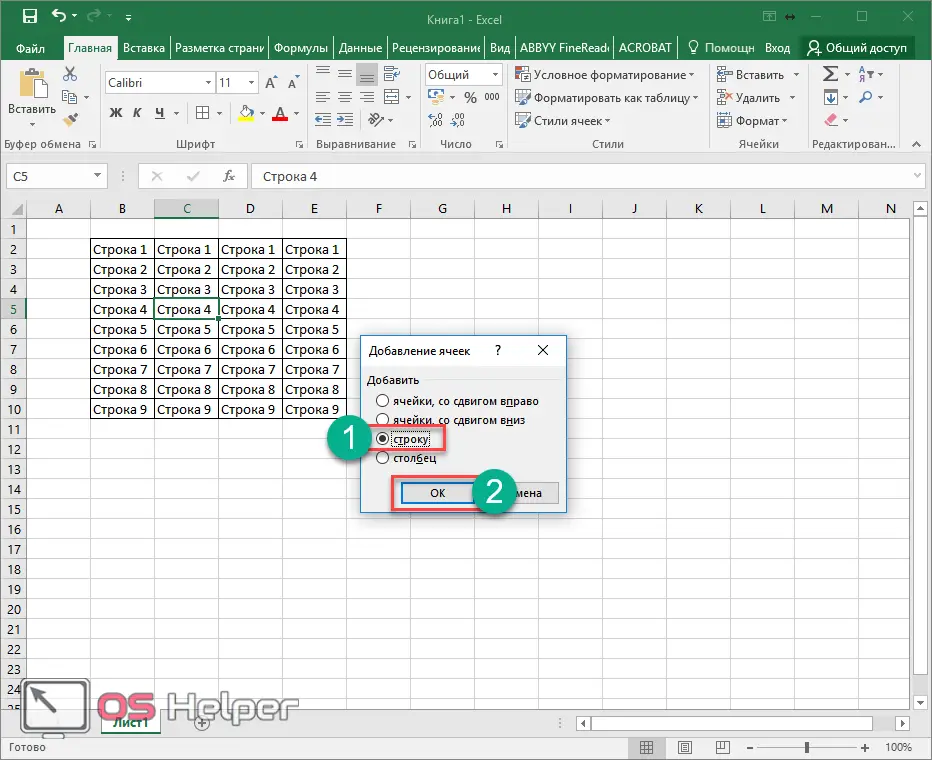
- This will give you a new empty horizontal row.
But what if you need a new line not across the entire width of the table? In this case, things are a little more complicated.
- Select one cell and call up exactly the same menu again. Only this time we choose the second item. We complete the action with the OK button.
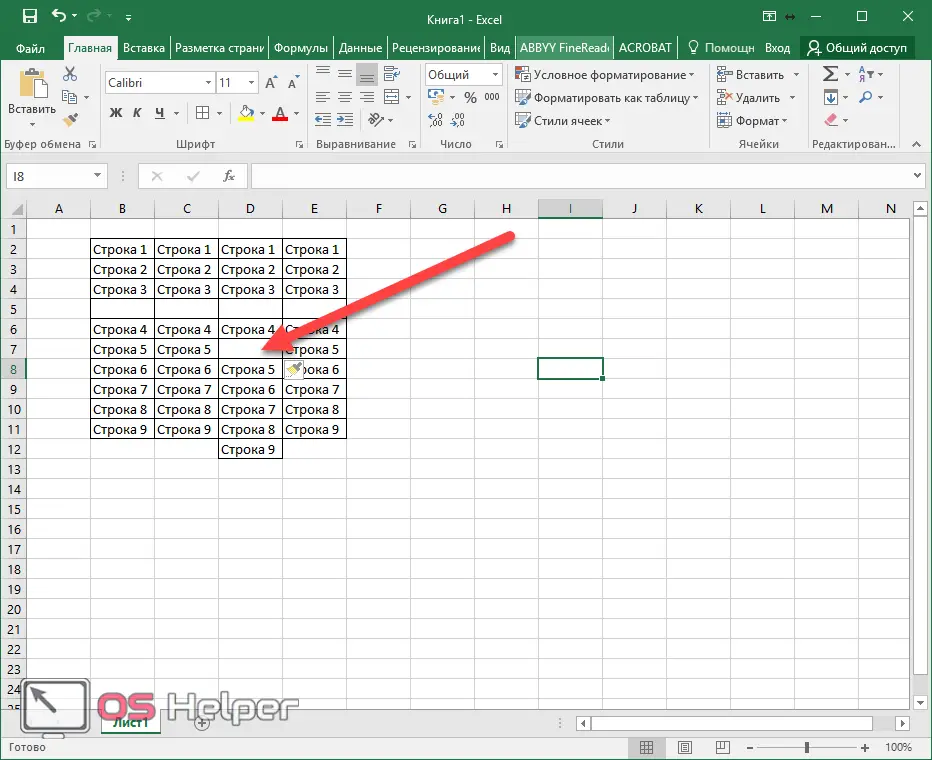
- This will result in an empty area. That is, a new cell is inserted between rows and columns exactly in the place where you were before calling the context menu.
Also Read: How To Number Rows In Excel Spreadsheet
In order to insert not one empty element, but two or more, it is necessary to allocate the same amount.
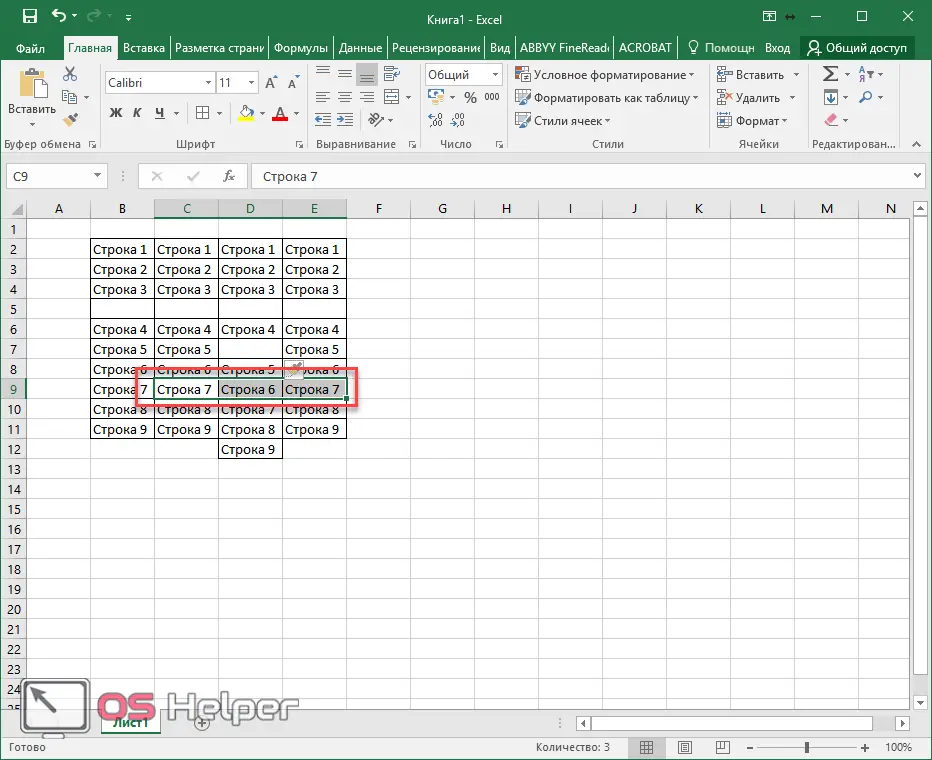
- Repeat the steps above to add cells. Thanks to this, a line with 3 elements will be added. That is how much was allocated at the beginning before calling the menu.
Please note that when inserting a "row" it does not matter which column you are in. A new horizontal row will be added across the entire width of the sheet. Other tables may be affected as well!
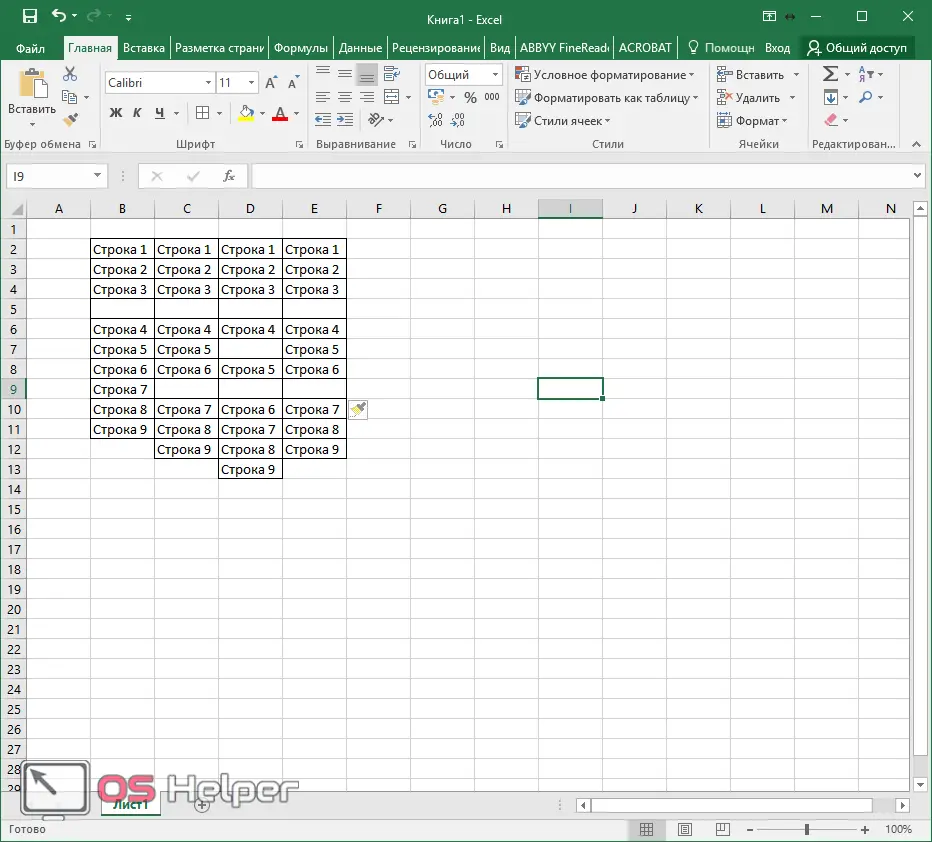
Working with multiple tables
Let's say we have 2.
As mentioned above, the result of inserting a whole row will lead to a violation of the appearance of the adjacent table, since the gap will also appear there.
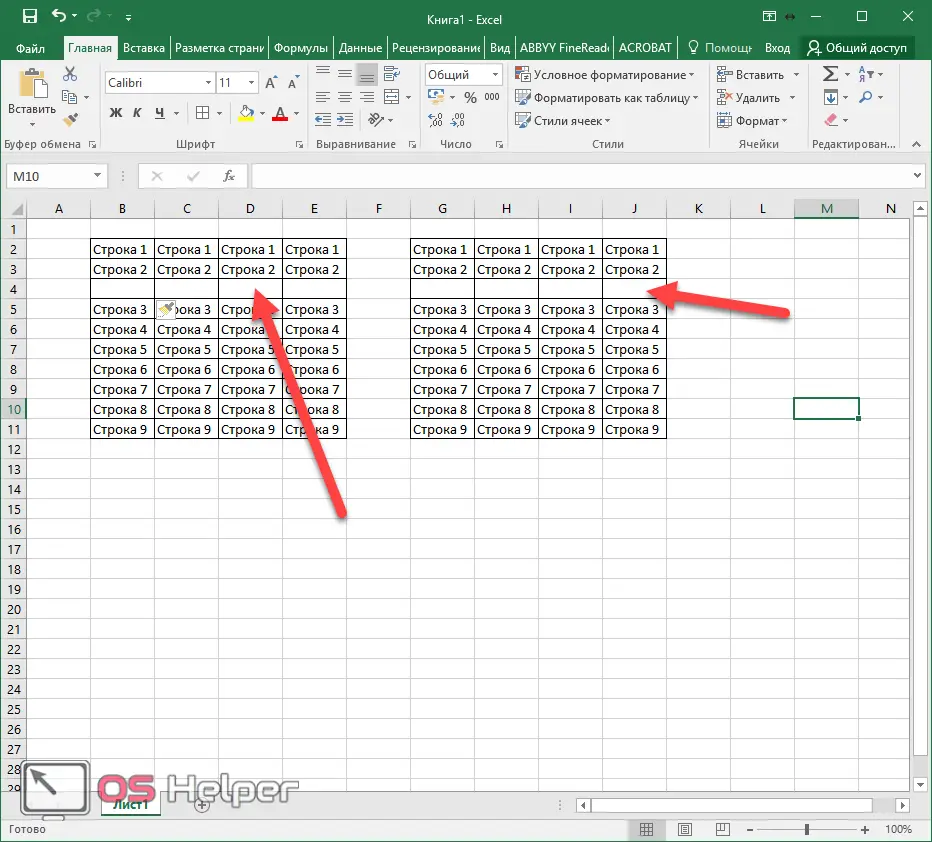
In order to preserve the appearance of other elements, you need to add new lines through the cells. At the same time, pre-selecting the entire horizontal row of only one table.
The result will be the following.
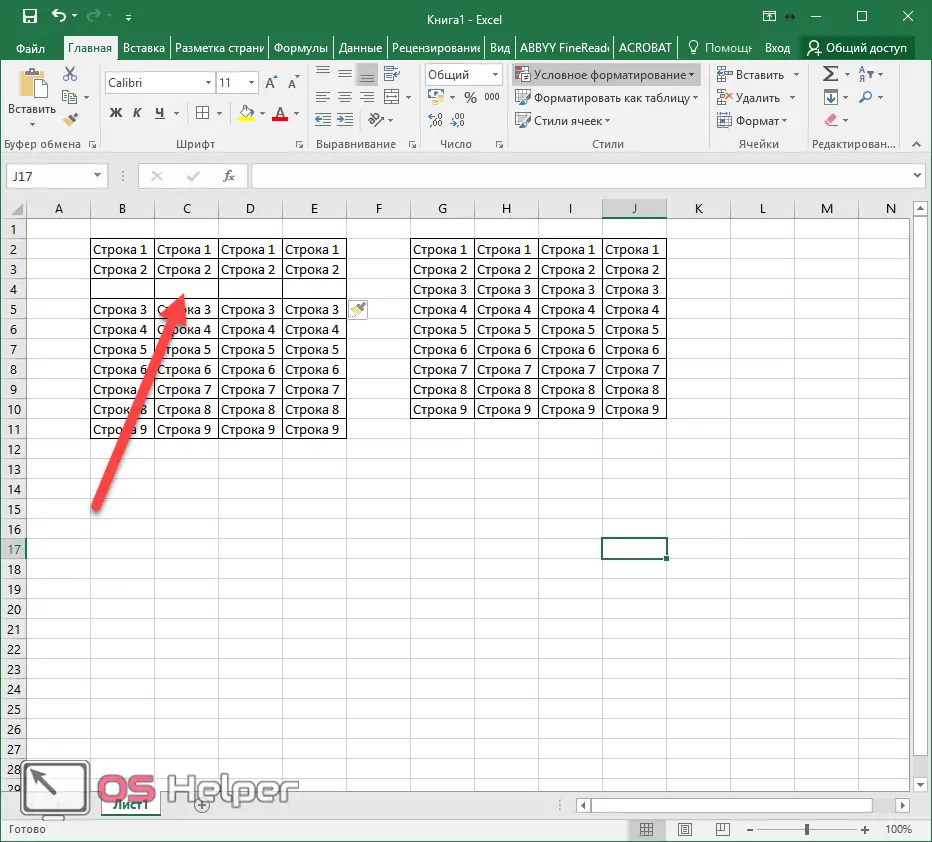
Everything on the right remained exactly the same.
Through the toolbar
You can get the same effect through another menu. To do this, do the following.
- Go to the "Home" tab and click on the "Insert" button.

- This will bring up the following menu.
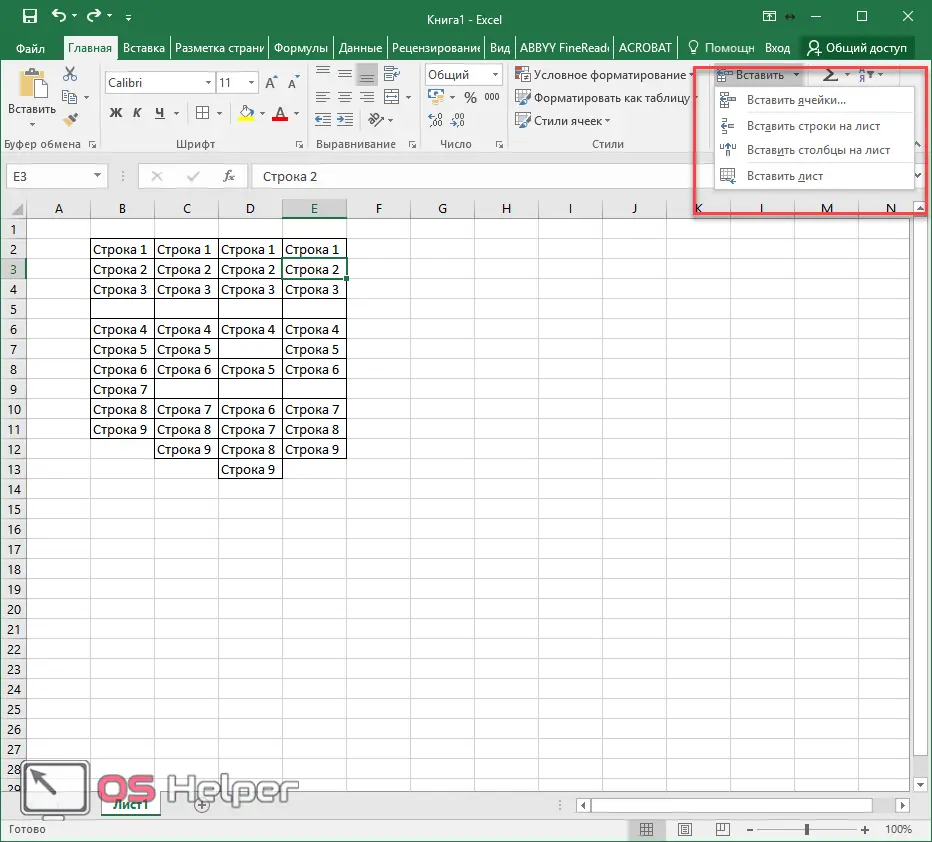
- To insert lines, click on the corresponding item.
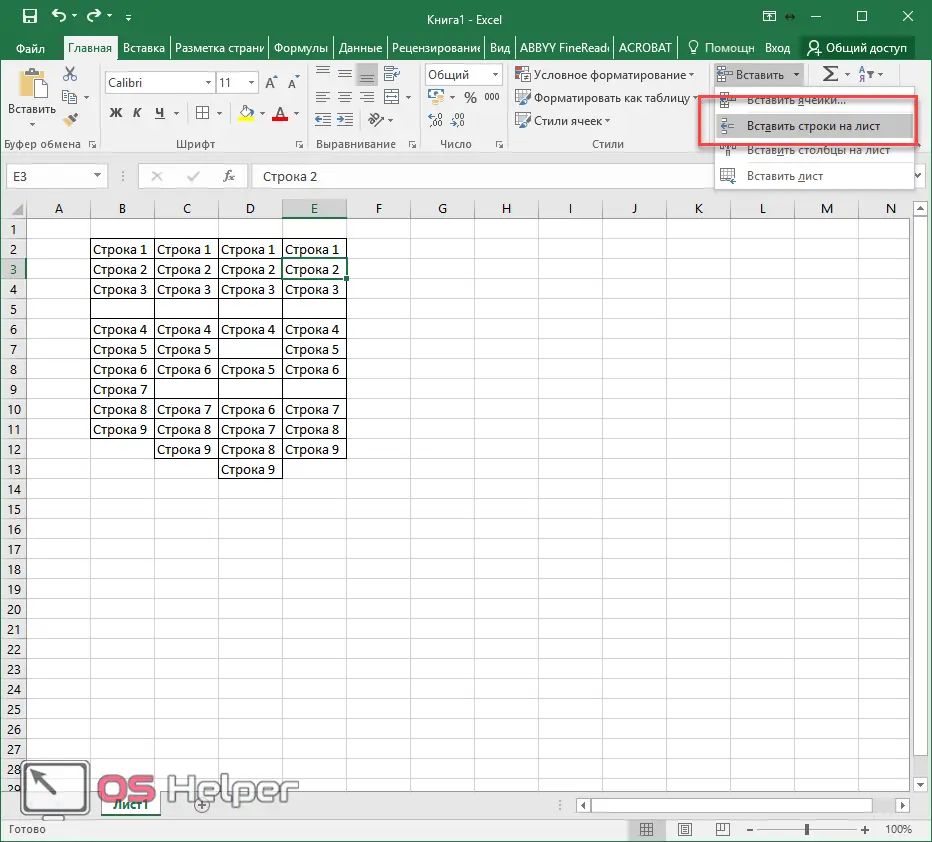
- Immediately after that, another row will be added, and everything else will be at the bottom.
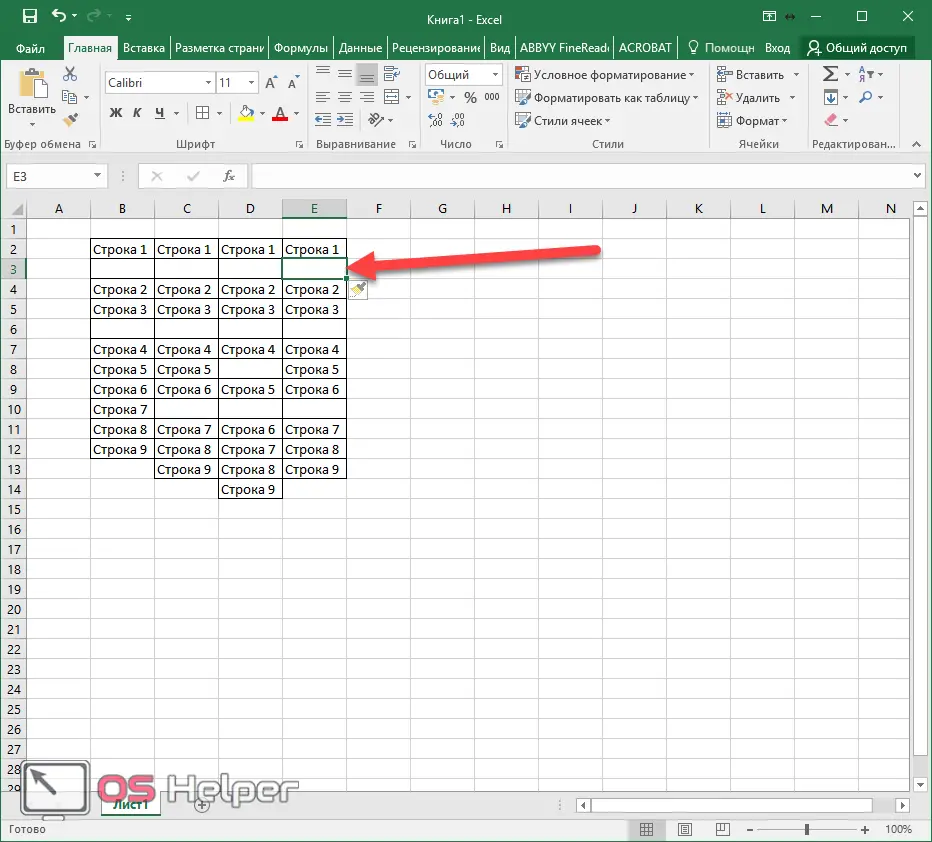
This method is more convenient, since you have to perform fewer actions.
- Now try clicking on "Insert Cells".

- You will see exactly the same options that appeared through the context menu.
You can call this menu using the hot keys [knopka]Ctrl[/knopka]+[knopka]Shift[/knopka]+[knopka]=[/knopka]. This is reported to us by Excel if we work through the top panel.

Add without menu
If you select multiple cells and hover over a corner, you will notice that its appearance changes.
See also: Examples of using functions in Excel
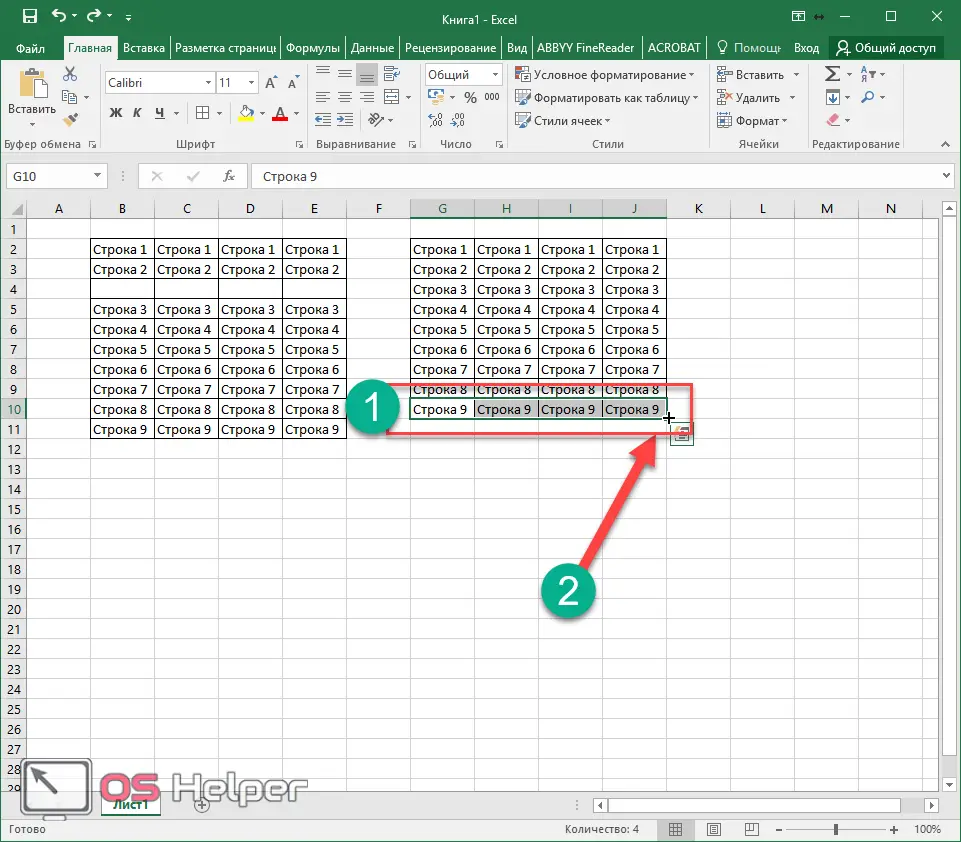
If you make a left mouse click and drag down, you can see the following.
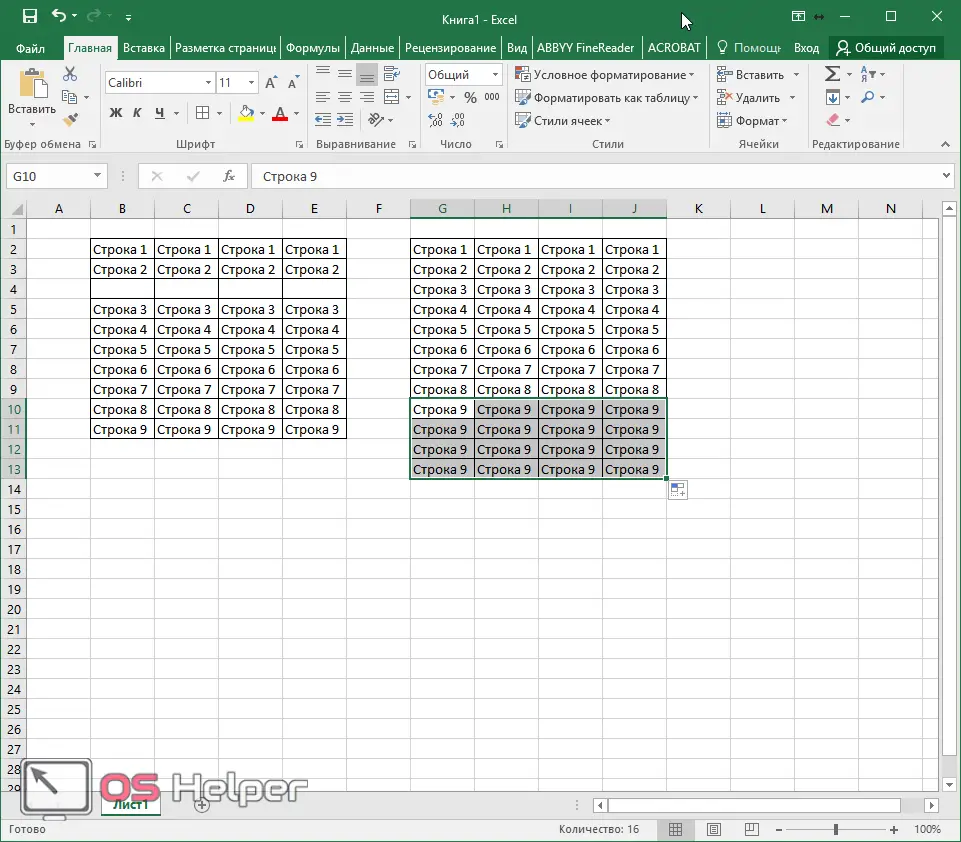
The last row will be duplicated. If it were empty, then you would get several more of the same horizontal elements.
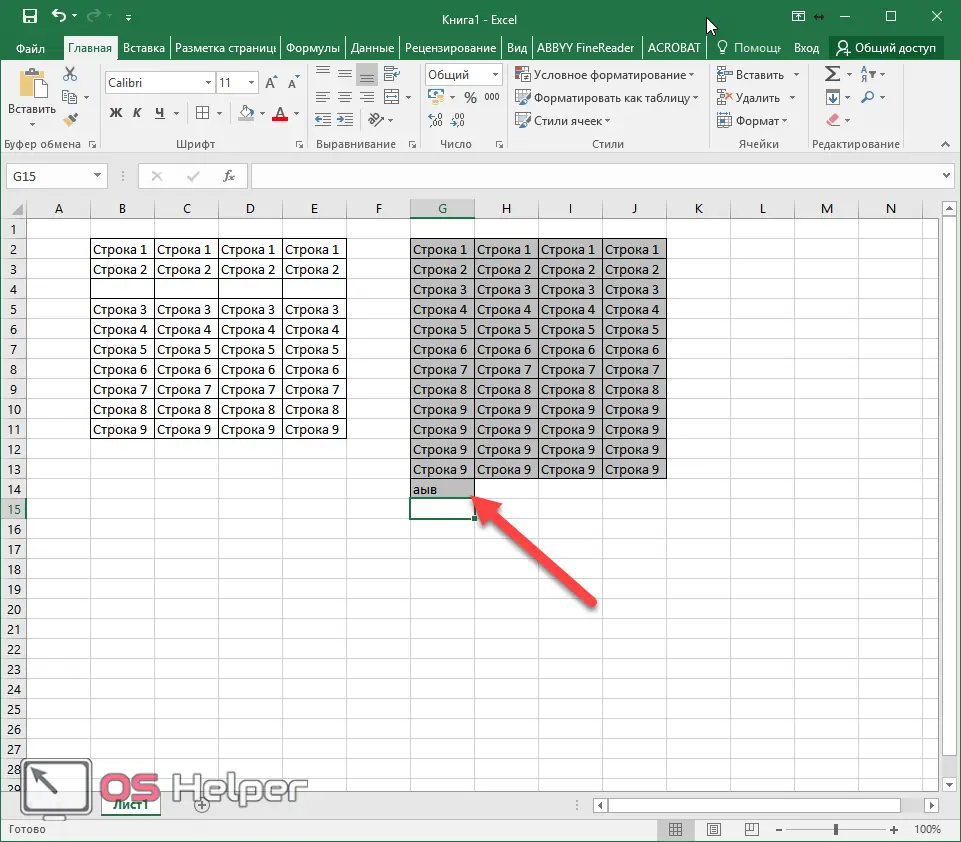
It is also worth paying attention to the fact that if you write any text after the table, this element will automatically copy the design of the parent cell.
Conclusion
Thanks to the simple steps that were described above, you can insert new lines:
- at the beginning;
- middle;
- at the end of the table (at the very bottom).
These methods are suitable for Excel 2007 and above.
Video instruction
Below is a video showing additional comments. It will be of interest to those who have any questions.