How to change the font on a Windows 10 computer
 Windows has a limited set of fonts, which is enough for everyday tasks and work in text editors. The user encounters a lack of them when he thinks of creating an original visual design for his work. In this article, we will show you how to install fonts in Windows 10, manage them, and set up optimal display.
Font types
The development of computer technologies required a new approach to the output of textual information. Monitors support the use of several standard resolutions, and each user chooses the most comfortable for himself. Content hosted on websites should not depend on it. Therefore, the computer character set must be scaled to display correctly. Modern operating systems use two main types of files that meet these requirements: True Type Font and Open Type Font, which have the ttf and otf extensions.
Installing fonts on Windows
Adding new fonts to the system requires the user to have administrative rights. This is due to the fact that the folder for storing them has read-only access. If you have an administrator account, the operation is reduced to a few simple steps.
Context menu
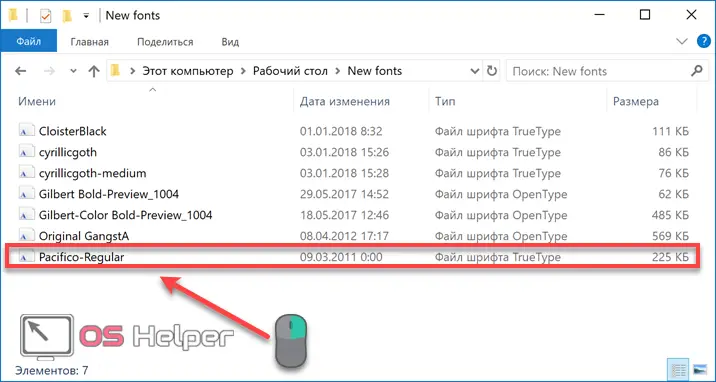
- Open the folder with the downloaded symbol packs in the "Explorer". Select the required one and call the context menu.
- By clicking on the marked item, we install the selected file into the system.
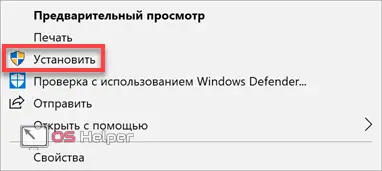
No confirmation is required to complete the operation. The new font immediately becomes available for use in any text or graphics editor.
Copy to the Fonts folder
The second way is to directly copy the necessary files to the system folder.
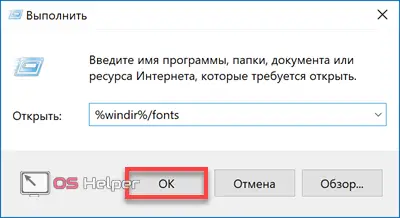
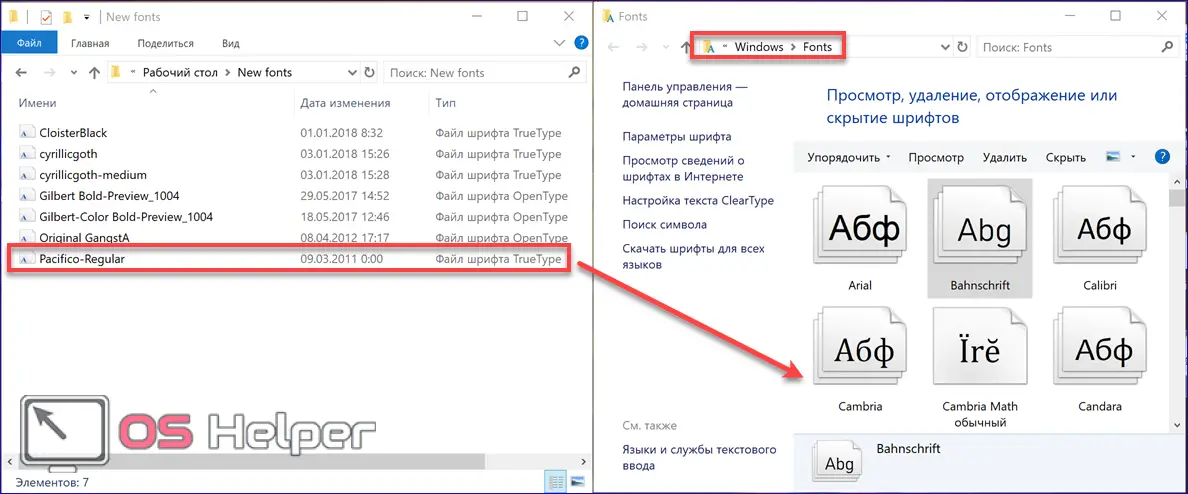
- Go to the “Explorer” in the Windows directory and find the Fonts folder. You can use the "Run" menu for this purpose. If you enter the line "% windir% / fonts" into it, as shown in the screenshot, the desired folder will automatically open in a new window.
- We select the font we need and copy it in a convenient way to the system directory.
Installation is automatic. Immediately after the copy operation is completed, you can work with the font.
Font Manager
The last method involves using the system font manager.
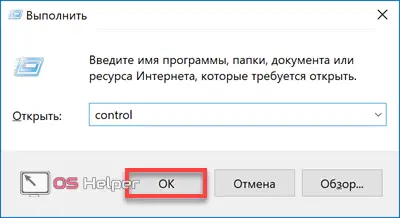
- We call the "Run" menu and enter "control" in the text field, as shown in the screenshot.
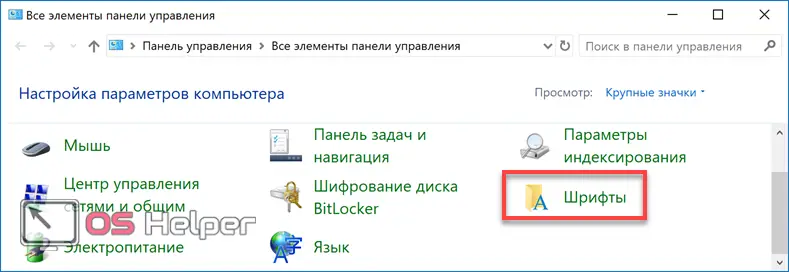
- The classic control panel will start, in which we go to the designated item.
- The system font manager does not have special controls that allow us to add the files we need to it. You can perform this operation by simple copying, as in the previous version.
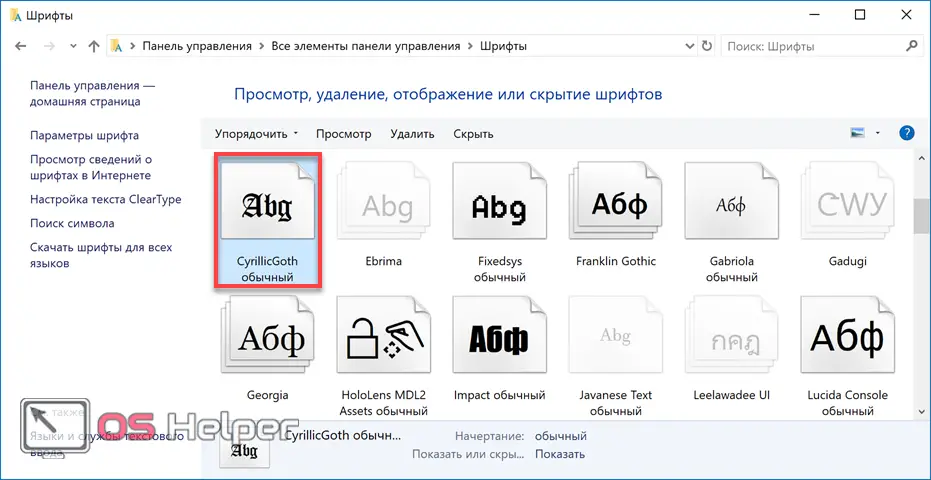
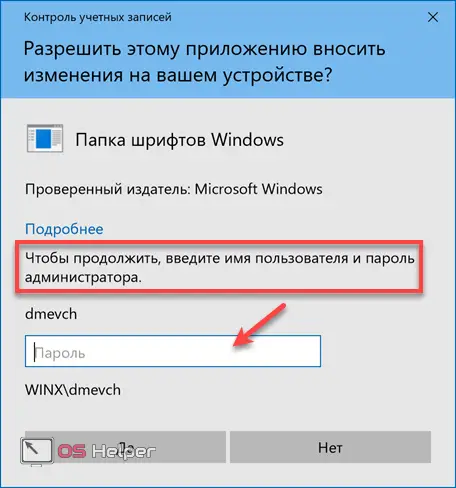
A new file appears in the general list, which is ready for use. You can add additional fonts without administrator rights only if you know its password. Any actions will lead to the appearance of the window shown in the following screenshot.
Also Read: How To Turn On Windows 10 Defender
At home, it is difficult to face such a problem. A single PC user or Microsoft account owner is designated by the system as an administrator by default.
Post Script
In addition to the typical ttf and otf formats in OS Windows 10, you can also install a non-standard font. For example, let's take Post Script Type 1, which is used in the printing industry. Unlike standard ones, it includes files of several formats:
- AFM - contains information about kerning, width and spacing between different characters;
- INF - includes the data necessary for installation in the system;
- PFB - contains information about the contours of characters and is used when printing;
- PFM - uses the information from the first two to create a bitmap representation on the monitor.
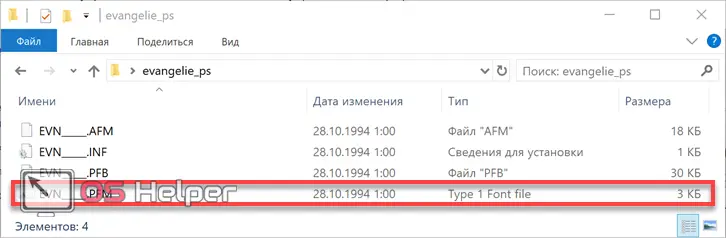
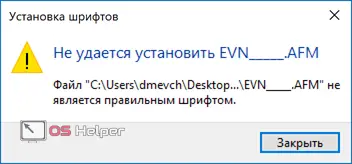
"Ten" is able to install such fonts on its own only if there is a PFM file. Therefore, before downloading the Post Script package, you need to make sure that it is intact. You can set the character set using the context menu of the PFM file. If you just throw it into the Fonts folder, then the computer will start to "swear" at the format mismatch.
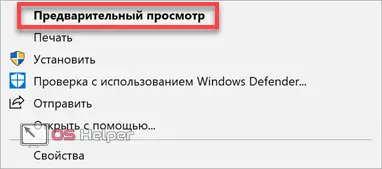
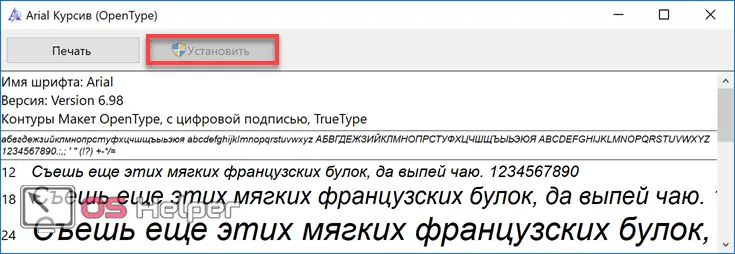
- By calling the menu, select the preview. Thus, we make sure that the character set is Cyrillic.
- Click the highlighted button to install the package on the system.
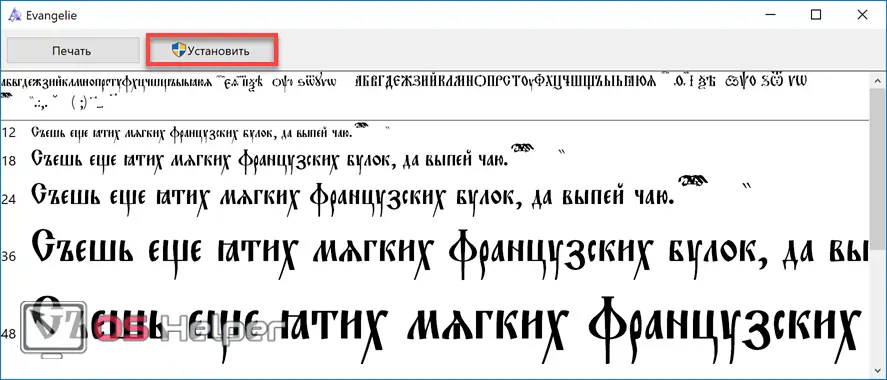
Any program that supports changing the font can use the font.
Anti-aliasing setting
For normal operation in the OS, you need to configure the correct anti-aliasing mode. Its use allows you to improve the display of characters on the screen so that they are not blurry or "cloudy".
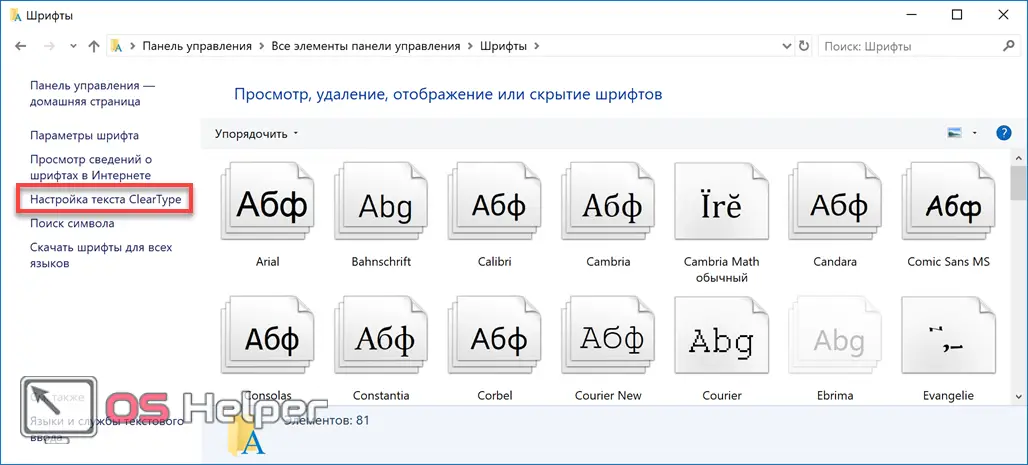
- Open the font manager in the control panel. In the quick navigation area, select the designated hyperlink. ClearType technology is specifically designed for LCD monitors to prevent them from "blurring" the displayed characters.
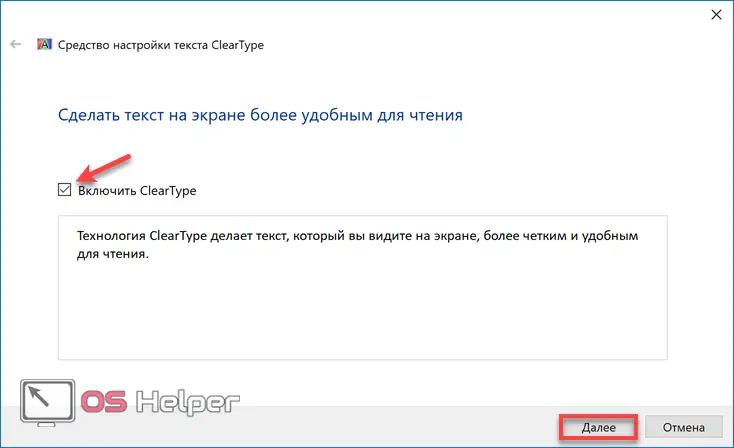
- The “Enable” checkbox marked with an arrow is usually checked by default. We check its presence and proceed to the next step.
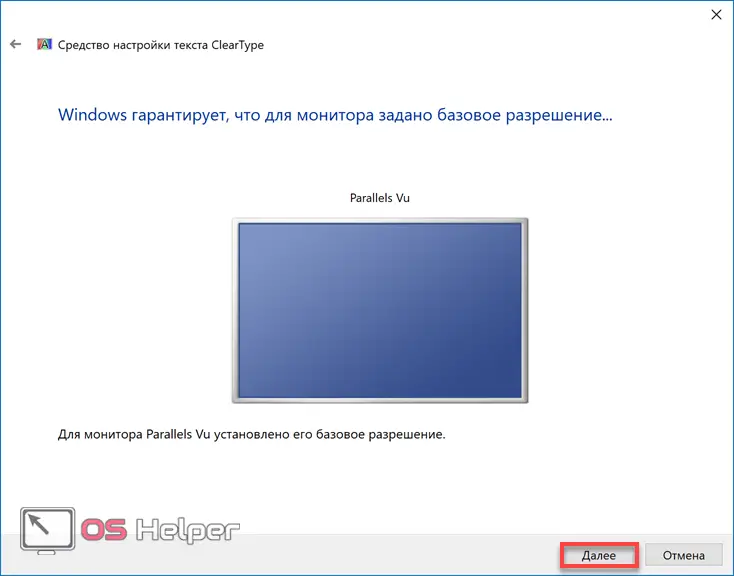
- The system notifies you that the screen resolution is set correctly.
- The next step is testing. Text blocks will be displayed on the screen in five stages. Ignore those in which the character sets are fuzzy or blurry.
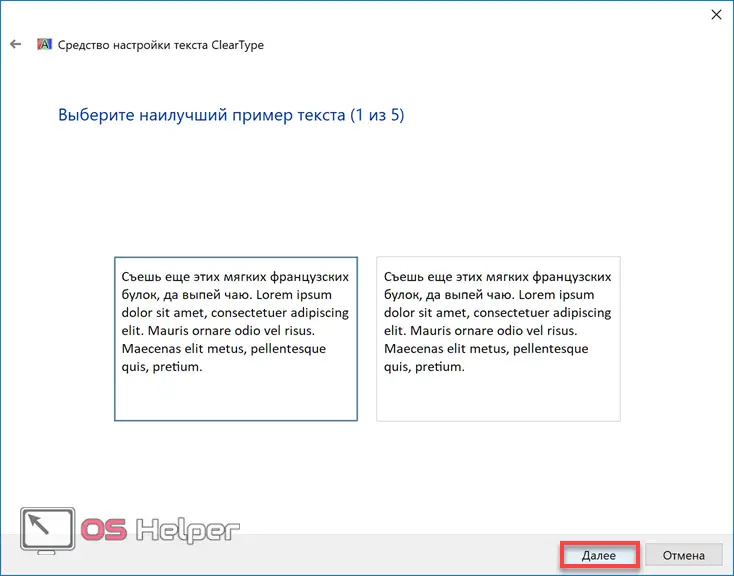
- At each stage, the number of displayed blocks changes. Only the principle of selection remains constant.
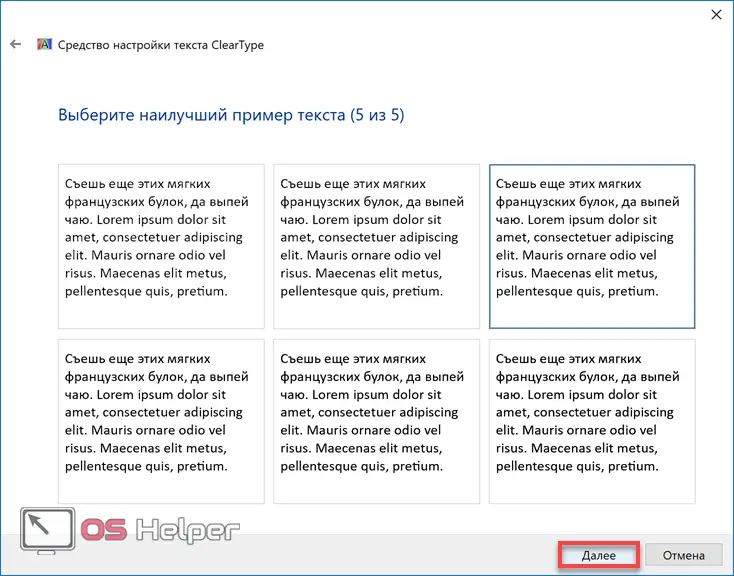
- By the fifth window, the quality of the text should change for the better. The characters will be clearly displayed and easy to read from the screen.

- As a result of these manipulations, even such a complex font as Motorhead Grotesk will look decent.
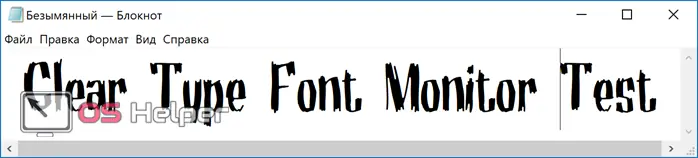
If it is made large enough, then it does not blur, and the configurations of the letters are clearly defined.
Font Management
After installation, "clean" Windows 10 contains about 80 preinstalled fonts. Office suite from Microsoft will add another hundred and fifty to the system. If the user actively adds his own to them, then sooner or later you will have to put things in order.
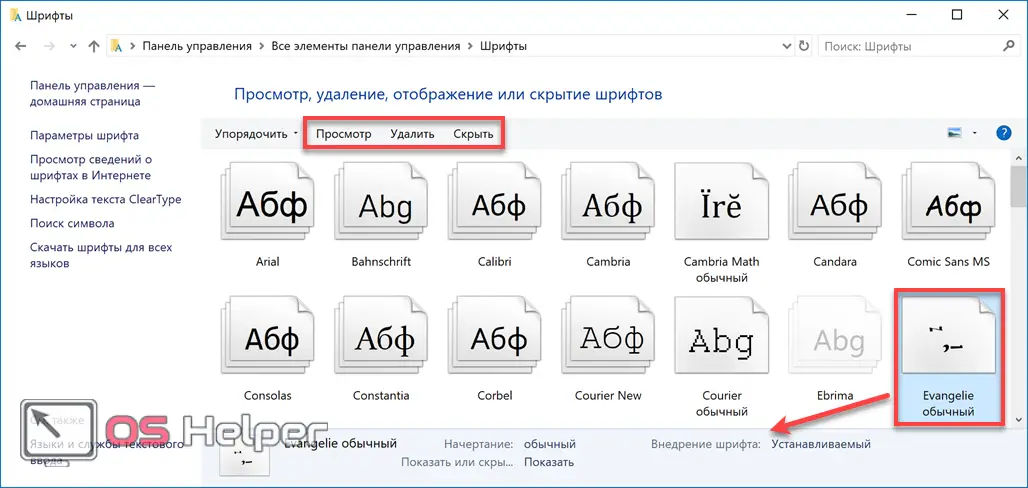
- Open the font manager in the control panel. By selecting any of the installed ones, we will see an information panel at the bottom with file data, and a control area will appear at the top.
See also: How to install a 64-bit system instead of 32-bit on Windows 10
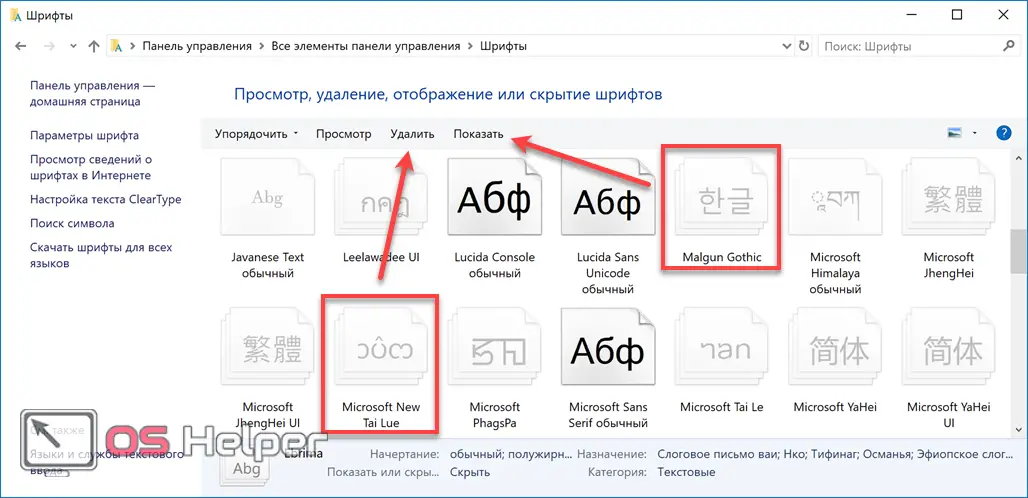
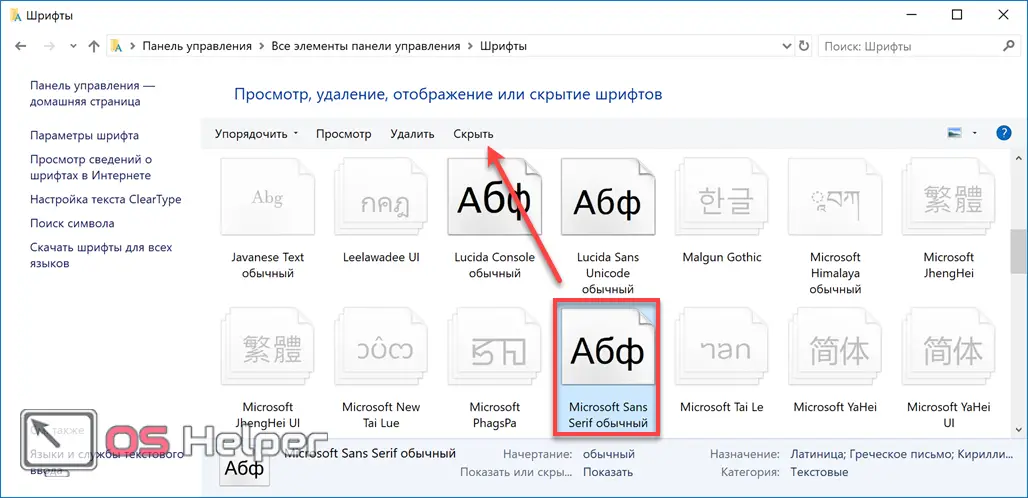
- Fonts in the system can not only be installed. When a lot of them accumulate, then unnecessary or incorrect ones can be deleted. The screenshot shows that some of the default system fonts are inactive and not used. You can change their visibility using the "Show" button.
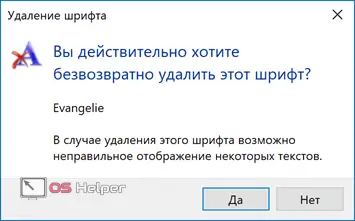
- You have to be careful when deleting fonts. The selected file is completely erased. The text typed with it will not be displayed correctly, although the OS will try to find a replacement for it from the system set.
- Another change is available for active elements. You can hide unused Russian or icon character set. In this case, it will remain in the system, but will disappear from the drop-down menus in applications.
You can restore any set that has been set to hidden mode by changing the visibility settings back.
Recovery
Installing packages of different types with the same names, or removing them incorrectly, can cause display problems in the operating system. For example, if Arial or Tahoma disappear, Russian localization will be seriously affected. The settings in all programs that use this symbol package in dialog boxes and control menus can “fly off”. To correct the situation, you will need to return the laptop or PC to the initial parameters.
- Open the font manager and go to the item indicated in the navigation area.

- We press the virtual button taken in the frame to restore the initial settings of the operating system.

As a result, font display settings will return to the default ones. At the same time, self-installed packages should not disappear and will still be located in the Fonts directory.
Change of size
After the release of the Creators Update, users cannot find how to change the font on a Windows 10 computer. Microsoft removed the option that was present in all versions of the OS and allowed changing the test display settings in window titles and control menus. However, it is possible to make changes to the system. To do this, you need to download the free program System Font Size Changer or its extended version Advanced System Font Changer.
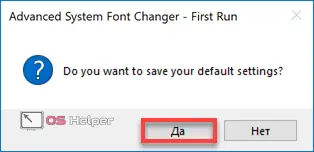
- Both utilities are executable files and do not require installation. At the first start, it is proposed to create a registry file to save the current system settings. We agree to open the next window.
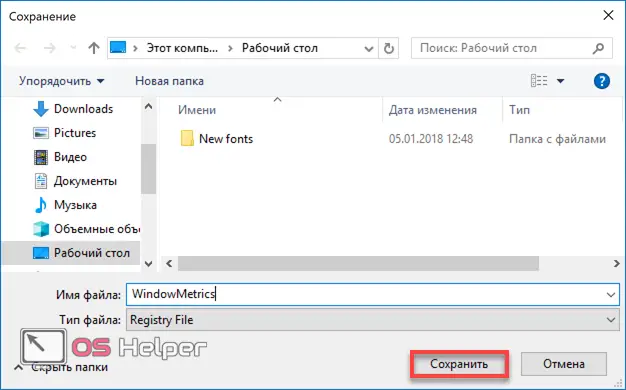
- Choose where to write the current settings. The configuration is saved in a REG file, which makes it easy to undo the changes made if necessary.
- Font Size is designed to change the size of selected elements. An object is selected in the boxed area, and adjustments are made using the slider. As it moves, the increase is shown in numbers. The system takes on a new state after a reboot.
See also: How to change drive letter in Windows
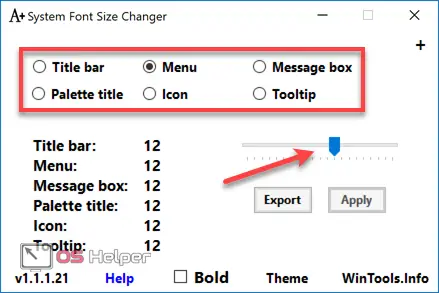
- Advanced Changer allows you to change not only the size, but also the font type. Selecting an item is done using the circled radio button.

- In the next window, you can set your own style parameters, type and size.
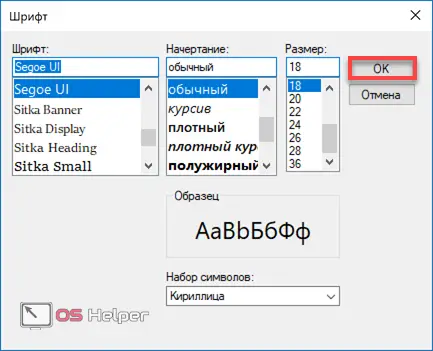
Changes made are applied after a system reboot.
Installation errors
Despite the simplicity of the operation, when installing fonts, you may encounter various types of errors.
Wrong format
A package downloaded from the Internet may be corrupted. In this case, the system warns of a format mismatch.

For Post Script files, the absence of a PFM file is critical. In this case, Windows will refuse to insert it into the system directory.

You will need to use a browser to find the complete font package and retry the installation.
Inactive menu
If you cannot click "Install" in the preview menu, then the font file is already on the system.
In this case, open the Fonts manager or directory and check for its presence.
Wrong directory
All character sets installed in Windows 10 must be in the Fonts folder. This accommodation option is now the only correct one. Any program can load a font from the system directory. For Photoshop, you no longer need to use a separate directory in which your own fonts will be stored, as was done in CS6. It is not possible to paste a character set from another folder into the program. Only those installed in the system will be displayed.
System protection
In Windows 10, Microsoft has implemented a system to protect against the installation of untrusted fonts. In the Pro edition, it is enabled through group policies. Owners of Home versions will have to use the system registry.
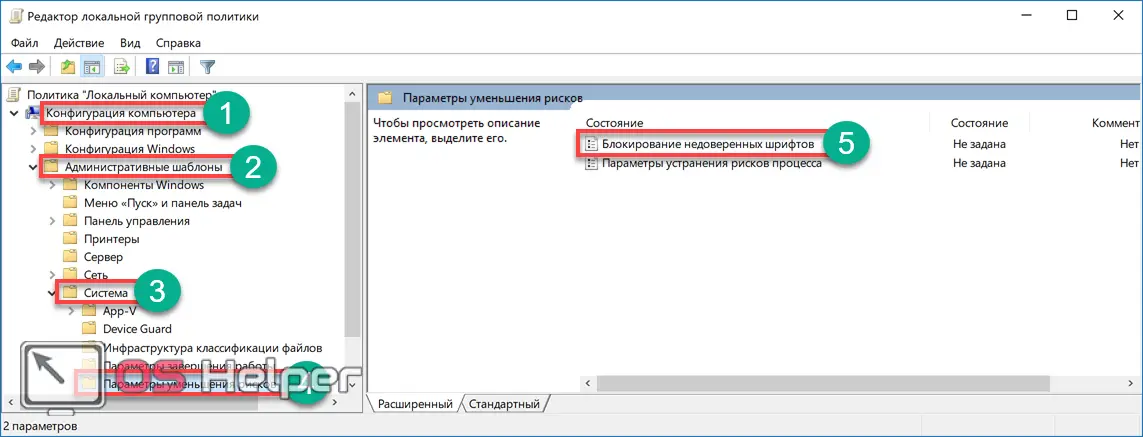
- We call the menu "Run" and enter "gpedit.msc" into the test field.
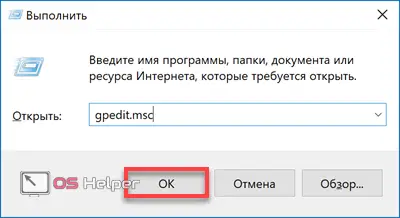
- In the Group Policy Editor, sequentially open the branches marked in the screenshot. In the right part, select the parameter marked with the number "5" for editing.
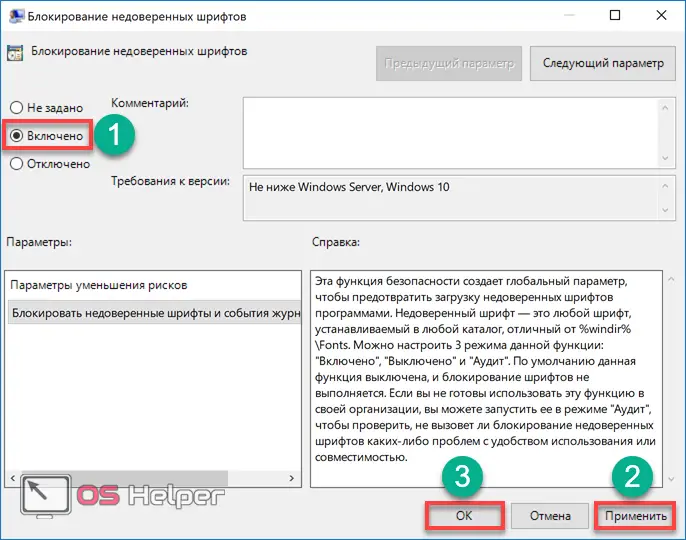
- Move the switch to the "On" position. Apply and confirm the changes made to the policy rule.
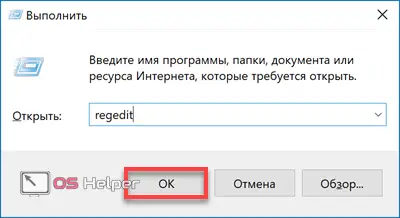
- In the Home version, we use the registry editor. Open it by typing "regedit" in the text box of the "Run" command.
- We pass along the path marked in the frame. We call the context menu to create a new parameter of the specified type with the name "MitigationOptions".
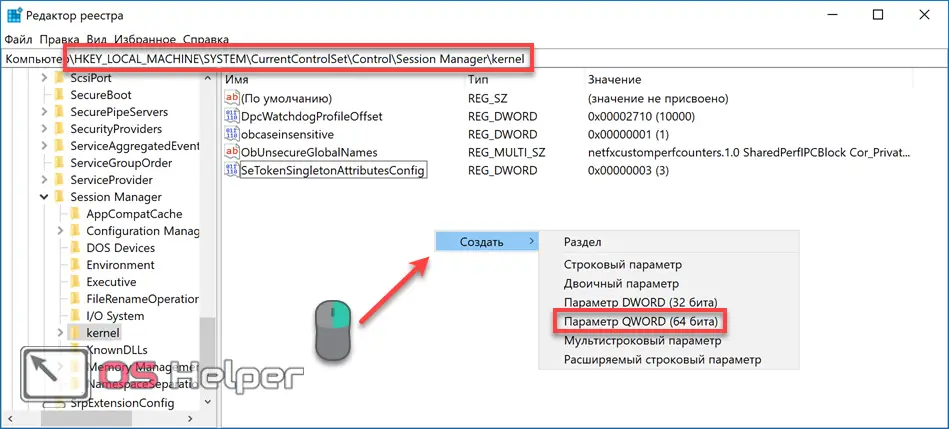
- To block fonts in the "Value" field, enter "1" and twelve zeros. Accordingly, if you enter "2" as the first digit, then control is disabled, and "3" switches it to audit mode.
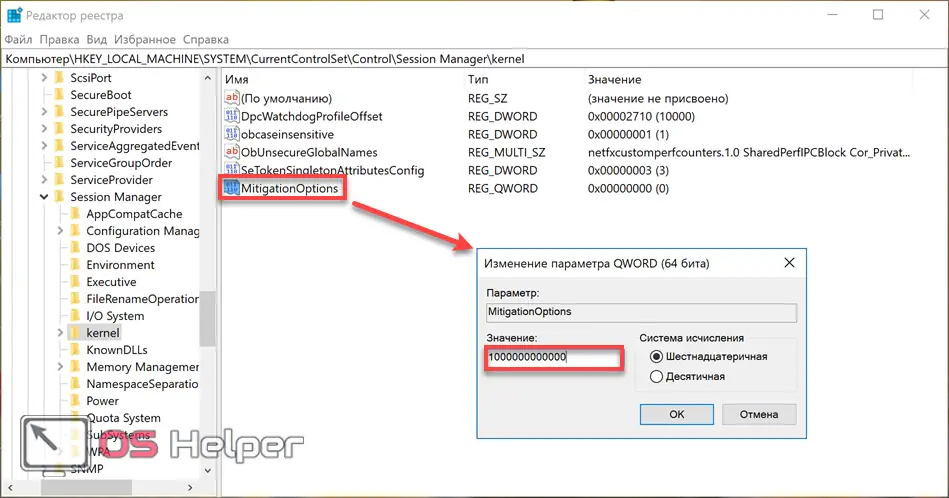
The created parameter will take effect after the OS is rebooted. The method works equally in x32 bit and x64 bit systems. The only difference is in the Windows edition.
Finally
By following these instructions, you will be able to independently perform all the operations related to installing, displaying and configuring fonts in Windows 10.
Video instructions
For those who wish to more clearly study the described actions, below are overview videos.