How to change the time in Windows 10: all the ways
 In Windows 10, there are many ways in which you can set the current time. In addition, on the computer, you can change its format, time zone, or region. It doesn't matter what system you have. OS can be either x32 or x64 Bit. In both cases, the setup is the same. Below we will tell you how to change the time in Windows 10.
Why can the clock be off?
The current date and time is usually stored on the motherboard. If you have it very old, then such problems may arise due to a dead battery. In this case, replacing the “mother” itself or the specified power source will help.

If you reinstalled Windows on your PC, and the time starts showing an hour later or earlier, then you just need to set the correct time zone.
Setting via parameters
The easiest way to fix the time is through the system settings section - "Settings". To do this, follow a small number of simple steps.
- To get started, click on the Start menu located on the taskbar.

- Next, click on the highlighted icon.

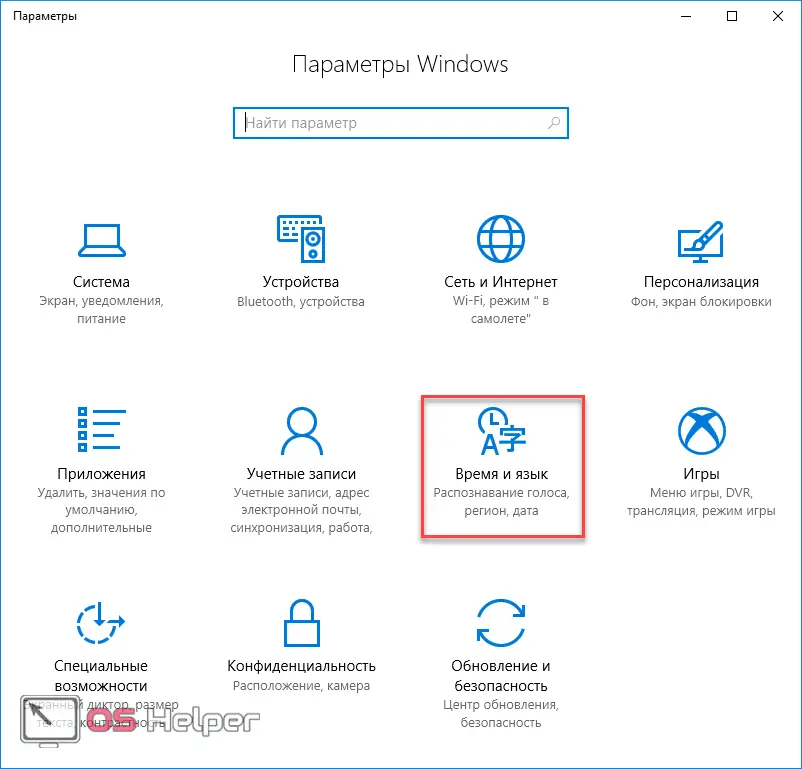
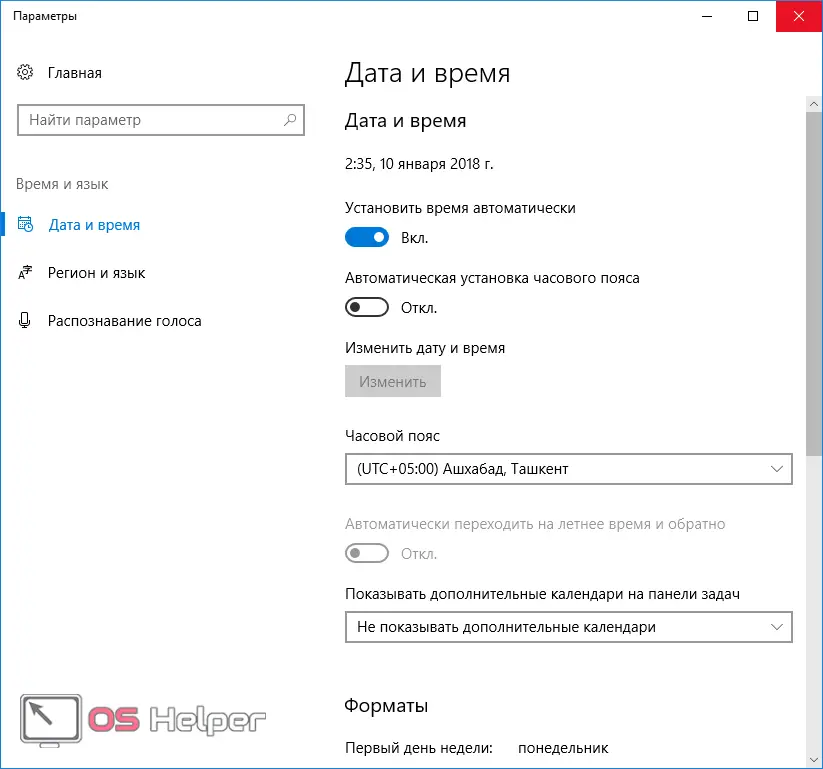
- In the window that appears, go to the "Time and language" section.
- Right after that, you will be in the right place.
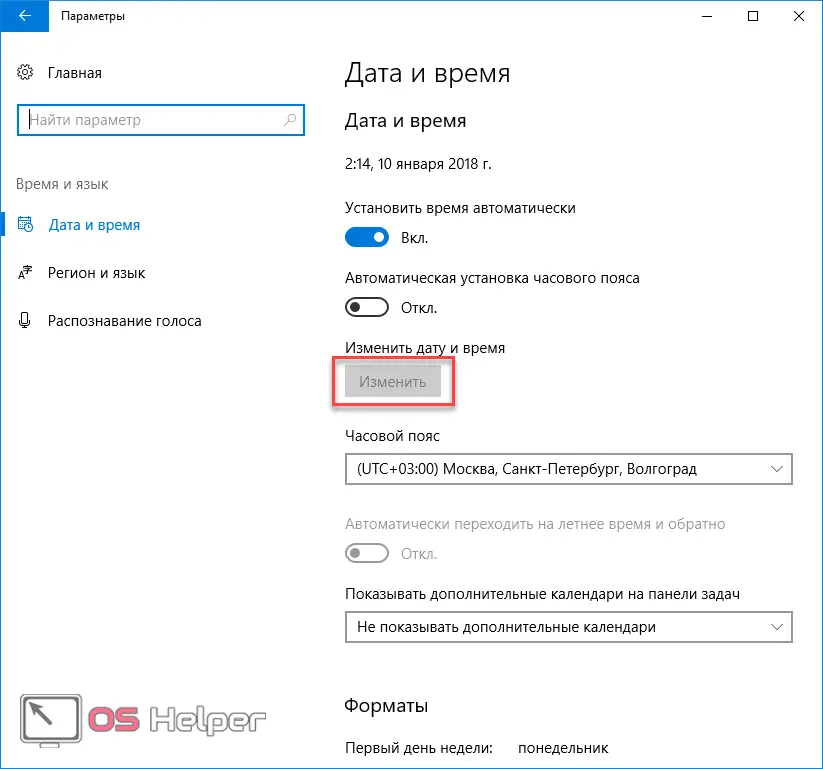
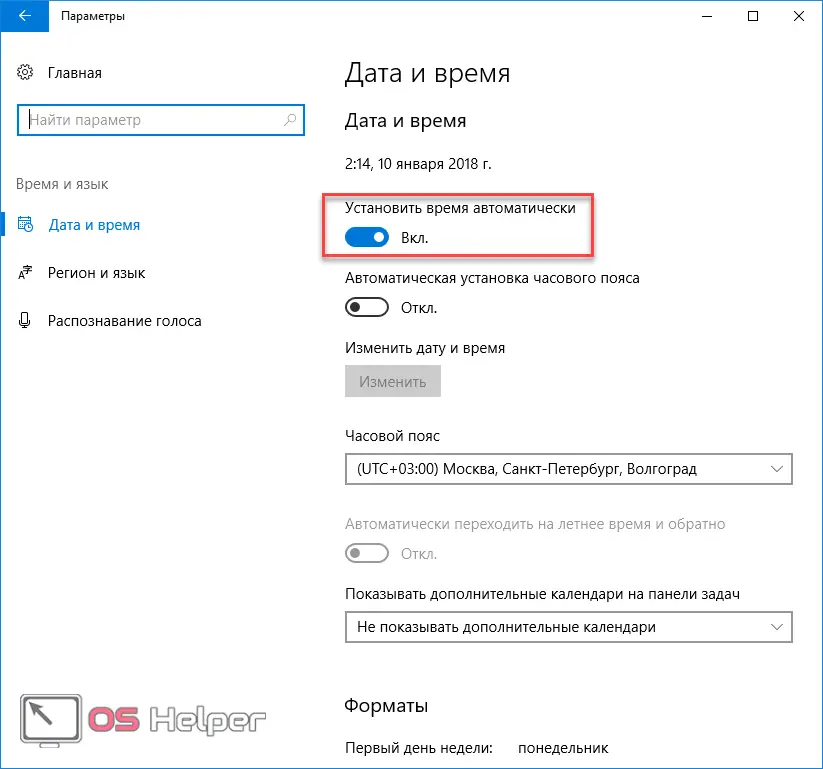
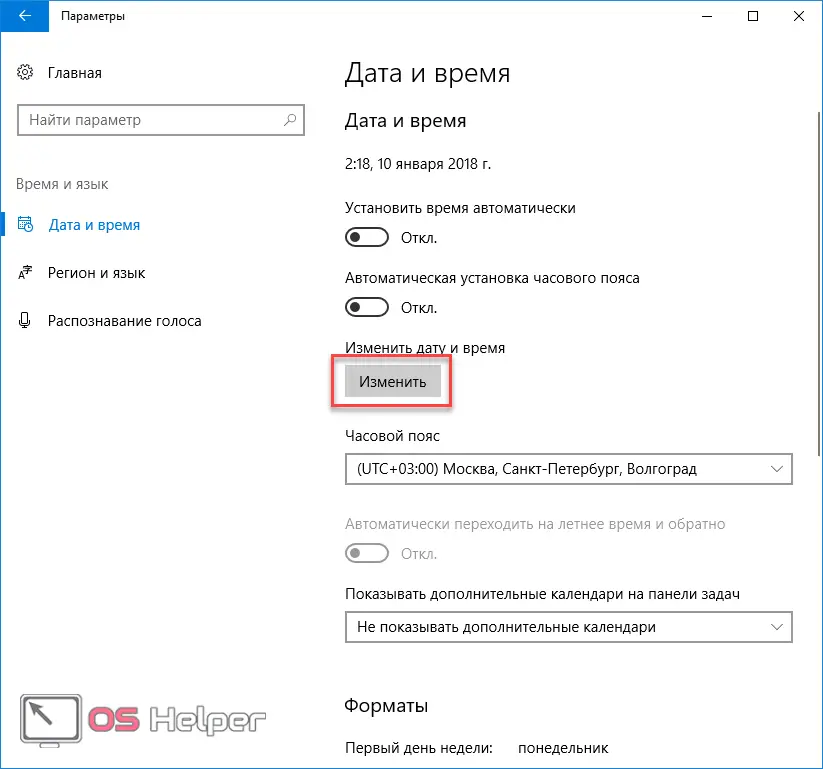
- Note that the Edit button is disabled. In order to activate this option, you must turn off the automatic time setting. You can do this with the switch highlighted below.
- Once you disable this feature, you will need to click on the "Change" button.
- After that, a window will appear in which you can set any value you need.
See also: What to do if Kernel Security Check Failure occurs in Windows 10
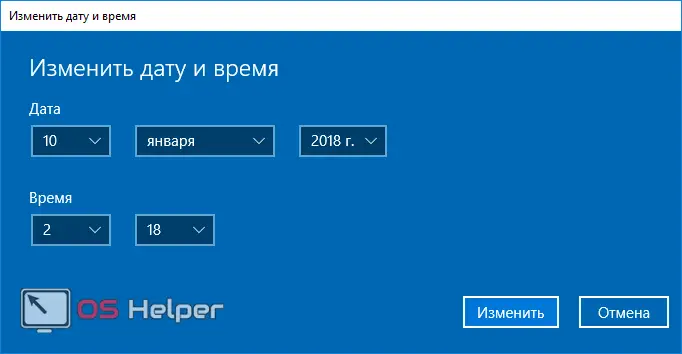
- To save the settings, click on the "Change" button.
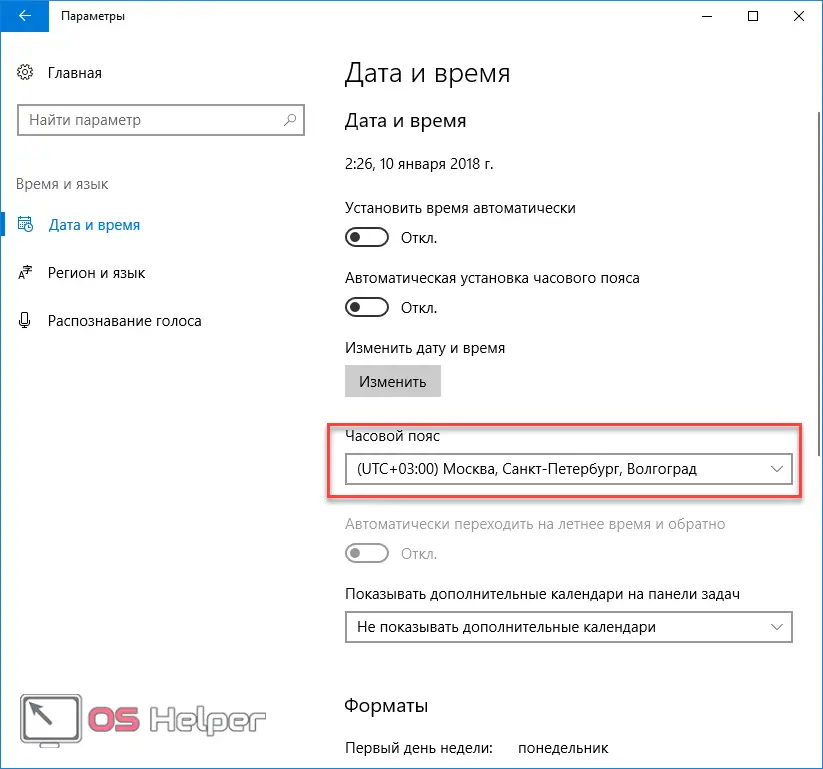
Please note that most likely the time is set correctly. You may have entered the wrong timezone.
It is recommended that you do not disable automatic installation, because in this case the OS will synchronize data with its servers. You can be sure that the time there is 100% correct.
Region
When Windows is being installed, you are always asked what region you live in. This depends on the time zone. You can specify this information in the "Parameters" in the same section.
Click on this list and select the desired item.
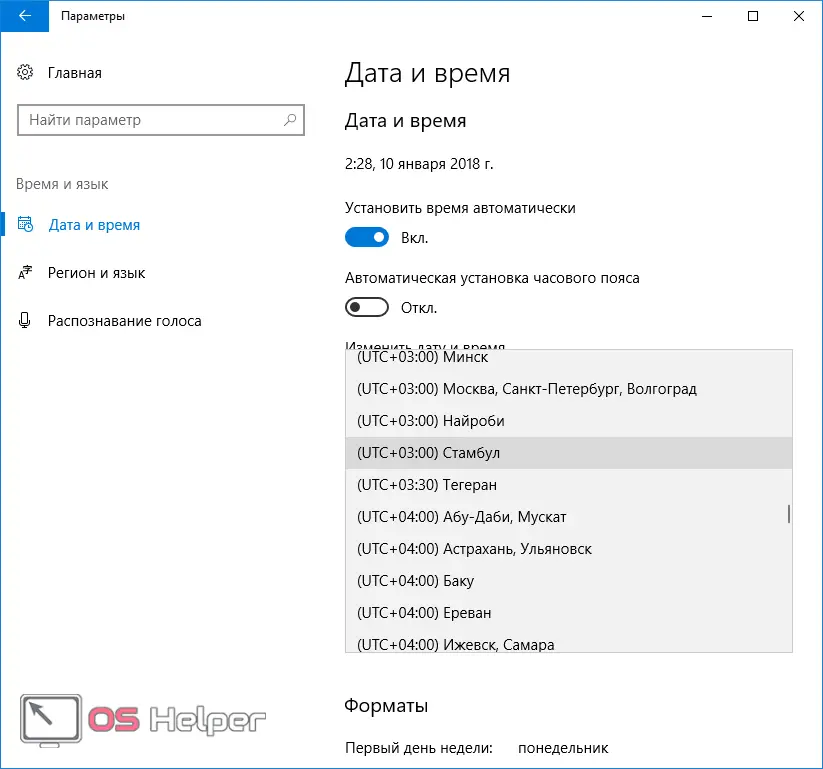
After you specify the exact time zone, the time on your computer will be correct.
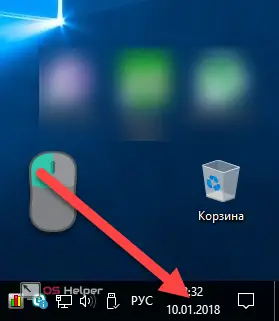
Using the taskbar
There is also a shorter method for editing this information. To do this, click on the date at the very bottom of the screen (it is not necessary to minimize all applications and open the desktop).
You will see a calendar and the current time. Click here on "Date and Time Options".
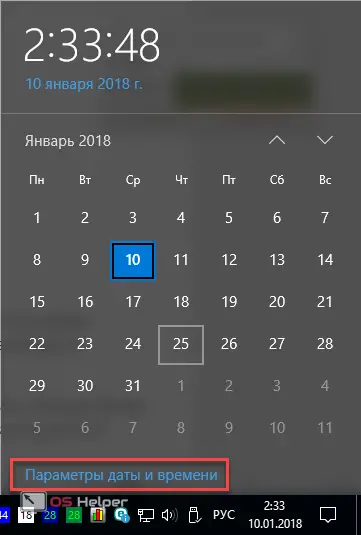
This will bring you to the right place.
If you do not left-click on the date, but right-click, then instead of the calendar you will see a large menu. There you need to select the item "Date and time settings".

The result will be exactly the same.
Date and time format
If you scroll down the window even further, you will see a link to change the format.

By going to this section, you can choose the appearance of the following data:
- first day of the week;
- short date;
- full date;
- short time;
- full time.
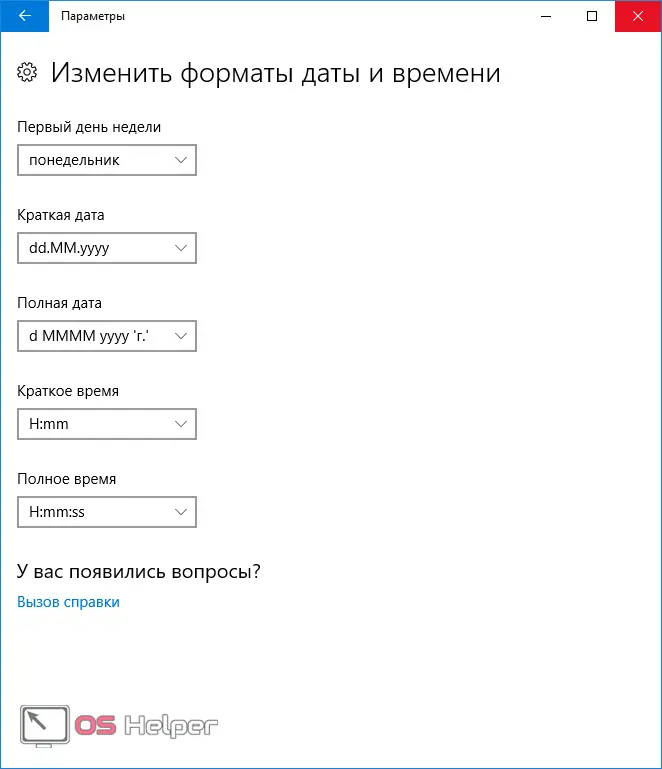
For example, in the short time section, you can select only two items.

In the first case, for example, you will see the time 3:00, and in the second - 03:00.
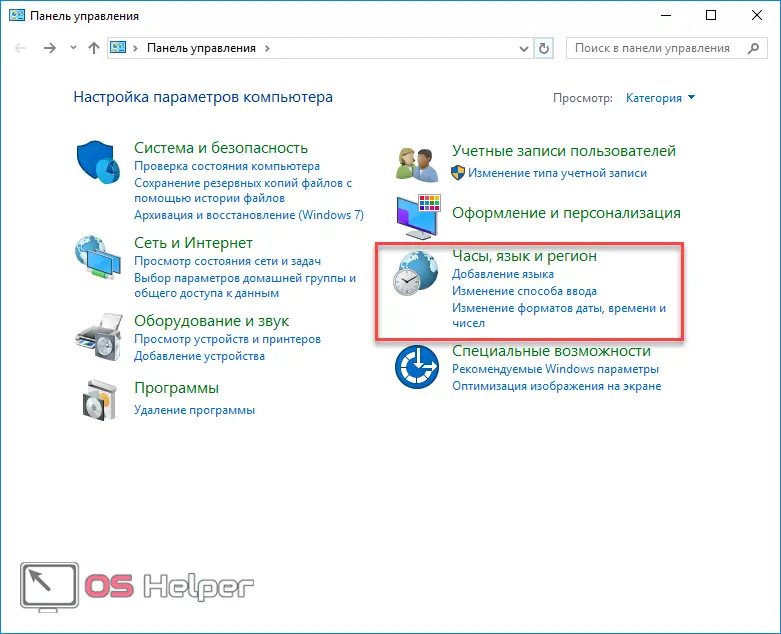
Through the control panel
With the release of Windows 10 and the advent of the "Settings" section, Microsoft did not remove the beloved "Control Panel" by everyone. Most users are more accustomed to setting up their computer there at first. Let's consider this method step by step.
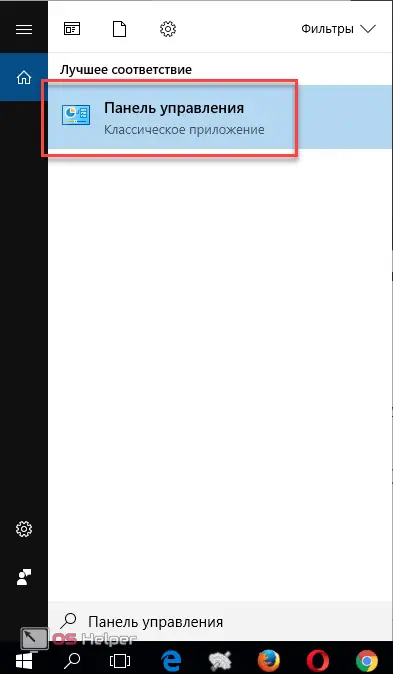
- To get started, click on the search icon on the taskbar. Write there the phrase "Control Panel".
See also: How to clear the cache on a Windows 10 computer

- Immediately after that, you will see the search result. Click on the desired application.
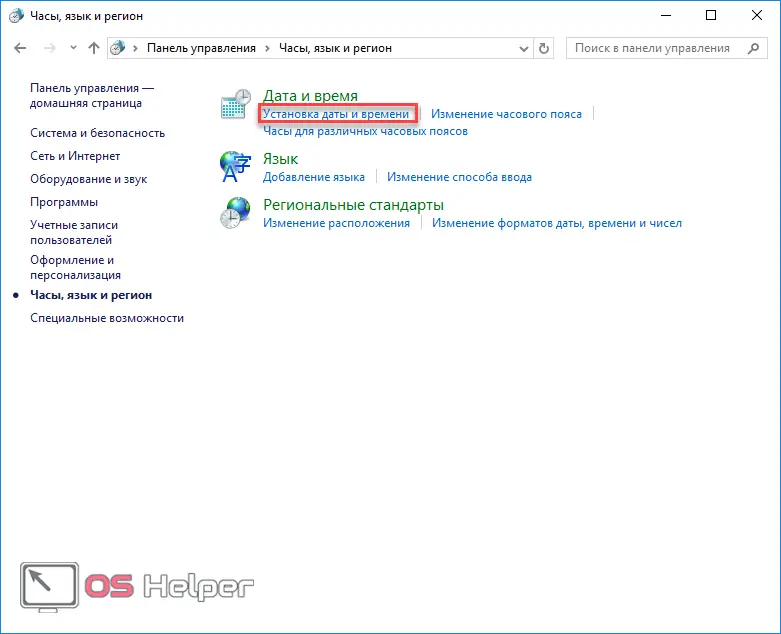
- In the window that appears, go to the "Clock, language and region" section.
- Click on the "Set date and time" link.
- Next, click on the button we need.
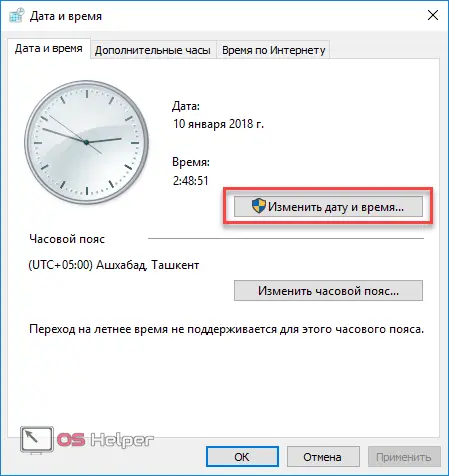
- As a result of this, a window for editing the data we need will appear. In this case, the design is not as beautiful, as it remains the same as in Windows 11.
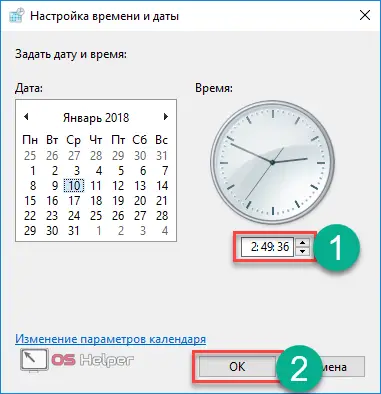
- Click the "OK" button to save.
Using the command line
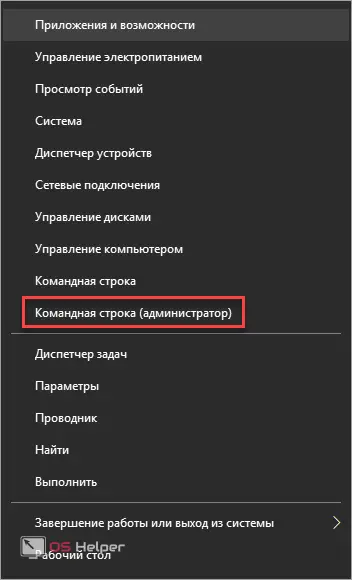
Only administrators are allowed to change such information in the console. First you need to press the keyboard shortcut [knopka]Win[/knopka]+[knopka]X[/knopka]. In order to run this utility with elevated rights, you need to click on the corresponding item.
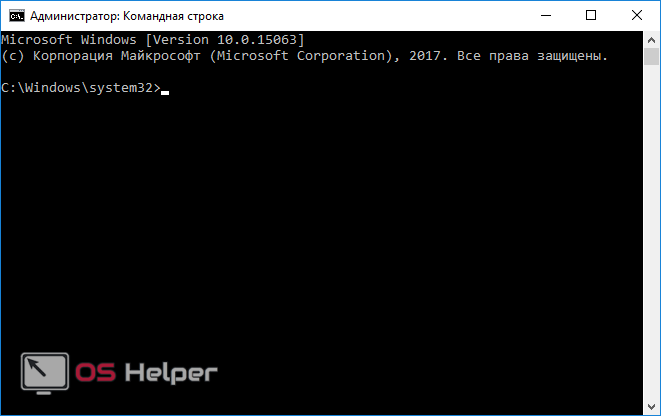
If you did everything correctly, you will see the following window.
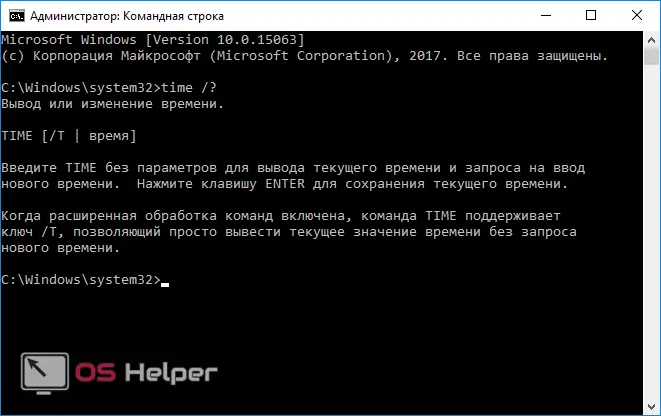
The "time" command is used to change the time. It is recommended that you read the help first. To do this, enter the following:
[code]time /?[/code]
The command is entered using the [knopka]Enter[/knopka] key
We are recommended to enter just the word Time, without any additional parameters.
[code]time[/code]
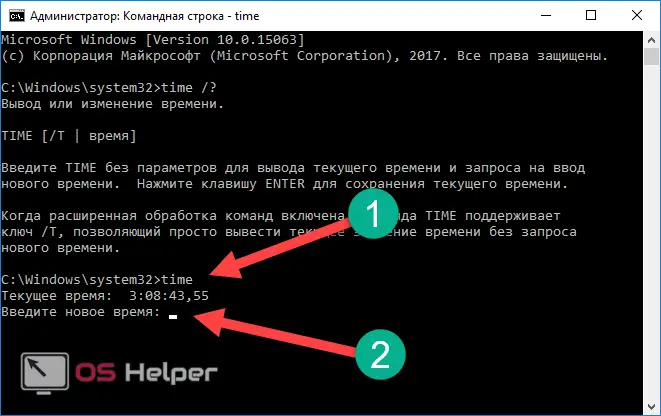
As a result of this, you will see the current value. In addition, you can enter new data. To do this, enter the numbers in the format hh:mm (for example, 12:20).
BIOS
In cases of battery replacement, you have to reconfigure the time on the motherboard. It is not difficult to do this. Just a few steps:
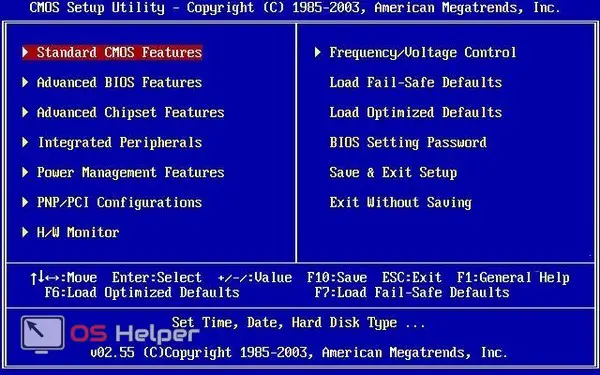
- To get started, while booting the computer, you need to go into the BIOS. Next, go to the "Standard CMOS Features" section.
- In this section, you can change the time and current date.
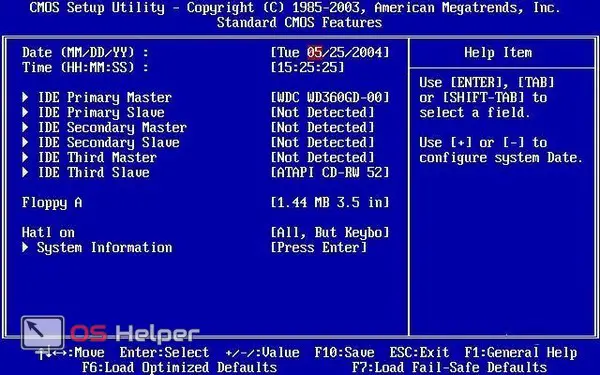
At the bottom of the screen, you can find hints. From this we need:
- "Arrows" - move through the menu items;
- [knopka]Enter[/knopka] – element selection;
- [knopka]+[/knopka] or [knopka]-[/knopka] – edit value;
- [knopka]F10[/knopka] - save;
- [knopka]Esc[/knopka] – exit.
Don't forget to save all your changes!
What happens if you set it up incorrectly
If you set the wrong value, then some application on your laptop or computer may not work correctly. Moreover, something will not start at all.
Also Read: How To Disable User Account Control In Windows 10
The fact is that some programs, when launched, begin to compare the current time on the PC with the real one. In most cases, this is done to check that the license is up to date in order to prevent fraudulent attempts.
Conclusion
After reading this article, you should have understood how to change the time in Windows 10. Microsoft has tried to make a user-friendly interface so that even a novice user can handle changing these settings. It doesn't take a computer genius to do this. And most importantly, you can do it in any convenient way.
Video instruction
If for some reason you could not change the date or time, then help and additional tips can be found in the following video.