How to make a bootable USB flash drive with Windows XP
 One of the first operating systems from Microsoft differed slightly in its use of the installation media's file system. That is why in our today's article we will describe in detail how to make a bootable USB flash drive with Windows XP. Thanks to the detailed step-by-step instructions below, you can easily install this OS and use it for your own purposes. Let's get down to business without delay.
Preparing a flash drive
In order to install Windows XP on a computer or laptop using a USB flash drive, we need the drive itself. At the same time, its size practically does not play a role, since the distribution kit with this OS weighs less than a gigabyte. When everything is ready and the drive is installed in the USB port of the PC, we proceed to the next step, namely writing Windows to the USB flash drive.
Attention: before proceeding, be sure to save all the necessary data from the USB flash drive. In the process of writing an image to it, we completely erase all existing files. In other words, formatting is performed.
Create a flash drive with Windows XP
We used different software to burn various operating systems from Microsoft to a USB stick. These were UltraISO, and Rufus and other utilities. In our today's article, for a change, we will use a new tool. So before we continue, download the latest Russian version of WinToFlash. After this is done, we take a few simple steps:
- Run the resulting file and start the installation, following the prompts of the step-by-step wizard:
- select the target directory;
- assign a shortcut to the Start menu;
- if necessary, create a launch icon on the desktop;
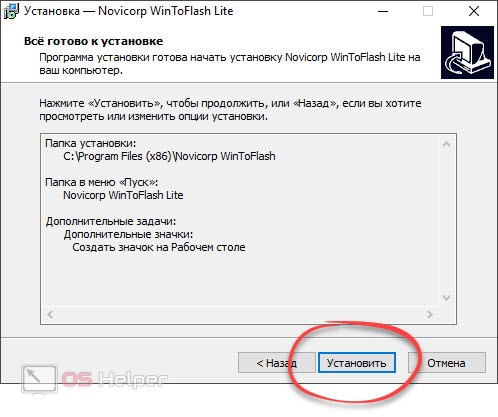
- start the installation by pressing the button, which is marked in the screenshot below;
- waiting for the completion of the installation process;
- Run the program by clicking the "Finish" button.
See also: Request permission from TrustedInstaller to modify this file
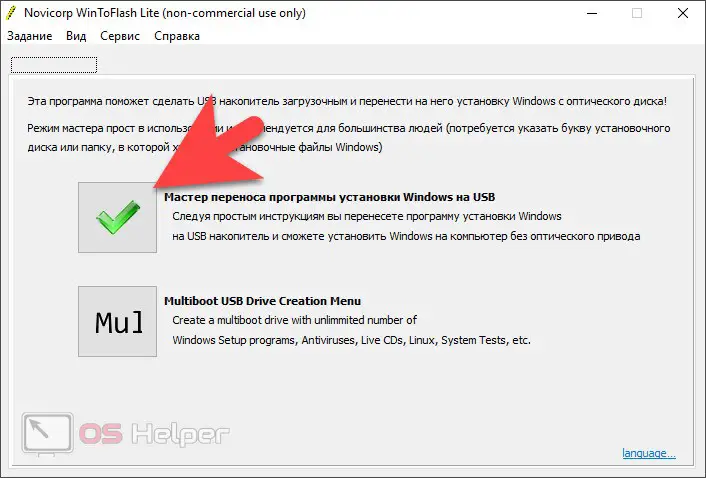
- This application can work in paid or free mode. We choose the second option when accepting a license. Next, click on the item of the Windows Setup Wizard on USB.
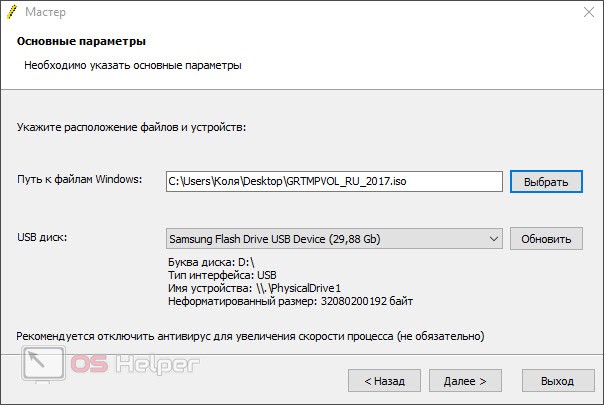
- At the next stage, simply click the "Next" button and select the installation item from the ISO image. At this stage, of course, you should already have an image loaded with the operating system. One way or another, in the first field we select the path to our image, and in the second, the flash drive to which the recording will be made. When this is done, click the "Next" button.
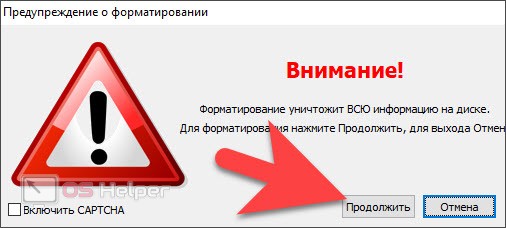
- Everything is ready to start recording Windows XP on a USB flash drive. Check the information and click "Next". As a result, we will be warned that formatting will delete all data from our drive. If you have already made a backup or there were no important files, continue.
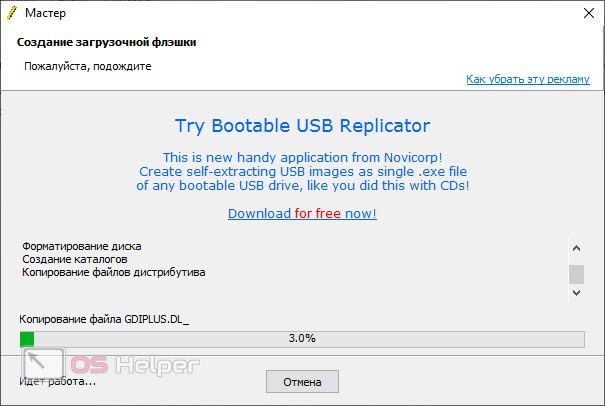
- After that, we will be prompted to accept the license agreement again and the installation of our operating system on an external USB drive will begin.
Expert opinion
Daria Stupnikova
Specialist in WEB-programming and computer systems. PHP/HTML/CSS editor for os-helper.ru site .
Ask Daria Attention: in some cases, in order to successfully complete the process, we need to run the program as an administrator. To do this, simply right-click on the application icon and select the desired item from the context menu.
How to install the system
Now that our Windows XP is on a USB flash drive, we can briefly talk about the process of installing the operating system. The installation algorithm should look something like this:
- We turn off the computer, install the newly created drive with the operating system in the USB port, and then turn on our PC. If the machine does not start from a bootable drive, you must go to the BIOS and set the desired boot priority.
- After that, the installation will begin, at the beginning of which we need to partition the disks in the right way. At the same time, pay attention to the fact that if there is some important data on disk D, you cannot touch such a volume.
- When the operating system is installed on the PC, we will also need to install device drivers. To do this, you can use the services of one of the utilities or simply visit the official website of the manufacturer and download the latest version of the software from there.
Also Read: How to Download YouTube Videos to PC

Video instruction
In order to better understand the topic we are discussing, we recommend watching a tutorial video on how to make bootable media a traditional Windows XP system.
Summing up
Now that you understand perfectly how to create a boot drive with the operating system we need, you can get down to business. It remains only to install the OS on your computer or laptop and fully use this operating system.