How to get administrator rights in Windows 10
 To fully work with OS Windows and run some applications, administrator rights are required. After obtaining advanced access, the user can change the configuration settings of third-party and system applications or set new security rules (enable and disable the firewall, remote access, etc.). Next, we will tell you how to get administrator rights in Windows 10 (on 32-Bit and 64-Bit versions).
Through the command line
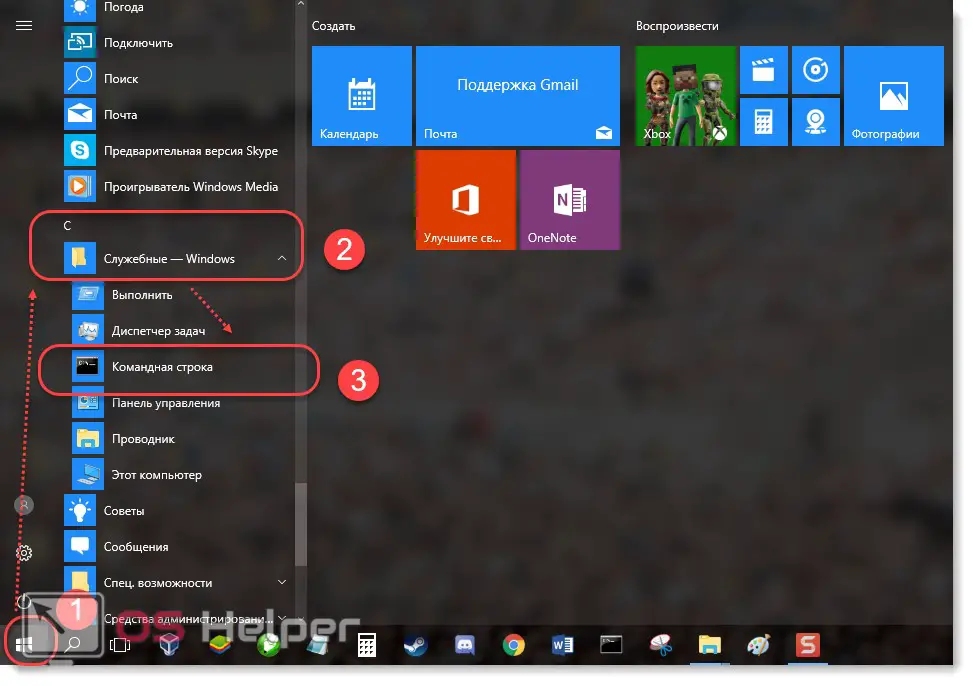
Run the system utility "Command Prompt" through the "Start". It is located in the Utilities menu . Or use the search by word. Depending on the build of the OS, you can do this by clicking on the magnifying glass icon.
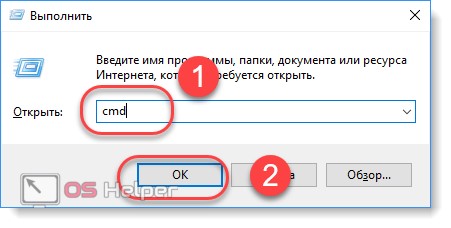
Quick access to the command line can be obtained using the Run utility . You can call it by simultaneously pressing the [knopka]Win[/knopka] keys (the Windows flag is drawn on it) + [knopka]R[/knopka] on the keyboard. Next, just enter "cmd" and click "OK" .
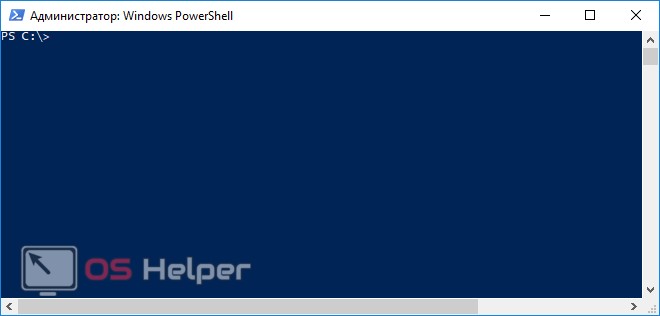
A command prompt will open. Here, type "net user administrator active:yes" (as in the screenshot) and press [knopka]Enter[/knopka] on your keyboard. So you can make yourself an administrator - a user with elevated privileges.
If there are several accounts on the computer and you are logging in as a guest, then you will first have to switch to the main one and log in as an administrator (not to be confused with rights! Because they can be disabled even for the main account).
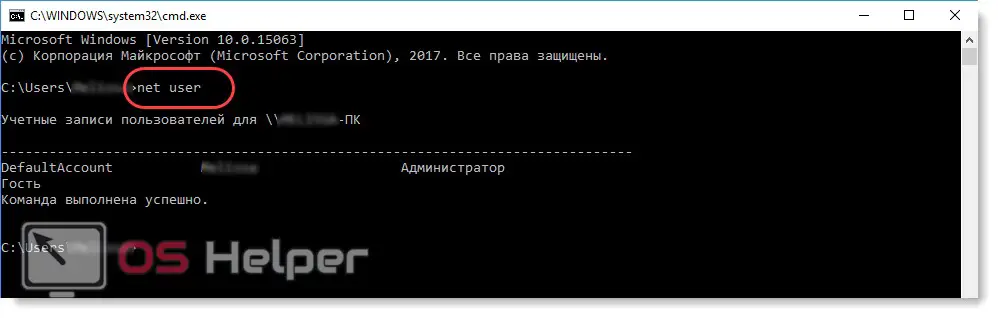
You can view the list of users by entering "net user" . They will be displayed in the form "Name - status" (administrator or guest). To see a list of user permissions, type "net user Account Name" .
If you need to run a command prompt with administrator rights, or you still cannot access the folder, then try using the other methods described below.
Through the registry
It is not always possible to get access to editing some applications through the command line. Since becoming an administrator does not mean choosing a main user (instead of the Guest account ) , you have to make changes manually, through the registry.
See also: How to hide the taskbar at the bottom of the screen on Windows 10
The method is considered the most effective, but be extremely careful when performing each step of this instruction. Incorrectly set values or deletion of some options can cause serious computer malfunctions. Therefore, before deleting a file as an administrator, make sure that it is not a system file.
Instructions for obtaining rights:
- Launch the registry editor on your PC. This can be done through the system tool "Run" (or through the start or hot keys [knopka]Win [/knopka]+ [knopka]R[/knopka]).
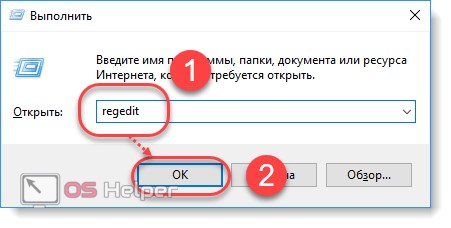
- Type the command "regedit" and press [knopka]Enter[/knopka] on your keyboard. The Registry Editor window will open. For convenience, the program is divided into two parts. Folders are displayed on the left side, registry settings are displayed on the right side. They can be edited and deleted. If the required parameter does not exist, then simply create it.
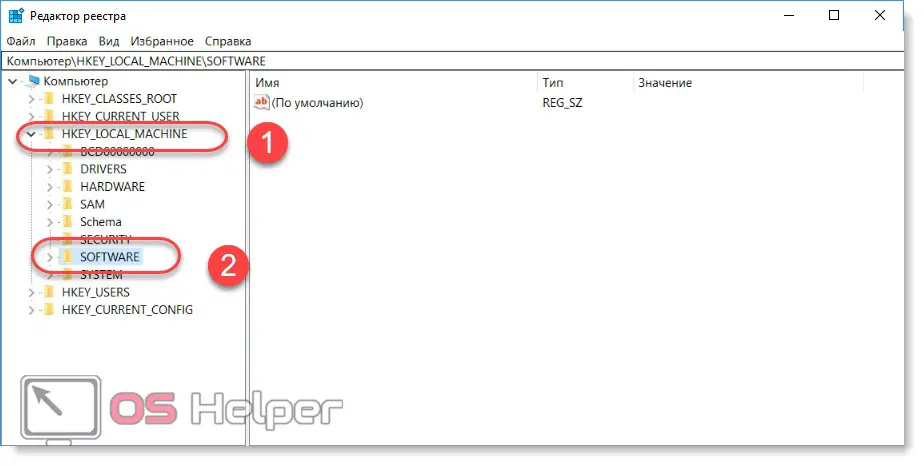
- On the left side of the screen, find and select the "HKEY_LOCAL_MACHINE" (local settings) folder. Several subgroups will appear - click on "Software" (software).
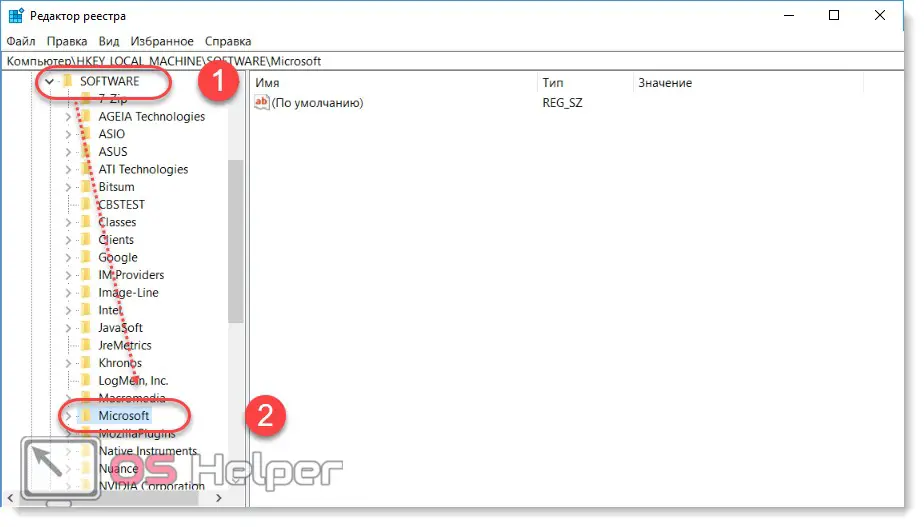
- A list of applications available for editing will open. Find the "Microsoft" folder here and select "Windows" in it .
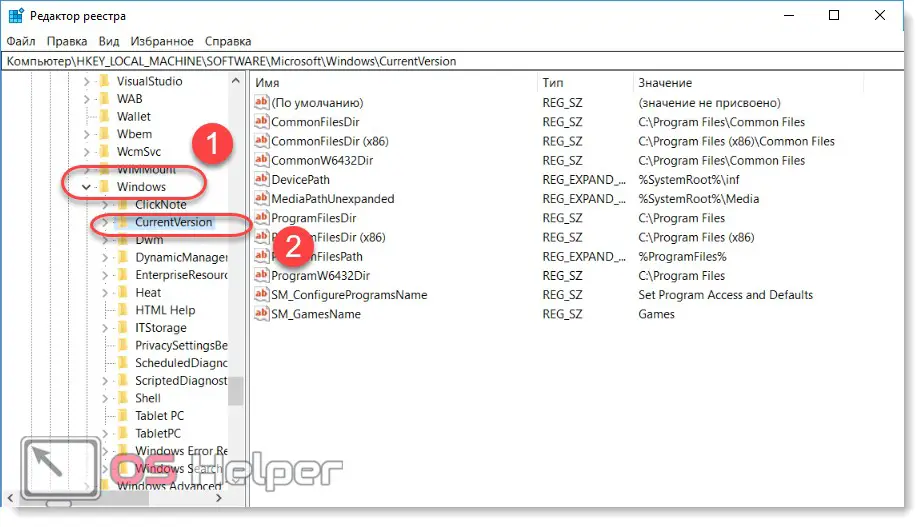
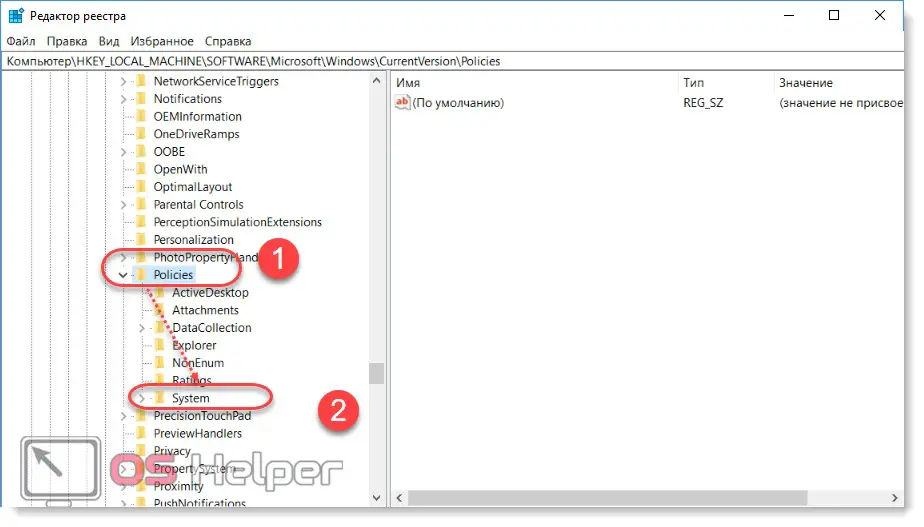
- A few more additional directories will appear. Choose the very first one. It is called "Current version" (current version). Click on the small triangle to open a list of additional folders. After that, go to "Polices" (policies).
- To make the account an administrator, go to the "System" folder .
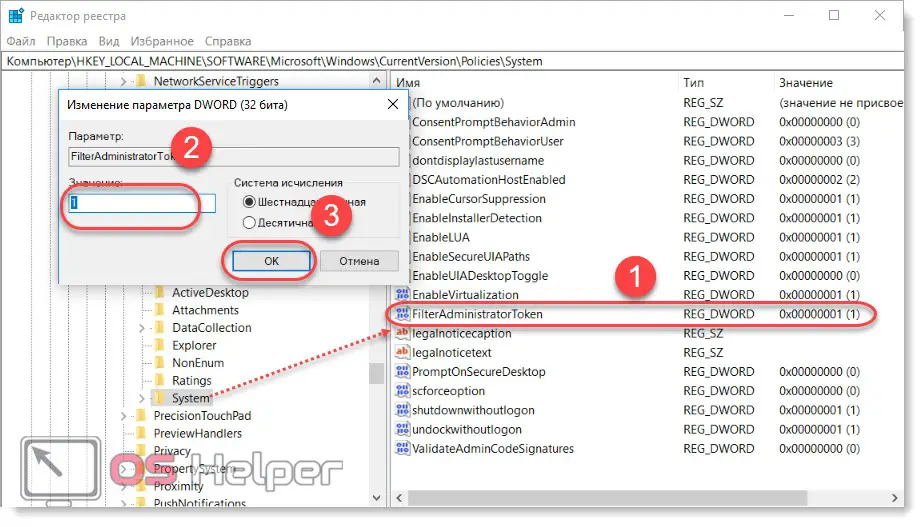
- On the right side of the screen, find the parameter "FilterAdministratorToken" . If there is none, then just create it (to do this, right-click and click "Create string parameter" ). Set it to "1".
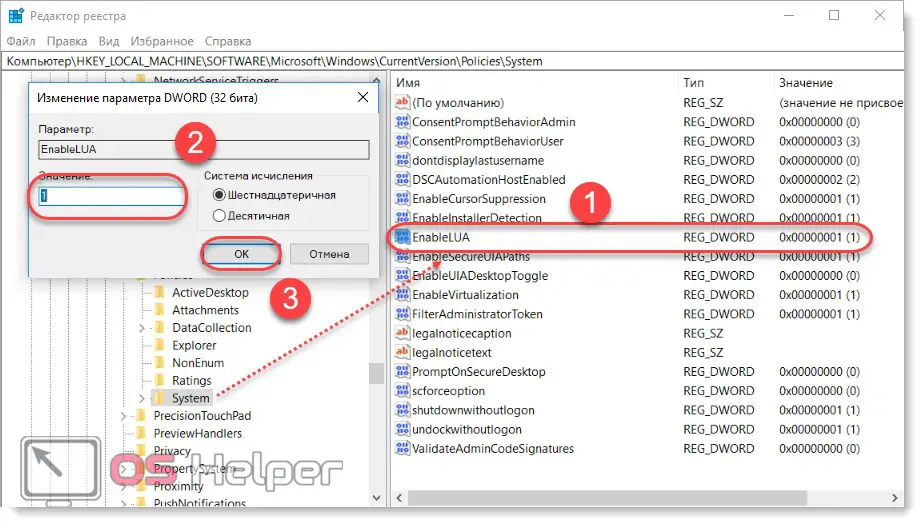
- Follow the same steps for the "EnableLUA" parameter .
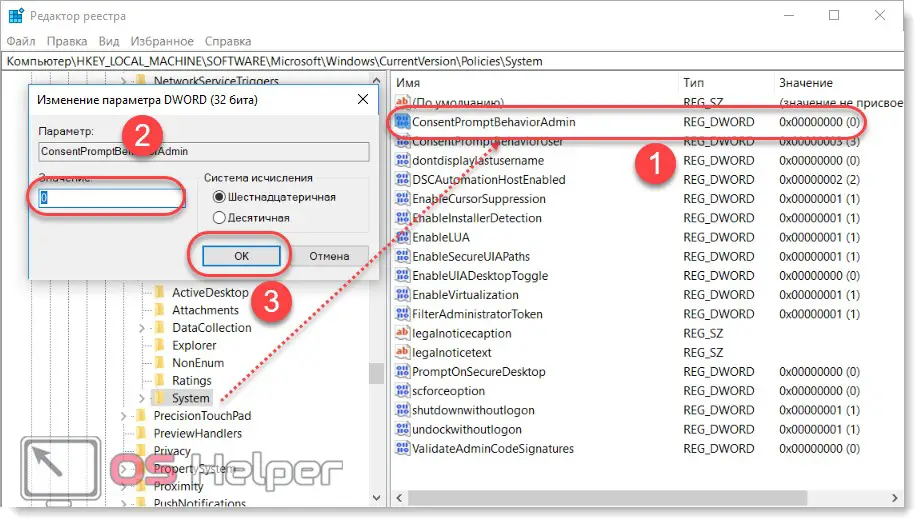
- Find and select "ConsentPromptBehaviorAdmin" and make sure it's "0". If here "1" , then the parameter will have to be changed.
After that, close the window for editing the registry. Remember that you can change the values to their original values and return restricted access to the user at any time.
If, when you try to enable the program with administrator rights, the system writes that the client does not have the required rights, then restart the computer for the changes to take effect. After that, you will have full opportunities to work with Windows, and the system will no longer notify you that administrator rights are required to use the sfc program.
Through the local policy editor
Since not only the main user, but also the guest can have administrator rights, to get full access, follow the instructions:
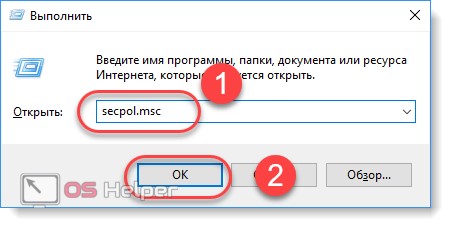
- Launch the Run application on your PC by pressing the key combination [knopka]Win[/knopka] and [knopka]R[/knopka]. In the empty field, enter "secpol.msc" and click "OK" .
Read also: How to quickly clear RAM on a Windows 10 PC
- Or open "Start" - "Control Panel" .

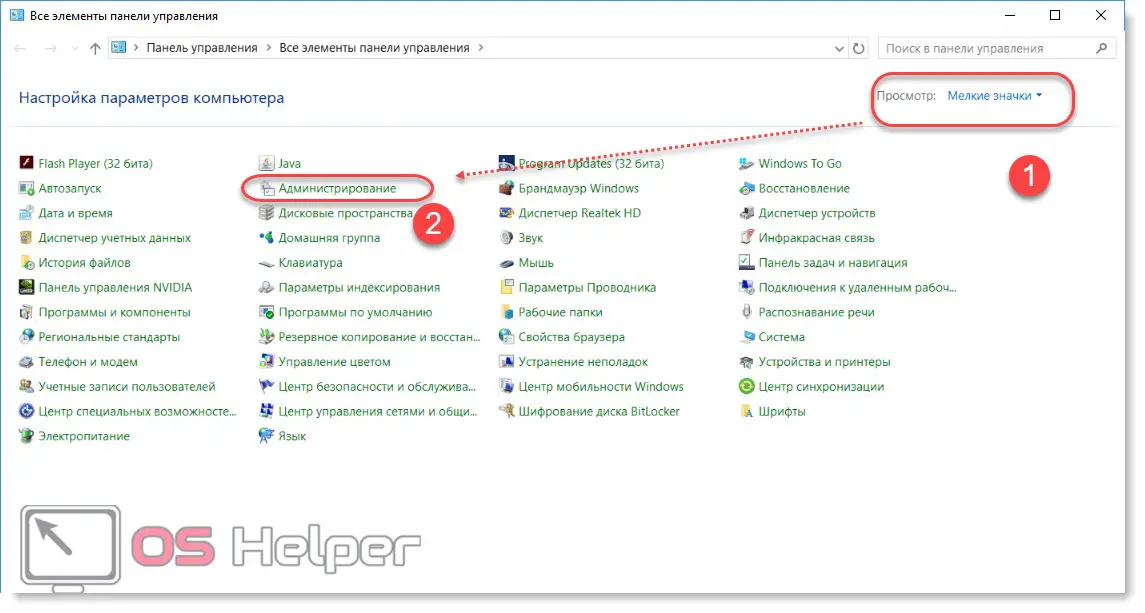
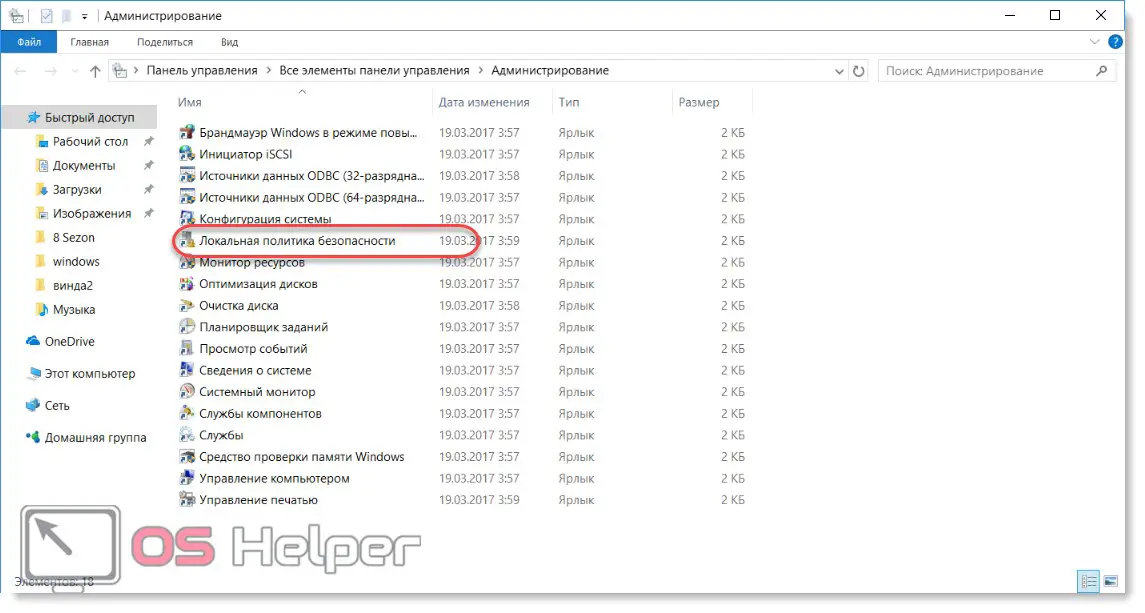
- Here, find the item "Administration" (for convenience, we recommend setting the display of icons in the form of small or large, and not "Categories" ) and select "Local Security Policy".
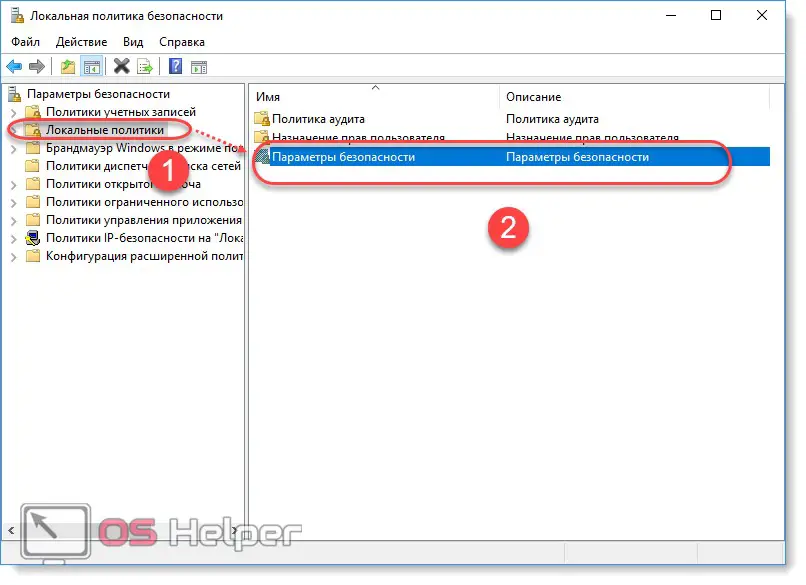
- The local security policy editor will open (not to be confused with the group one!). It is a small window divided into two parts. On the left side of the screen, select the very first item "Security Options" (opens by default).
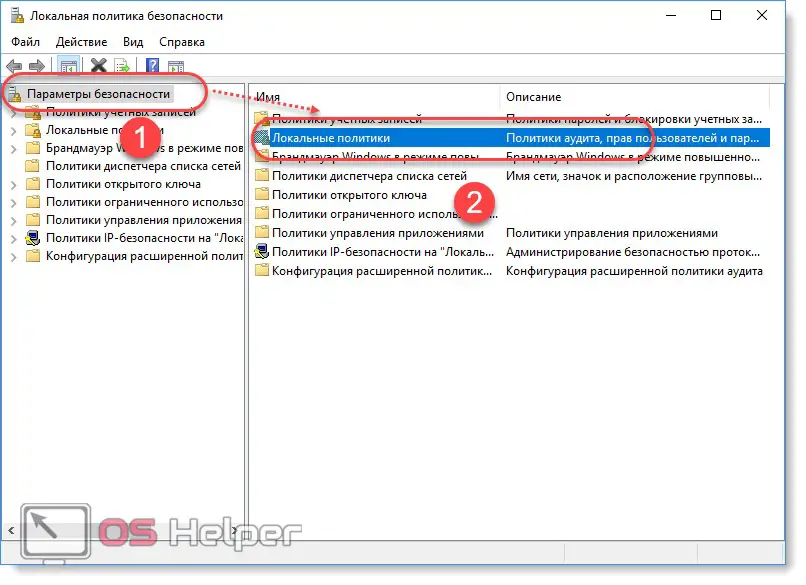
- After that, a list of local policies will appear on the right side (they can be sorted by name or description). Select the "Local Policies" item (or open this menu immediately by selecting the appropriate section on the left side of the screen).
- Right-click on the "Security Policies" folder . A list of configurations available for editing will open.
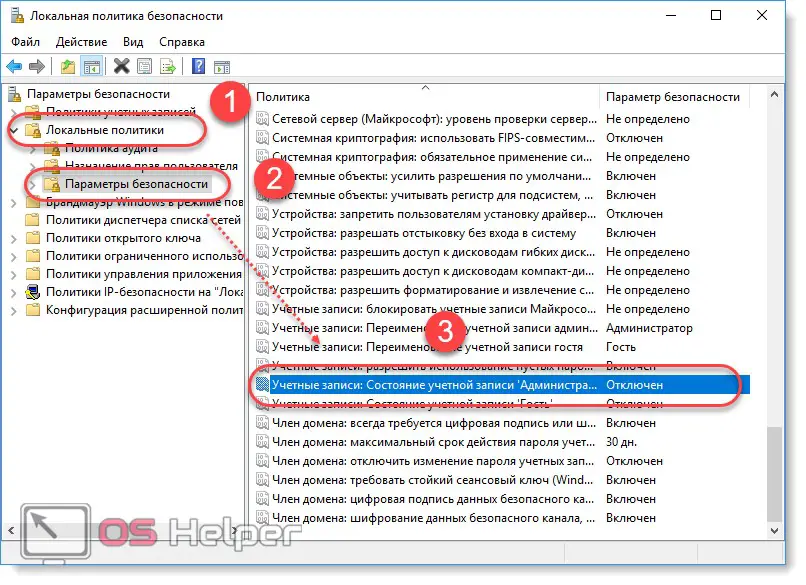
- Scroll to the very bottom (for convenience, click on the line "Name" to filter alphabetically) and find here the policy "Administrator account status" . Click it. A small window will open, where in the first tab, check the option "Enabled" .
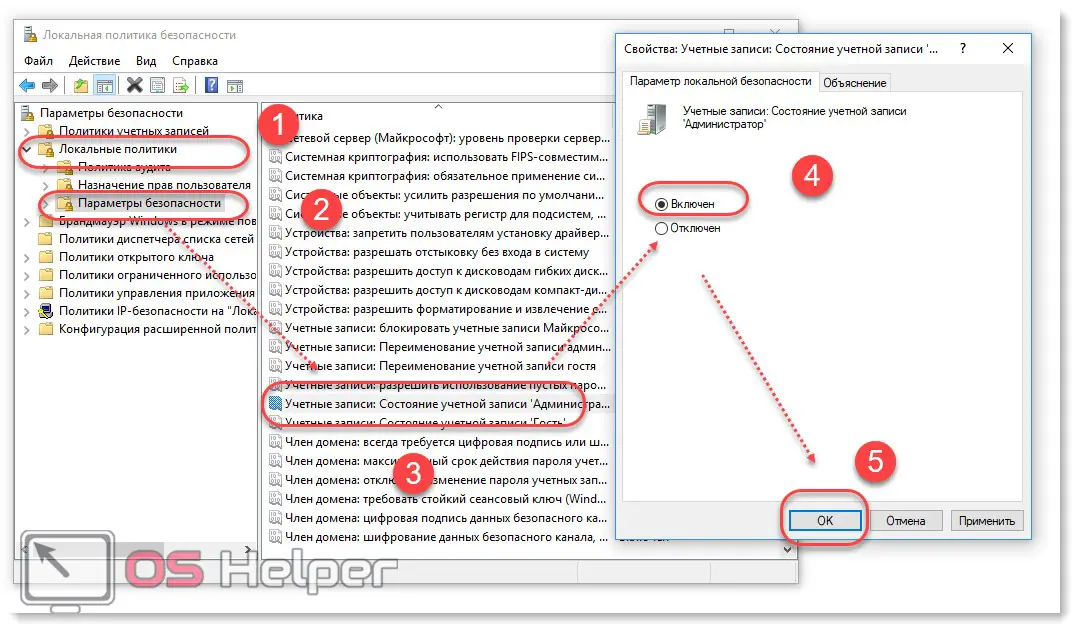
Click Apply to save your changes. For them to take effect, you will have to restart your computer or laptop. The first time you start the system will identify you as an administrator.
Results and comments
That's all, we hope we have opened the question of how to get administrator rights in Windows 10, but even if you still have questions, feel free to ask them in the comments.
Video instruction
We also offer you to watch videos on this topic.