Windows 10 taskbar on top of all windows: how to remove
 Sometimes, due to some kind of glitch or error in the system, there may be a problem with the disappearance of the taskbar. As a general rule, when you launch a full screen application, all desktop elements should disappear. But this may not happen.
For example, the taskbar can be intrusively displayed:
- when watching movies through programs;
- during games;
- in full-screen mode for viewing videos on YouTube and other similar sites;
- in other cases.
There are many methods to hide the taskbar. Some of them defy logic, but at the same time they help some users. Let's consider them in more detail.
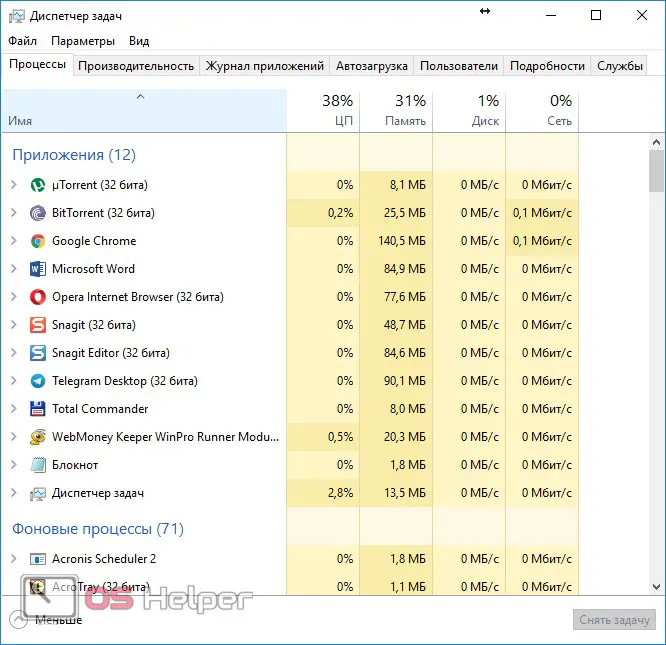
Task Manager
If the panel is not hidden, then you can try restarting Explorer. To do this, follow these steps.
- Press the key combination [knopka]Win[/knopka]+[knopka]X[/knopka] on your keyboard. In the menu that opens, select the highlighted line.
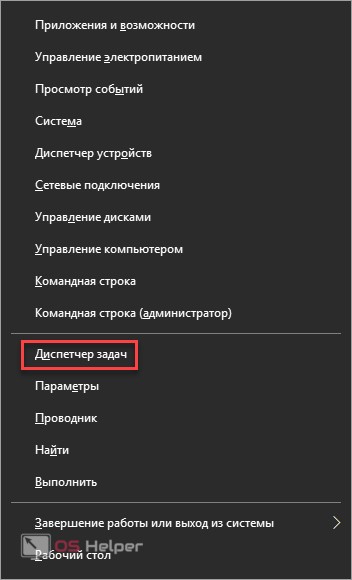
- This will open the following window.
- In the "Windows Processes" section, find the line "Explorer".
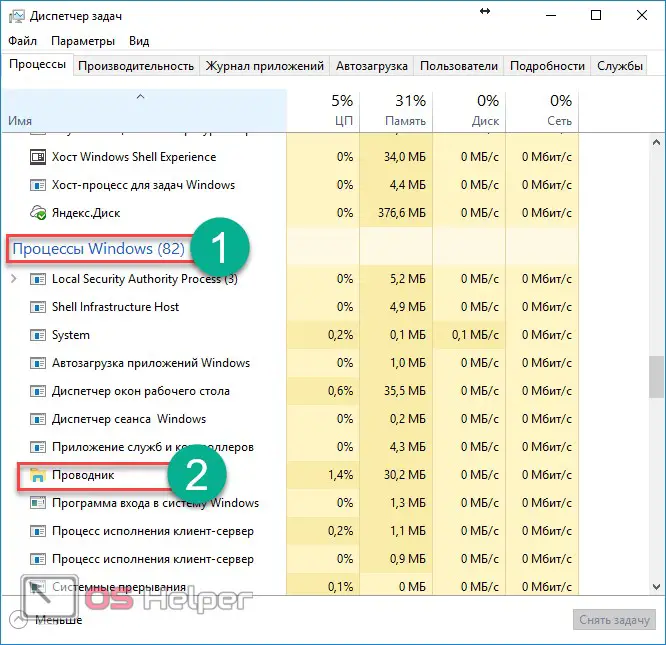
- Make a right click on this application.
- Then select the highlighted item.
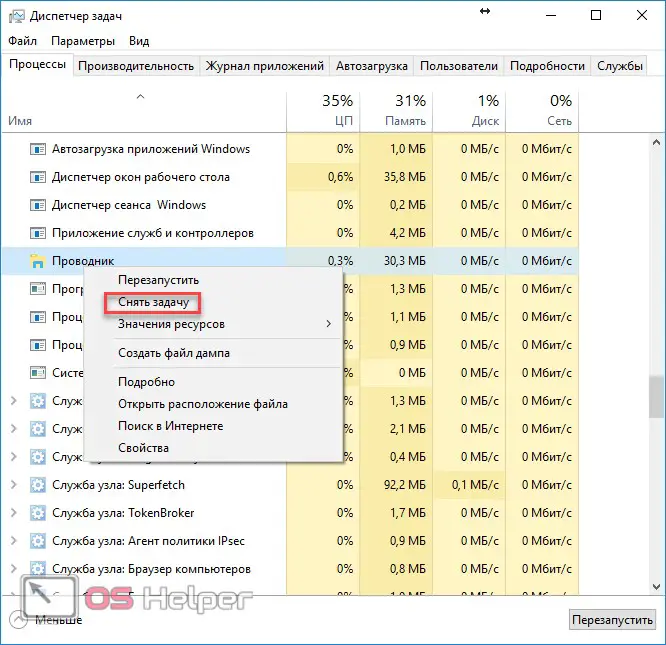
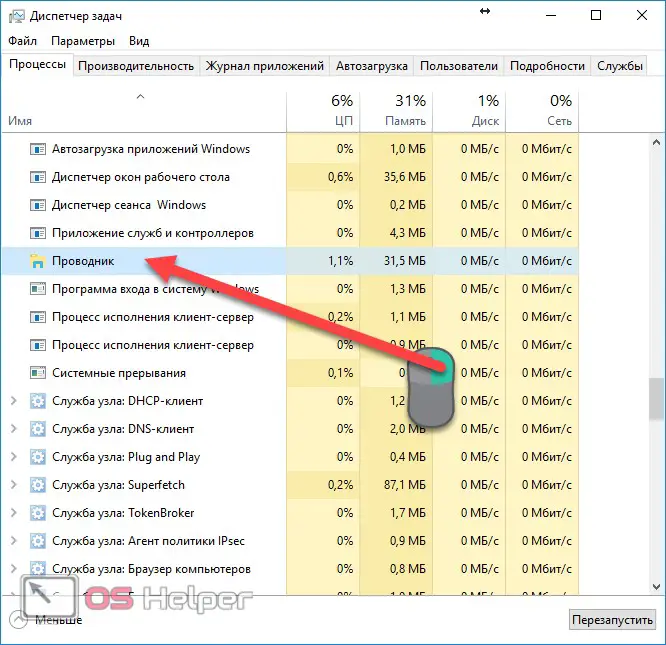
- Immediately after that, the Windows 10 taskbar and the File Explorer process will completely disappear. As a result, you will have a black area at the bottom of the screen.
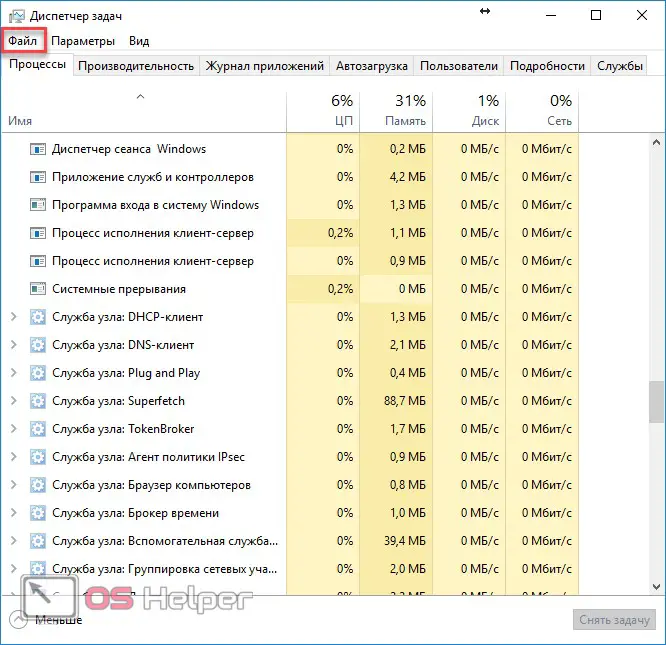
In order to switch between applications (browser and dispatcher), you need to use the keyboard shortcut [knopka]Alt[/knopka]+[knopka]Tab[/knopka].
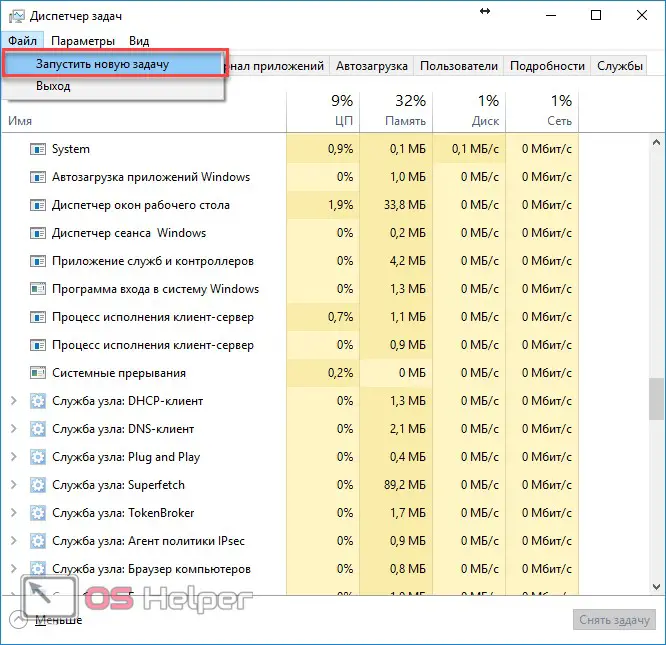
- Next, click on the "File" menu.
- After that, click on "Start a new task".
- In the window that opens, enter Explorer, check the box and click on the OK button.
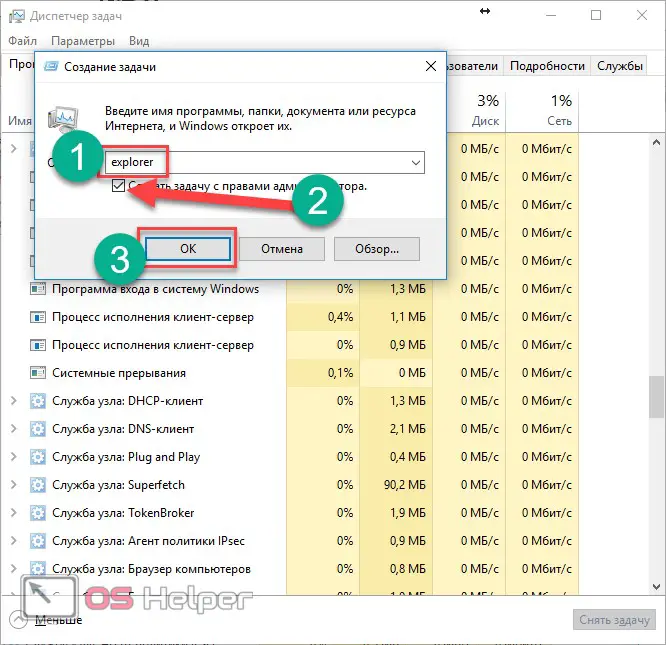
After that, the panel should reappear and work as usual.
Screen settings
We do the following:
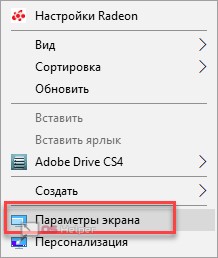
- Minimize all applications and right-click on the desktop. From the menu that opens, select Display Options.
- In the settings, change the text size to any value. For example, 125%.
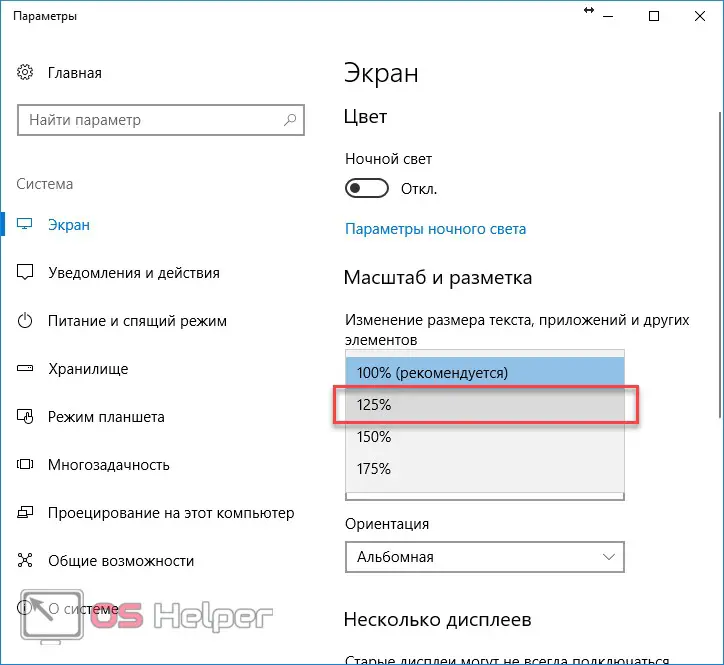
Then restart your computer and return the previous value (100%). In some cases, this method helps solve the problem.
Changing the theme
You can also try changing the theme. To do this, follow these steps.
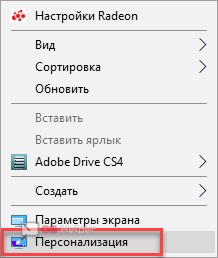
- Make a right mouse click on the desktop. Select "Personalize" from the menu.
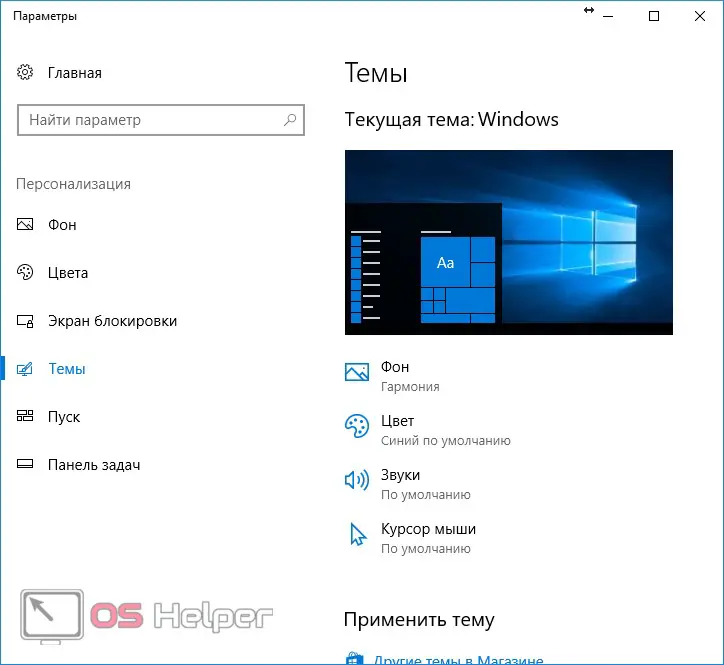
- In the window that opens, go to the "Themes" section.

- After that, you will see information about the current design.
See also: An error occurred while resetting the computer (Windows 10)
- Scroll down and select any other theme. All you have to do is click on the one you like the most.
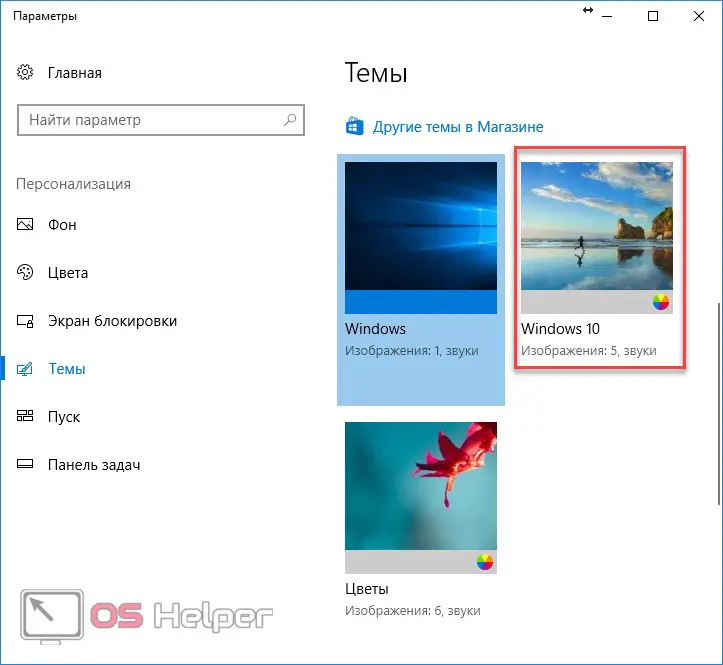
If you don’t like these topics, then try to find something suitable on the Internet.
Aero Peek
You can also try to solve the problem with Aero Peek.
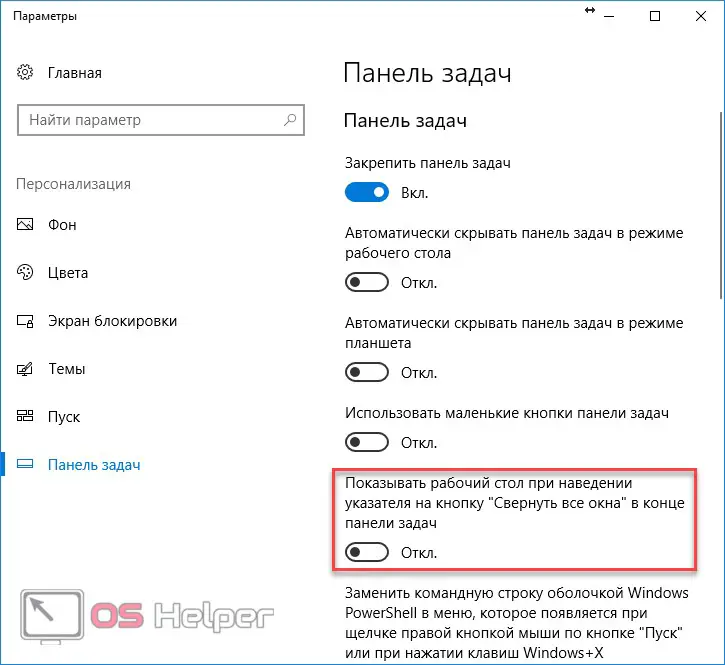
- Make a right mouse click on the bottom panel.
- Then select the last line.
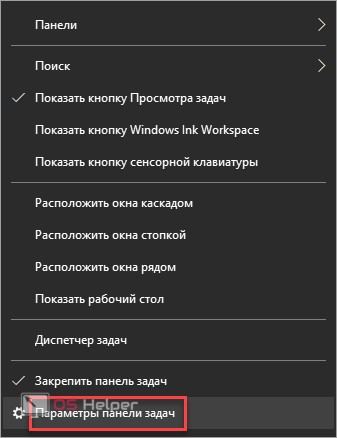
- Try first enabling and then disabling the specified item.
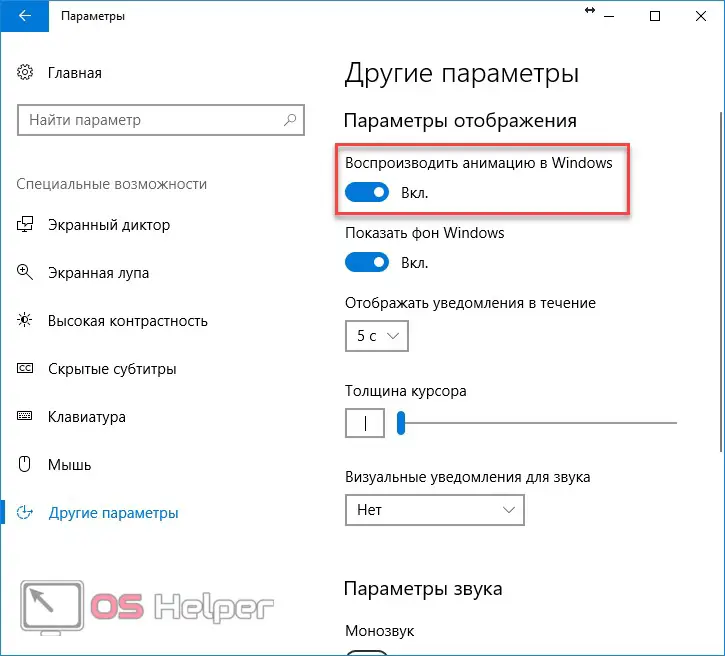
Window Animation
If the methods described above do not help, you can try enabling / disabling window animations. To do this, follow these steps.
- Click on Start.
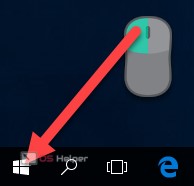
- In the menu that opens, click on "Settings" (gear icon).
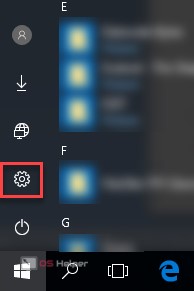
- Then select Accessibility.
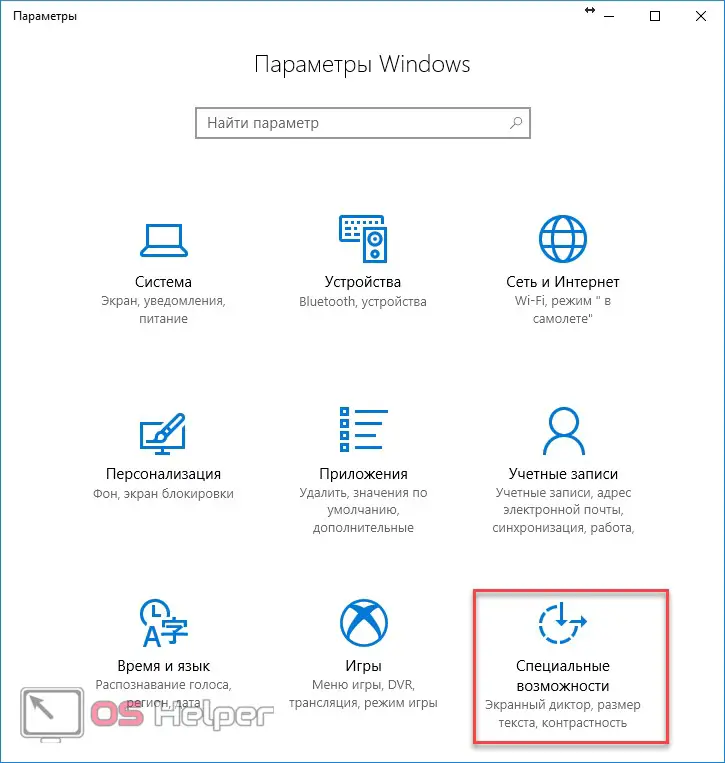
- In the window that opens, go to the "Other options" section.
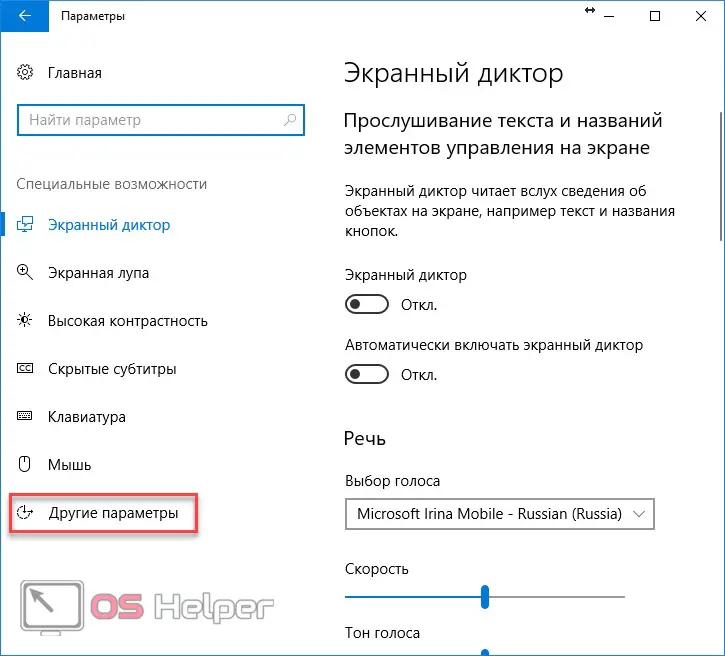
- Try disabling and then enabling the specified switch.
If this does not help, then you will have to move on to more serious measures.
System File Checker
If the panel does not retract, then most likely the problem may be due to damage to any files. Troubleshooting can be done using the command line. Let's consider this process step by step.
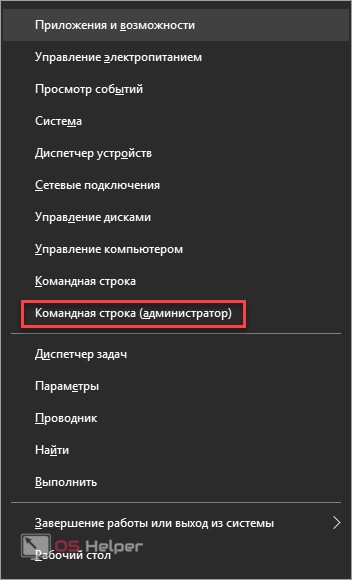
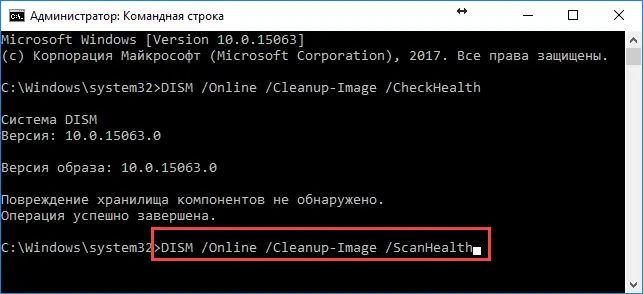
- Execute the keyboard shortcut [knopka]Win[/knopka]+[knopka]X[/knopka]. Select "Command Prompt (Admin)" from the menu that opens.
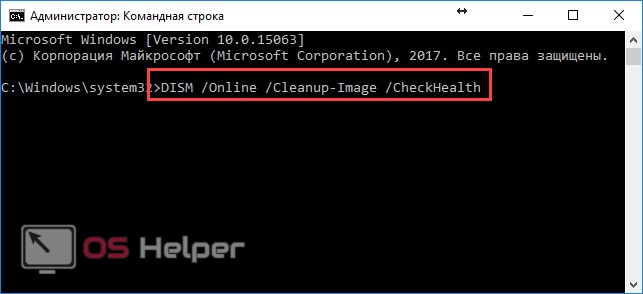
- In the application that opens, type the following command and press the [knopka]Enter[/knopka] key. It must be pressed every time after entering a new line.
[kod]DISM /Online /Cleanup-Image /CheckHealth[/kod]
- As a result of the check, you will see the following.
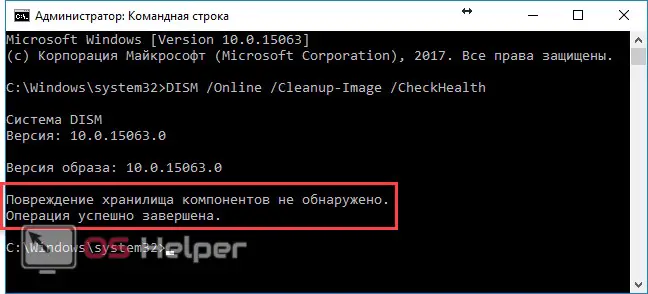
In this case, no problems were found. If you get the message "The component store needs to be restored", then this is bad.
- To be sure, enter one more command.
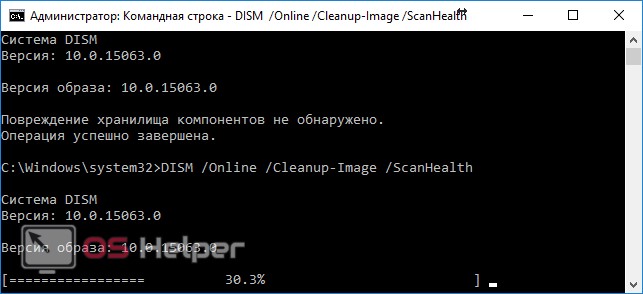
[kod]DISM /Online /Cleanup-Image /ScanHealth[/kod]
This check takes much longer than the normal one.
- The progress can be observed by percentages. It is recommended not to do anything and not to load the system once again. Since the hard drive is heavily loaded during the check.
- After the procedure is completed, you will see the following.
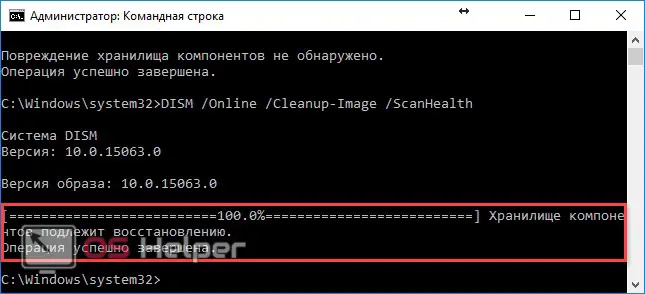
Even though a superficial test gave a positive result, a deeper test showed the opposite.
System recovery process
There are two methods for this:
- through Windows Update;
- manual source selection.
For the first option, just enter the following command.
[kod]DISM /Online /Cleanup-Image /RestoreHealth [/kod]
In this case, the system update service will download corrupted files via the Internet.
See also: How to distribute Wi-Fi from a laptop on Windows 10
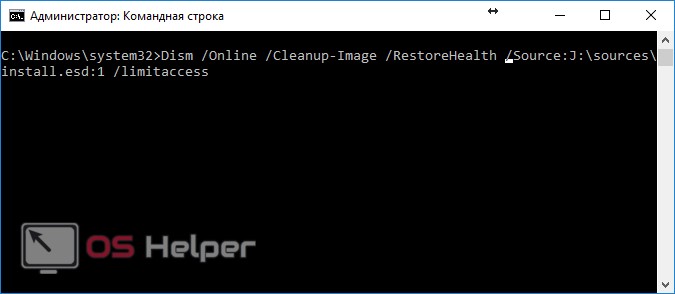
If you have problems with the Internet, you can specify the source manually. To do this, follow these steps.
- Insert the Window 10 installation disc into the drive. A mounted image file into a virtual drive is also suitable.
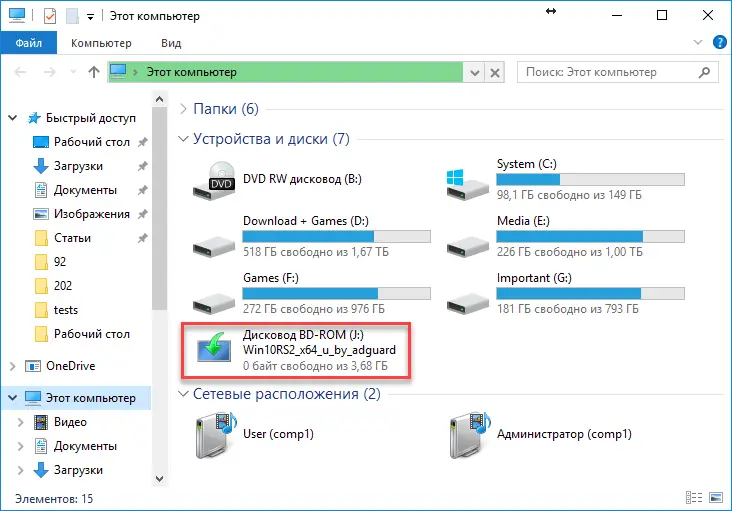
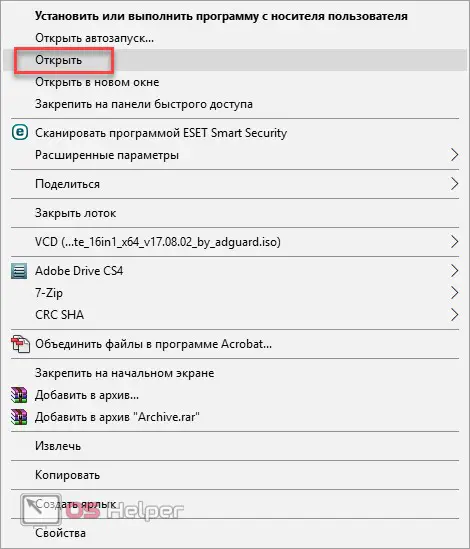
- Make a right mouse click on the disk.
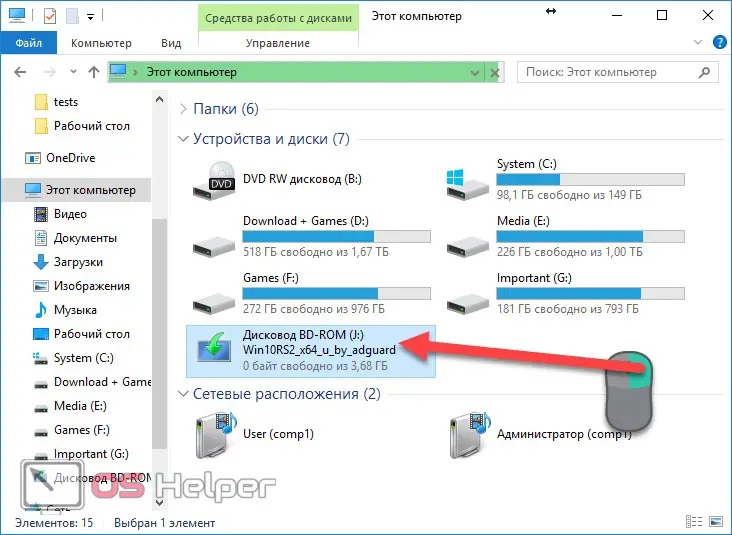
- In the menu that opens, select "Open".
If you simply double-click on the drive, the Windows 10 installation process will start.
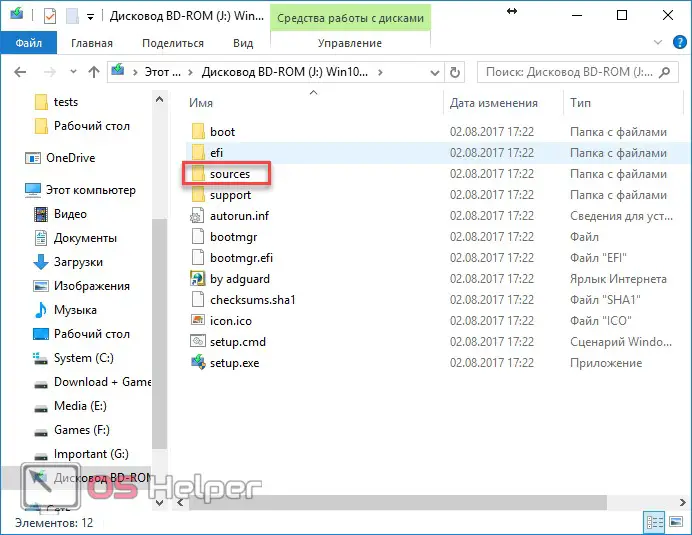
- Next, go to the "sources" folder.
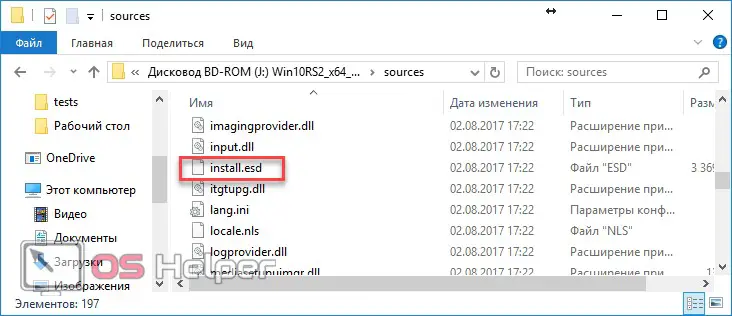
- Make sure the "install.esd" file is there.
- Return to the console and enter the following command.
[kod]Dism /Online /Cleanup-Image /RestoreHealth /Source:wim: your file path:1 /limitaccess[/kod]
- Immediately after that, the recovery process will start.
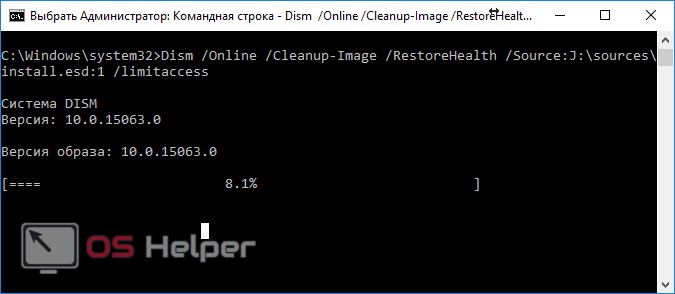
The update takes a few minutes. It all depends on how many files were damaged or deleted. At the end, it is recommended to restart the computer.
Create a new account
If you have not found an effective way to hide the taskbar, then it remains to try radical measures - create a new user. To do this, follow these steps.
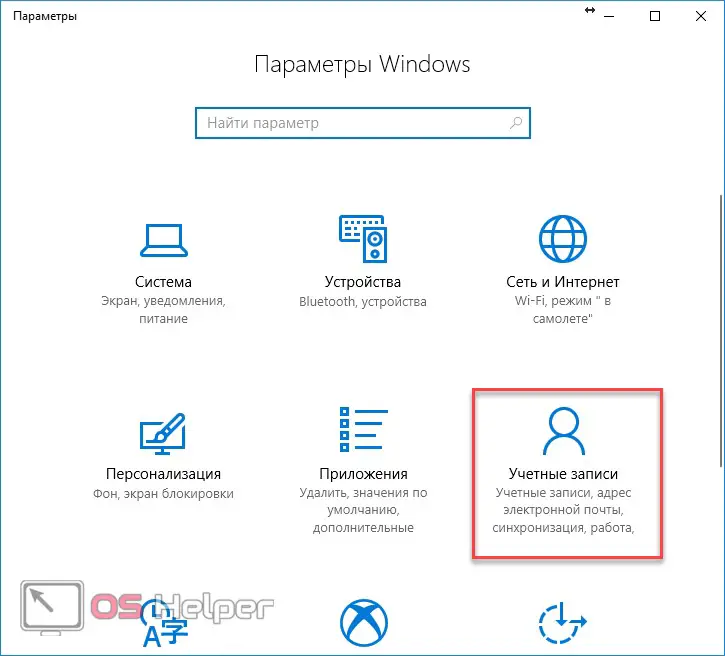
- Click on the start menu.
- Next, click on "Settings".

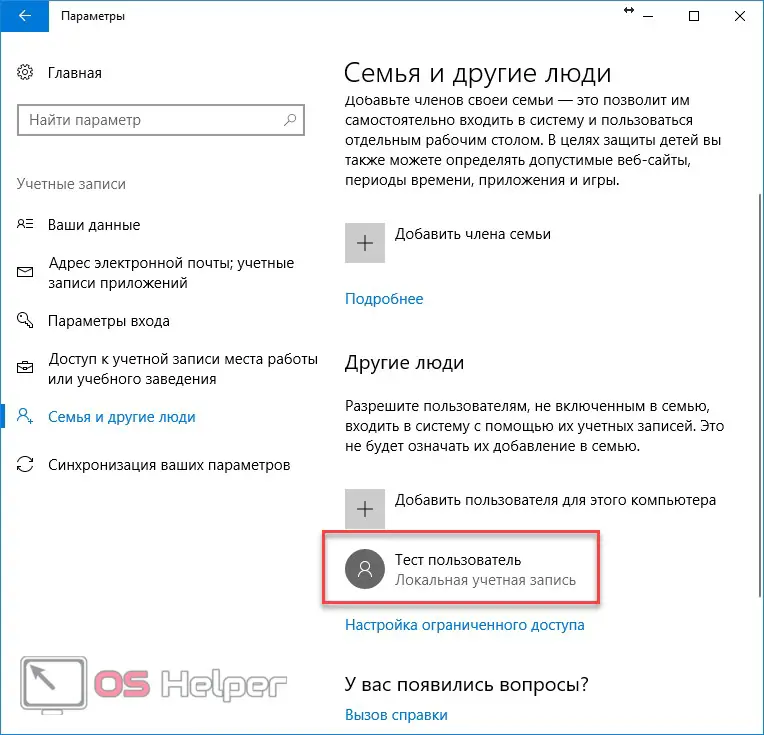
- Then go to the "Accounts" section.
- Go to Family & other people.
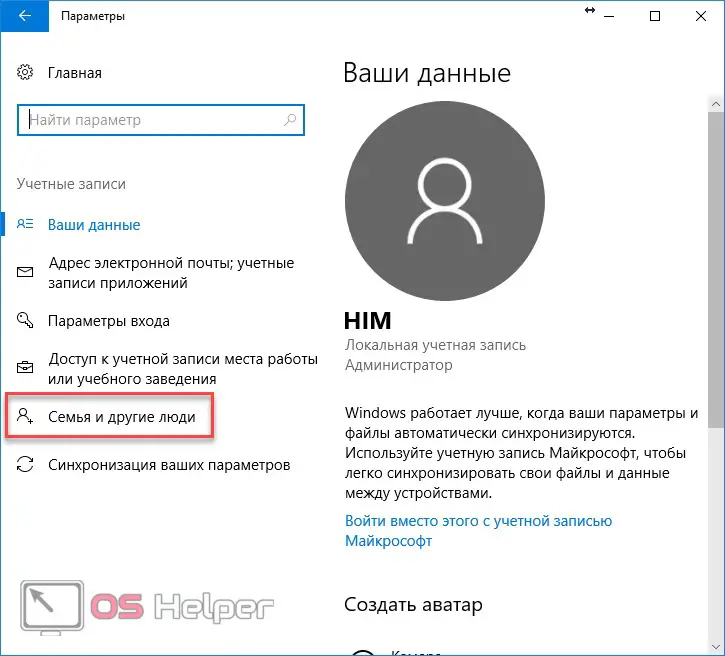
- In this category of settings, you can "Add a family member" or "Add a user for this computer".
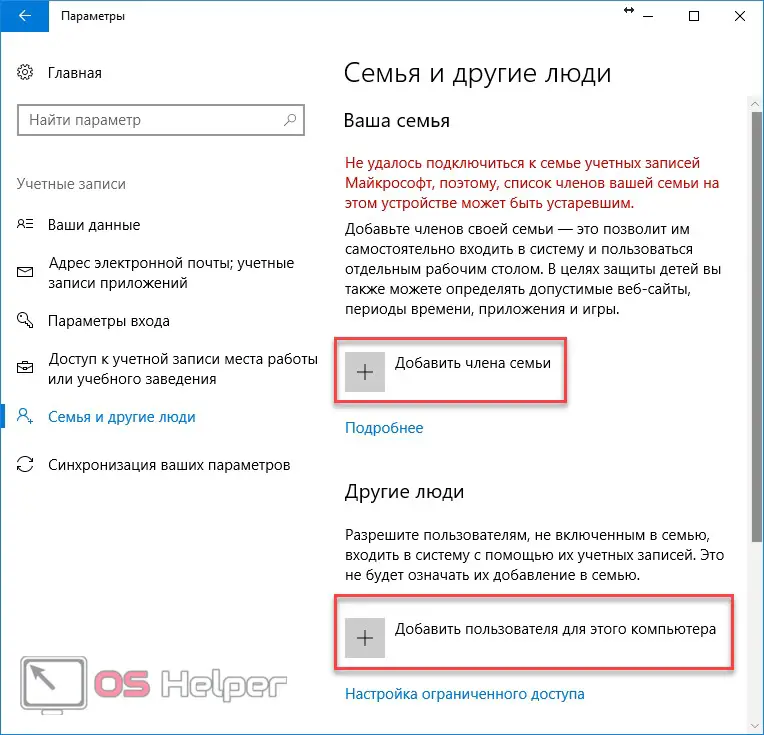
- Choose the second option. This will open the Microsoft account login window.
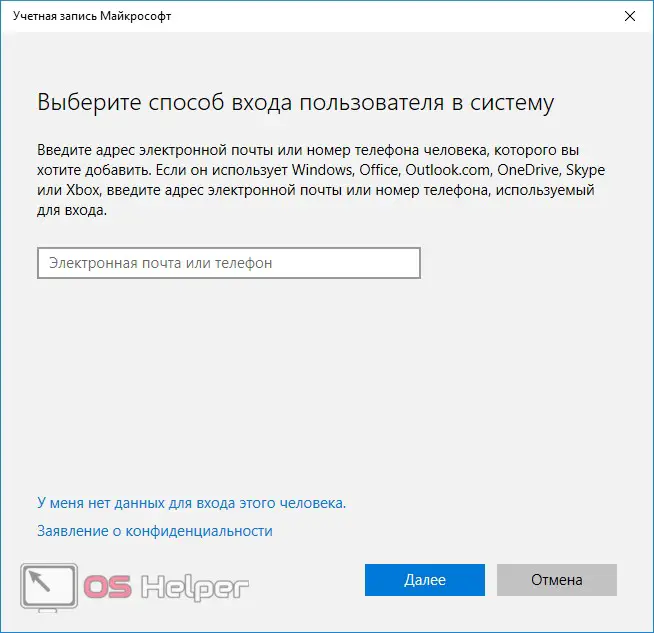
- Click on the link provided.
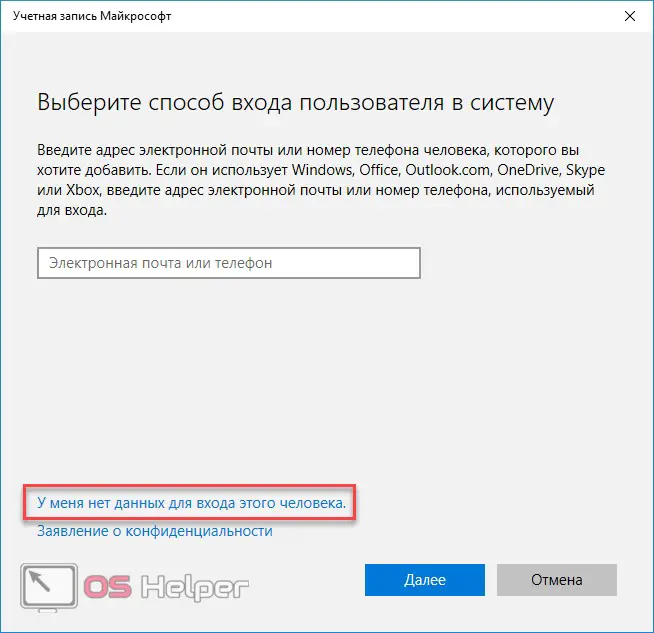
- You will be prompted to create a Microsoft account. Better choose another option.
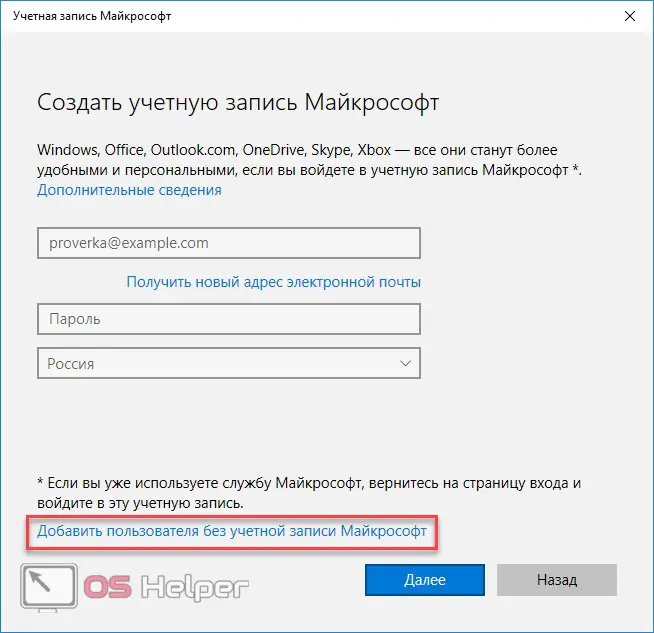
- Think of any username.
Please note that a password is required for a Microsoft account. And for an ordinary user, you can do without it.
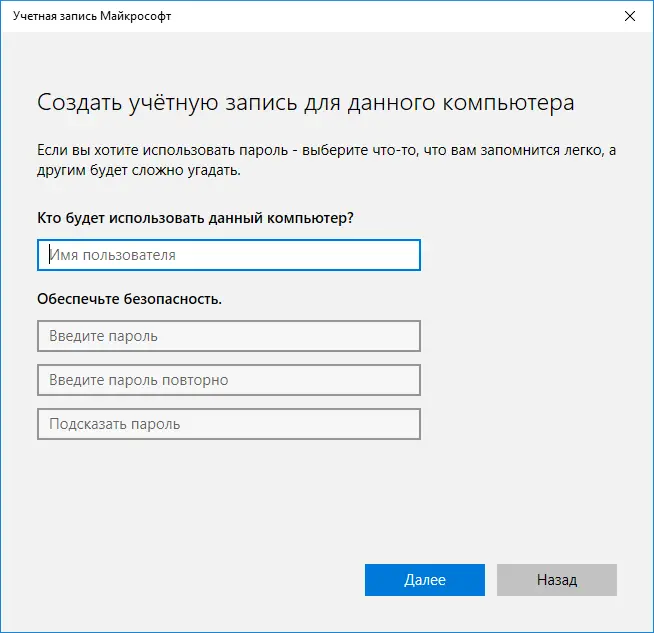
- After entering the data, click on the "Next" button.
- As soon as an account is created, it will be displayed in the general list.
The new user will have nothing. All your data will remain with the old one. They need to be copied. Only then can the profile be deleted.
Data transfer
First you will need to log in with a new name. Only after that will be created:
- Desktop;
- folders "Documents" and "Downloads";
- various system files;
- and much more, necessary for full-fledged work in the operating system.
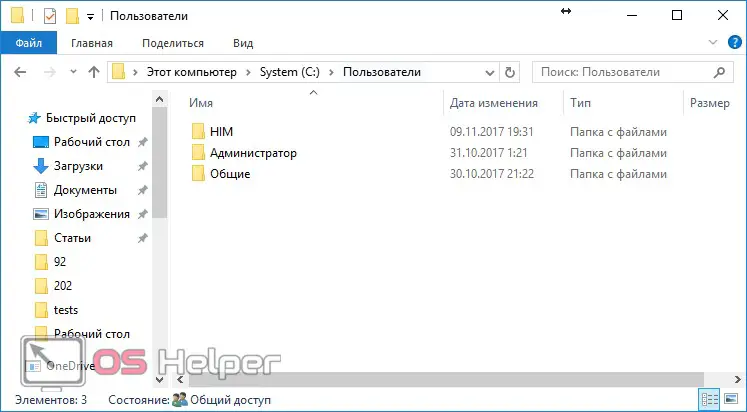
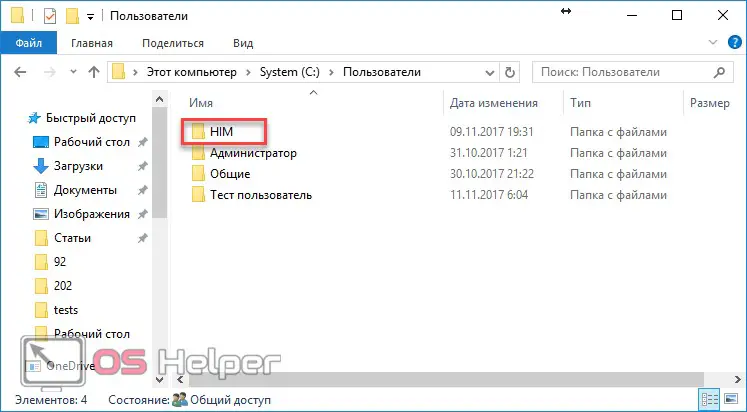
In order to make sure that there is no new data yet, you can open the "Users" folder on drive C.
See also: How to temporarily disable the keyboard on a laptop with Windows 10
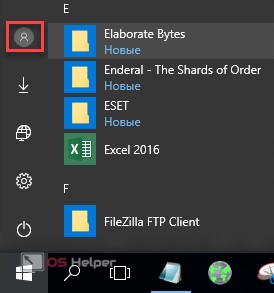
To enter a new profile, first click on the Start menu. Then click on the little man icon.
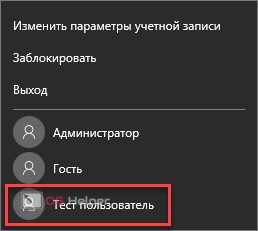
Then choose a new profile.
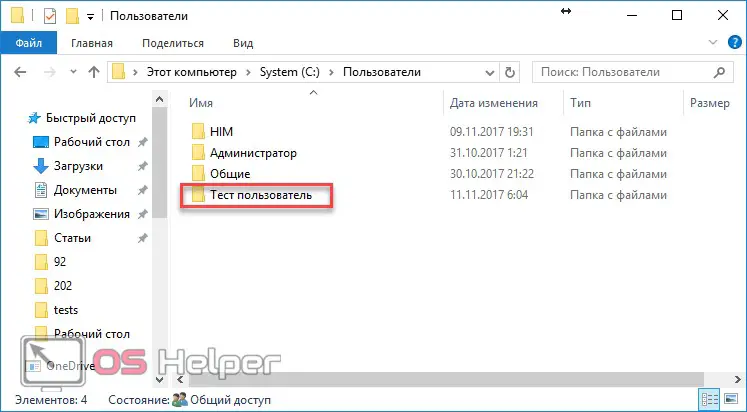
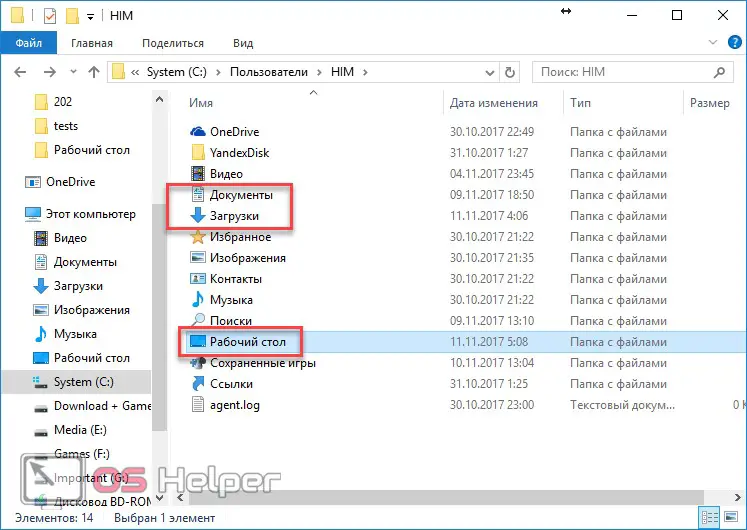
Within a few minutes, all the necessary data will be created. Then go back to your old account again. Note that the contents of the opened Users folder have changed.
Now you can copy there all the important information for you. Namely:
- Desktop;
- the documents;
- downloads;
- saving in games;
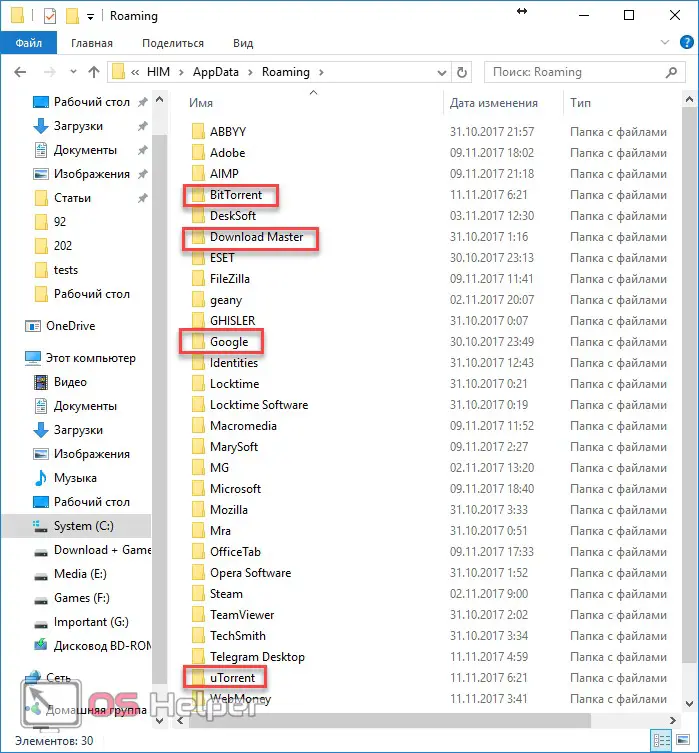
- list of downloads in uTorrent, BitTorrent, Download master and so on (if you used them);
- browser system files;
- any similar information in other applications.
Let's consider in detail where you can find all this data.
- Go to your main profile folder (each user has an individual name).
- In the list that opens, copy the contents of the desired directories and paste in the same place, only in your profile.
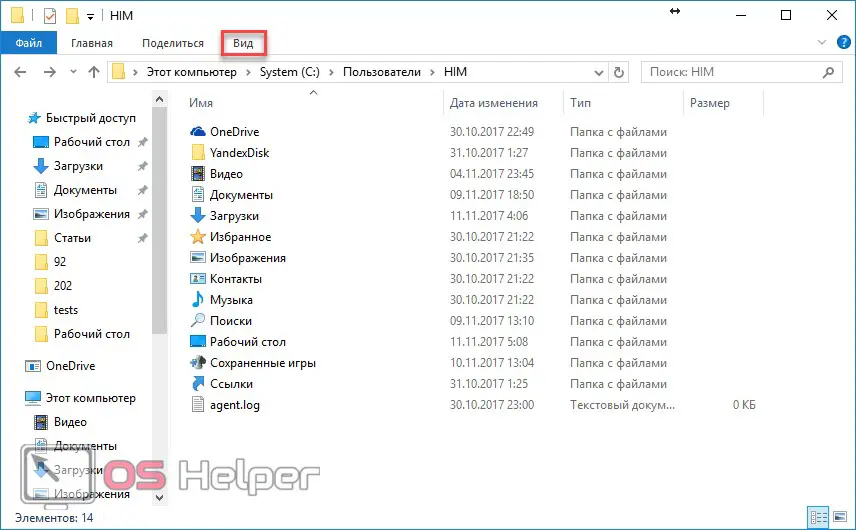
- To copy hidden and system data, you will need to enable the display of protected files. To do this, click on the "View" menu item.
- Next, check the box next to Hidden Items.
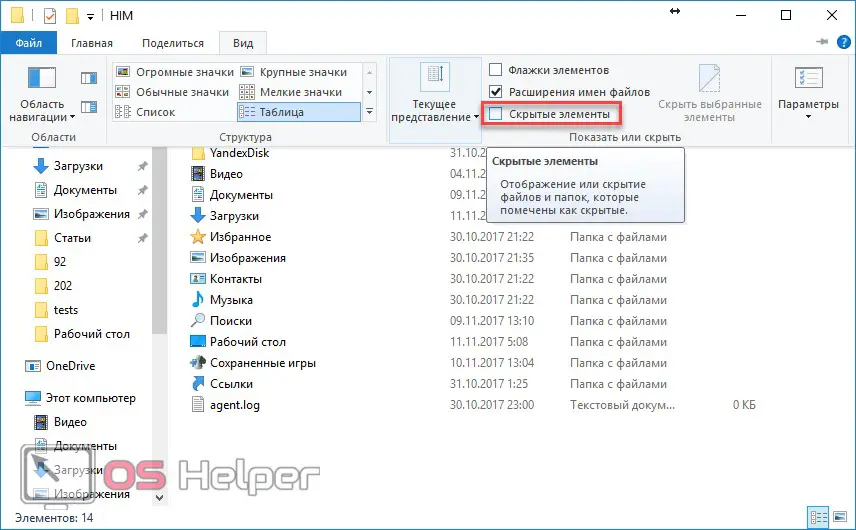
- Immediately after that, the "AppData" folder will appear. Go into it.
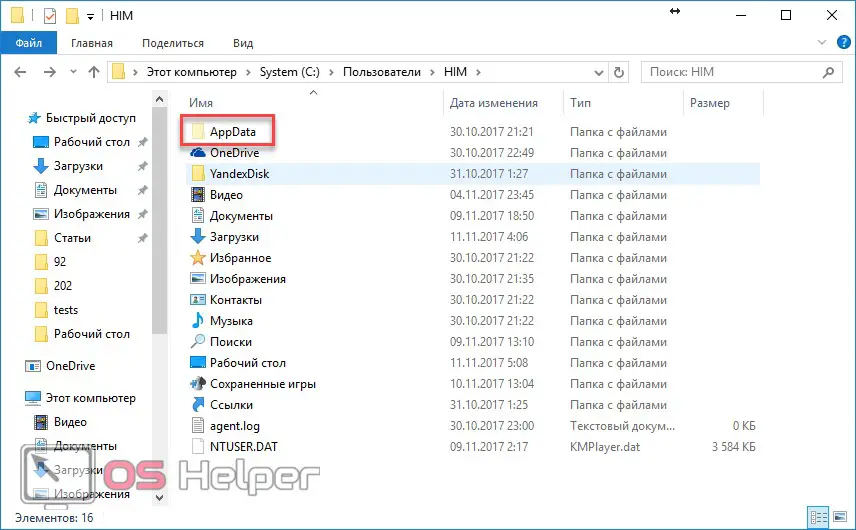
- We are interested in the "Local" and "Roaming" directories.

- You need to go into each of them and copy the contents of the program that is important to you.
Do not delete the main account until all data has been copied!
Wait a few days. Perhaps you forgot to transfer something. Moreover, the old profile will not interfere with you. This method of solving the problem is one of the most effective, since everything is created from scratch.
Conclusion
There are a huge number of ways. Which one to choose is up to you. But if none of the proposed helps, then most likely you will have to think about a complete reinstallation of the system.
In the case when you were able to solve the problem, but later it appeared again, you will need to remember what exactly you did or installed before. This will make it easier to find the cause and eliminate it. And, most importantly, do not repeat in the future.
Video
If you have not fully understood the methods described above, then it is recommended to watch the video on how to hide the taskbar on top of all windows in Windows 10. Since there are additional comments and detailed explanations of each step.