How to add a clock to the screen in Windows 10
 Many users like it when a clock face with the current time is displayed on the desktop of their personal computer. This was implemented back in Windows 11 in the form of gadgets. However, in the new operating system from Microsoft, this option is not available by default. Today we will correct this annoying misunderstanding and tell you how to display the clock on the screen in Windows 10.
Download and install the program
The new operating system from Microsoft - Windows 10 does not have regular functionality for displaying the clock on the desktop. However, this is easy to implement by simply downloading a third-party app. Let's take a closer look at how this is done:
- Initially, we download the application via a direct link from our website. Next, unpack the archive and proceed to install the program.
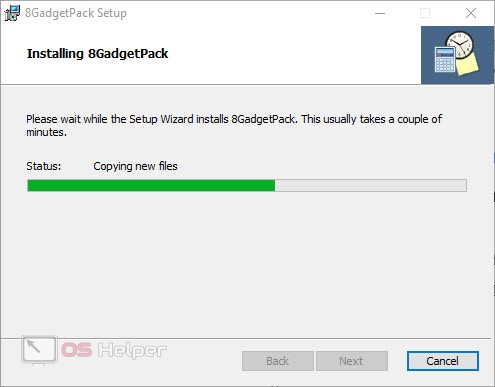
- When the process is completed, press the button indicated in the screenshot, not forgetting to check the box marked with the number "1".

The widget panel will appear on your desktop and we can navigate to their settings. We will describe in more detail how this is done in the next section of our article.
Launch and setup
Now let's get down to setting up our Windows 10 desktop clock:
- Initially, you need to close the sidebar, of course, if you do not need it. To do this, right-click and select "Close" from the context menu.
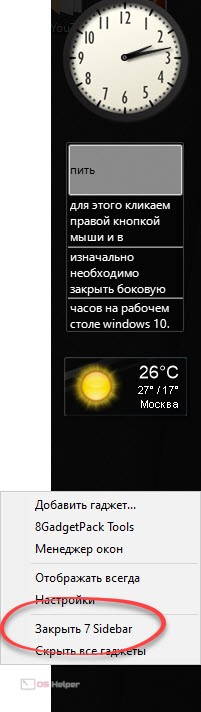
- As a result, the sidebar will disappear and the gadgets will be displayed directly on the desktop. We can drag them anywhere by simply holding the left mouse button.
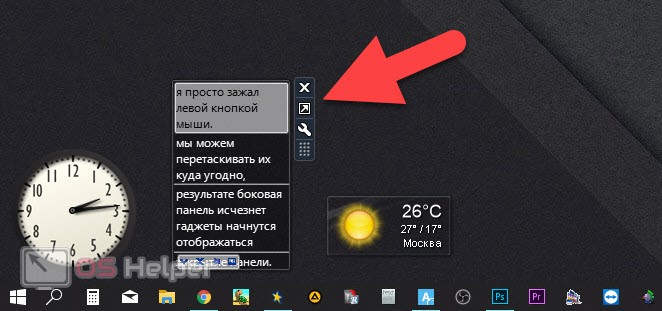
- If you move the mouse pointer over one of the gadgets, we will see the control that appears:
- close the gadget;
- zoom button;
- settings;
- drag button.
Expert opinion
Daria Stupnikova
Specialist in WEB-programming and computer systems. PHP/HTML/CSS editor for os-helper.ru site .
Ask Daria At the same time, different widgets can have different control buttons. It all depends on the functionality of this or that application.
- Let's go into the settings, for example, hours and see what's there. To do this, hover the mouse pointer over our alarm clock and select the icon with the image of a key from the menu that appears. There are only eight themes, which can be changed using the arrows marked in the screenshot.
Read also: How to speed up Windows 10 laptop step by step instructions
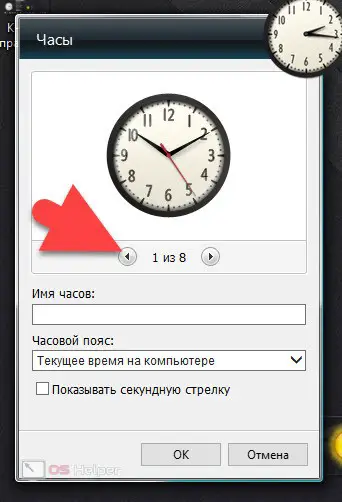
- You can also separately turn on the second hand, select the time zone for displaying the time, and set the name of the watch. In order for all changes to take effect, be sure to click the "OK" button.
Other gadgets will have different settings accordingly. However, since the application interface is completely Russified, it will not be difficult to deal with them.
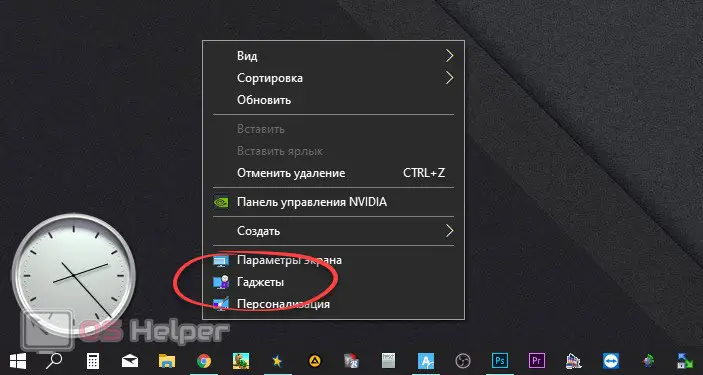
The advantage of the application that we just installed is the fact that there is not only a clock for the Windows 10 desktop, but also many other gadgets. For example: calendar, CPU usage indicator, links for quick launch of programs, notes, several types of weather, operating system control buttons, date and time, information about drives, radio and a huge number of other options. In order to launch the menu with gadgets, you just have to left-click on an empty space on the Windows 10 desktop and select the item marked in the screenshot in the context menu that appears.
As a result, another small window will open, which will list all the gadgets available to us. In order to add any of them to the Windows 10 desktop, we simply drag the object with the left mouse button. There is also a convenient search for existing content and arrows to go to the next screen.
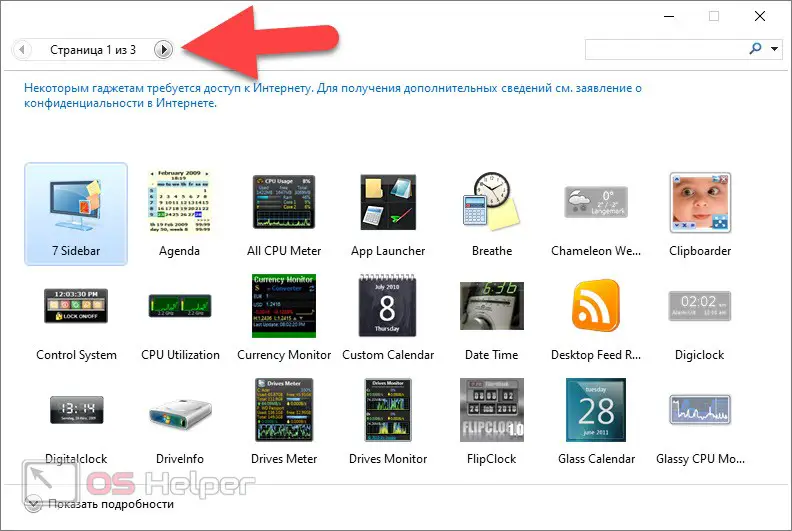
If we click on the link that says "Show Details", an additional space will open where we can see the name of the widget, its version, and a short description.
Video instruction
For clarity, we have also prepared a training video that will help you better understand the topic. Be sure to watch the video to the end and you may not have to read the article itself.
Summing up
Now that a real clock has appeared on your desktop, and even with the ability to change the theme, we can finish our article. If you have any questions, please contact us using the comment form.