Installing macOS from a flash drive: step by step instructions
 Apple's policy of installing its own operating system on its own branded computers makes them extremely stable. Once you buy a Macbook and update your OS regularly, you may never need to reinstall it. If the Internet is available, the system can be easily reinstalled over the network. If circumstances require you to install macOS from a flash drive, you need to do it right.
OS boot
Since 2013, Apple has stopped selling the operating system to users. When you purchase any Mac, be it a laptop or a mini version, you get macOS for rent and are provided with free updates for the entire life of the device.
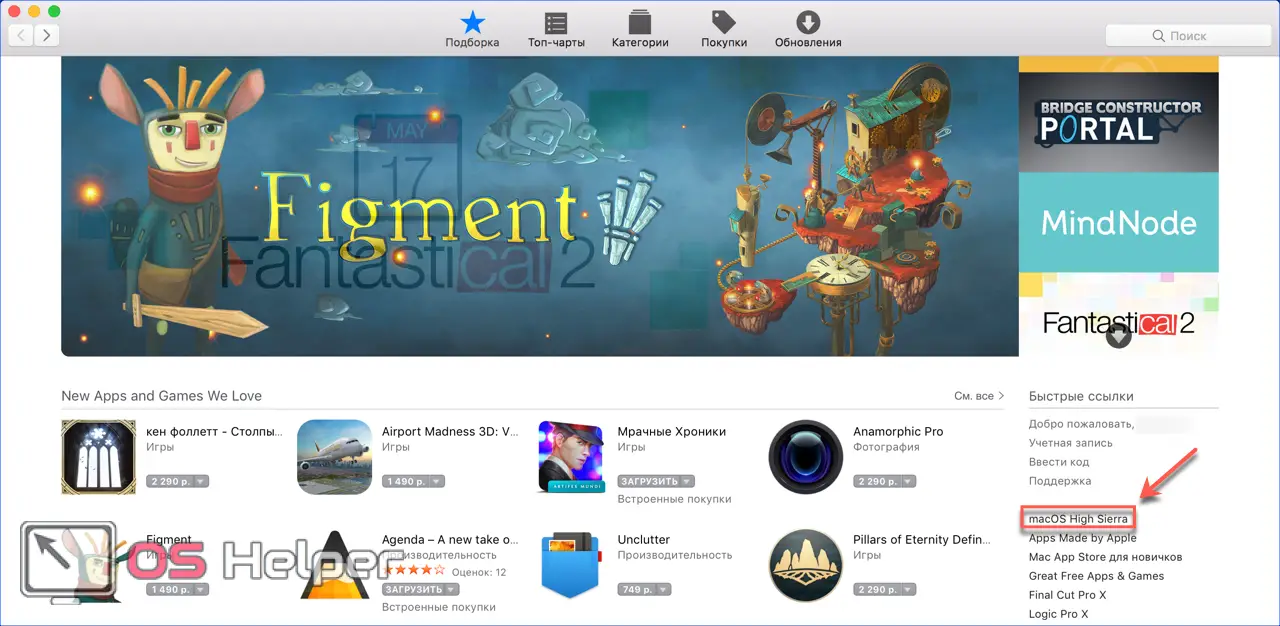
- Find the App Store icon on the Dock and open it.

- On the main page on the right side, under the account settings, there is a link that allows you to go to the site with the current OS. Currently the latest version is 10.3 High Sierra.
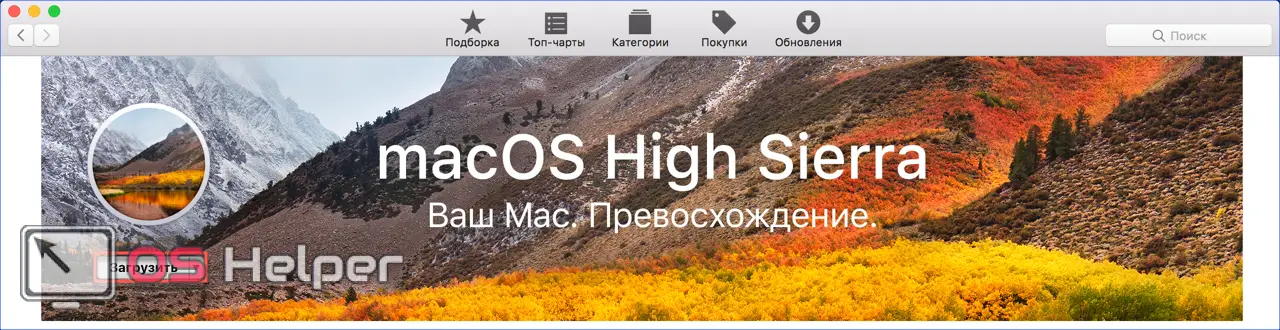
- Click on the "Download" button. The distribution kit "weighs" more than 5 GB, so the time it takes to receive it will depend on the speed of the connection used.
- When the download is complete, the installer will automatically launch.
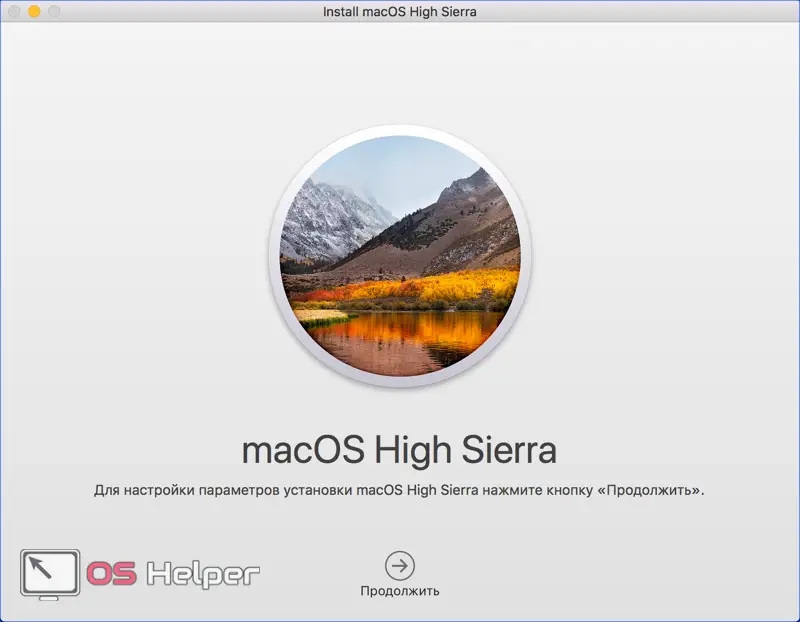
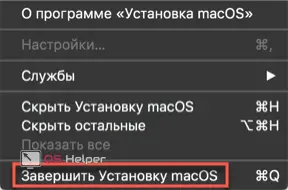
- We don't need it at the moment. Since we are going to create an offline bootable media, we need to close it. Click on the program window to display the controls on the top panel. Select the marked item. A similar operation can be done with the keyboard combination ⌘Q. On macOS, this is the default shortcut for closing any active window.
Old OS versions
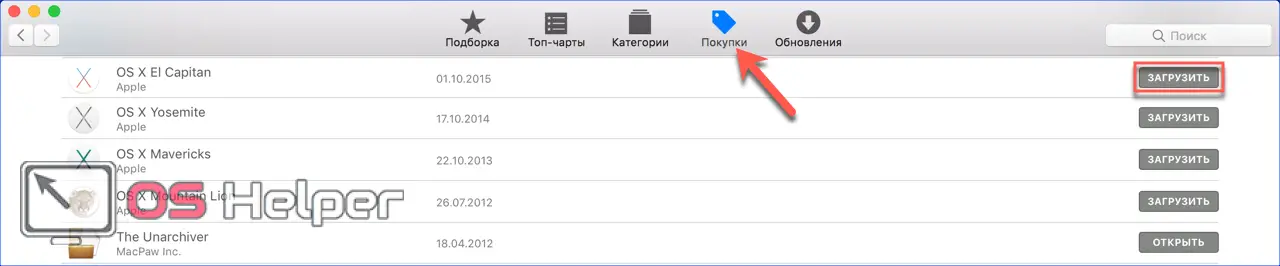
If you want to install a different, older version of the operating system, you can also find them in the App Store. El Capitan, Yosemite or Mountain Lion are placed in the buy section, provided they have been used before. This is due to the licensing policy of the company. The operating systems shown in the screenshot are considered purchased, and the subsequent ones are rented by the user from Apple.
See also: What is a MacBook
Create a bootable flash drive
To create an installation disk on a MacBook, just use the terminal. macOS works great with Windows FS and does not require the installation of Transmac analogs. The NTFS format is supported out of the box in read mode, and FAT32 and exFAT are fully supported.
You will have to format the flash drive if it uses any Linux FS, for example, ext3. Before using a removable disk, in any case, it must be cleaned of the information available on it.
Formatting
Formatting in macOS is done using Disk Utility. You can find it by opening Launchpad in the Others folder or by using the Finder. We will choose the second option, as more convenient. A flash drive traditionally for modern operating systems should be at least 8 GB.
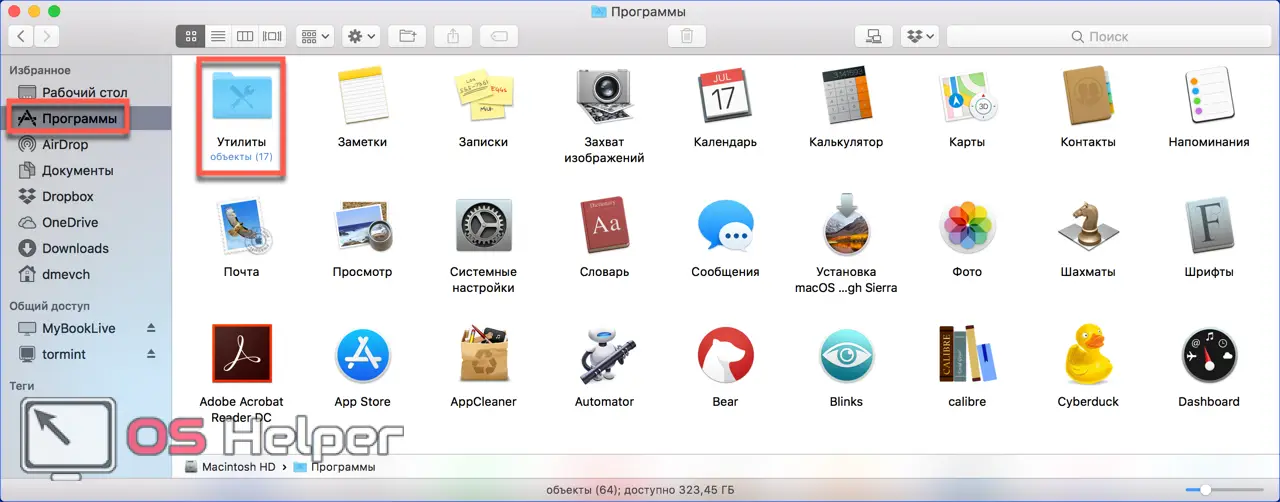
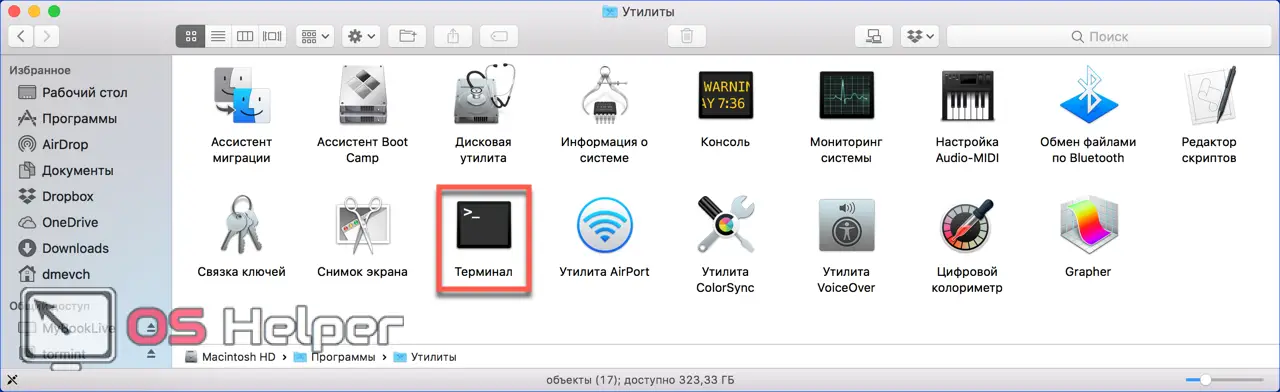
- Open Finder and select "Programs" in the navigation area. Open the folder marked in the screenshot.
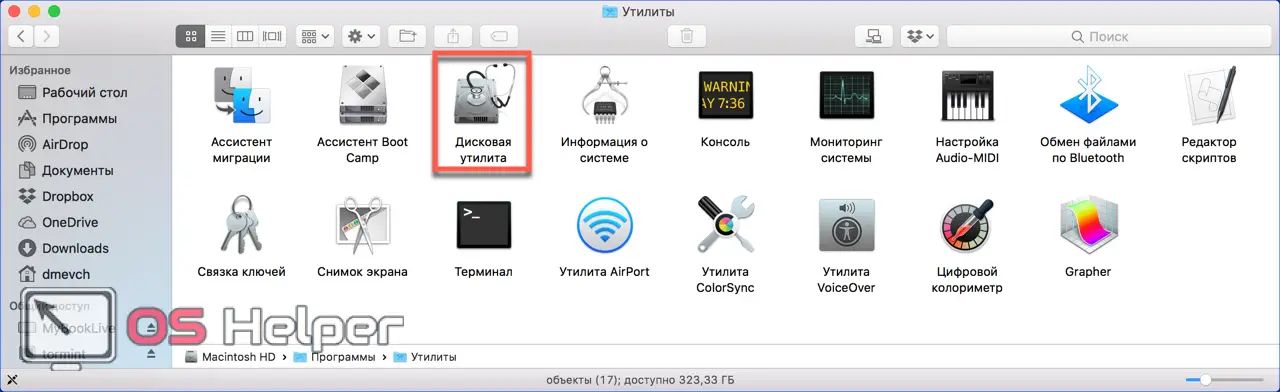
- Select the specified utility.
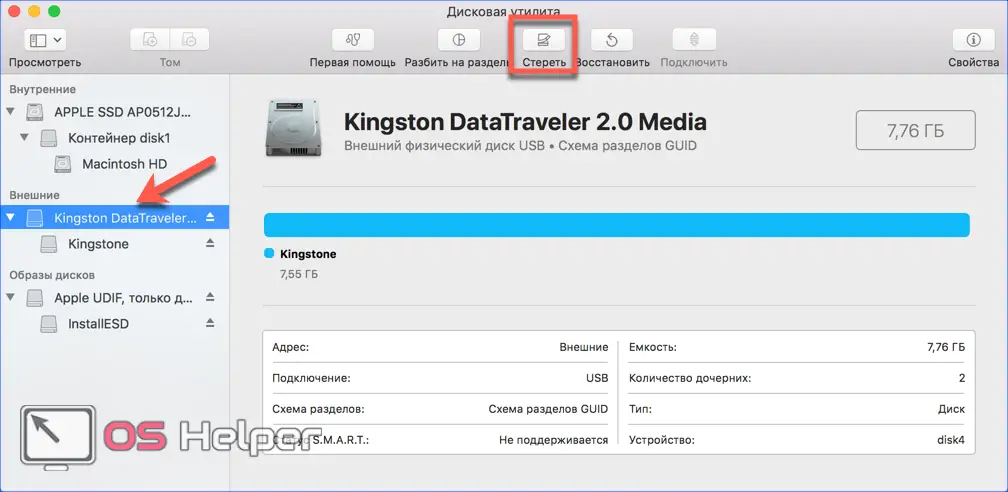
- We are looking for external drives. We select the name of the flash drive given by the manufacturer, highlighting it. The "Delete" button is activated in the top control menu. Click on it to open the next dialog.
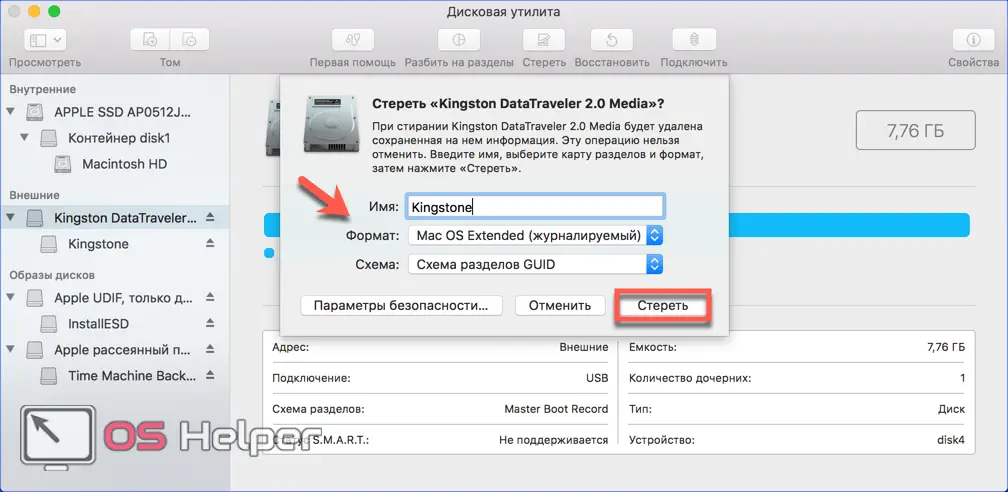
- The system will automatically offer us the format and partition scheme. They should match those shown in the screenshot. To clean and format the flash drive with the selected parameters, press the marked button.
Now there is zero information left on the external media and you can write the distribution kit to it.
Distribution entry
The file we downloaded from the App Store is not an ISO image. This is a full-fledged installation wizard with its own set of utilities. For this reason, the system places it in the programs folder, and not in the downloads. From there, we will write it to external media.
- We return to the "Utilities" folder and launch the "Terminal".
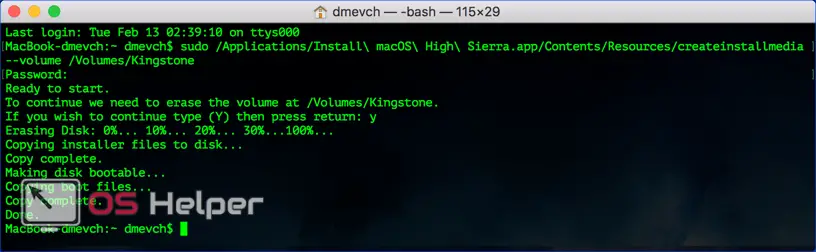
- Enter the following command to write on behalf of the system administrator:
[kod]sudo /Applications/Install\ macOS\ High\ Sierra.app/Contents/Resources/createinstallmedia --volume /Volumes/Kingstone[/kod]
Quotes are not required, but instead of Kingstone we indicate the name of the flash drive used.

- We enter the password. The characters will not be displayed. We complete the set by pressing the [knopka]Enter[/knopka] button.
See also: macOS keyboard shortcuts

- The system will ask you for confirmation to clean up the selected volume. Type "Y" and press the enter key.

- Before copying the data, the system erases the flash drive.

- The recording ends with the appearance of informational messages about creating a bootable media and transferring the data necessary for the installer to it.
The syntax for the write command varies for each distribution. Therefore, if you are going to make a non-High Sierra macOS reinstallation flash drive, visit the Apple support page indicated. The finished command from there can be immediately copied to the terminal.
Installing macOS
After connecting the media to the USB port, we reboot. Mac computers do not use the traditional BIOS, so no additional configuration is required.
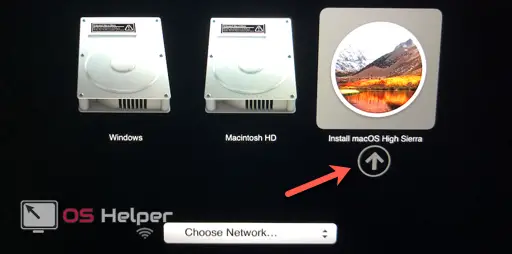
- Our task is to prevent the computer from booting from the SSD and launch the initial volume selection menu. Therefore, immediately upon reboot, hold down the "Option" key. Hold it until the dialog shown in the screenshot appears. The Windows volume will be present if it is mounted on a Boot Camp partition. Here you will need to translate the indicated arrow symbol from Macintosh HD to the installer icon.
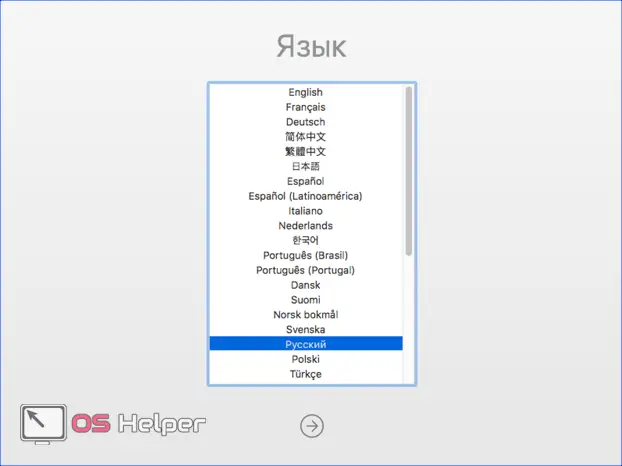
- Select the language in which the menus and dialogs will be displayed.
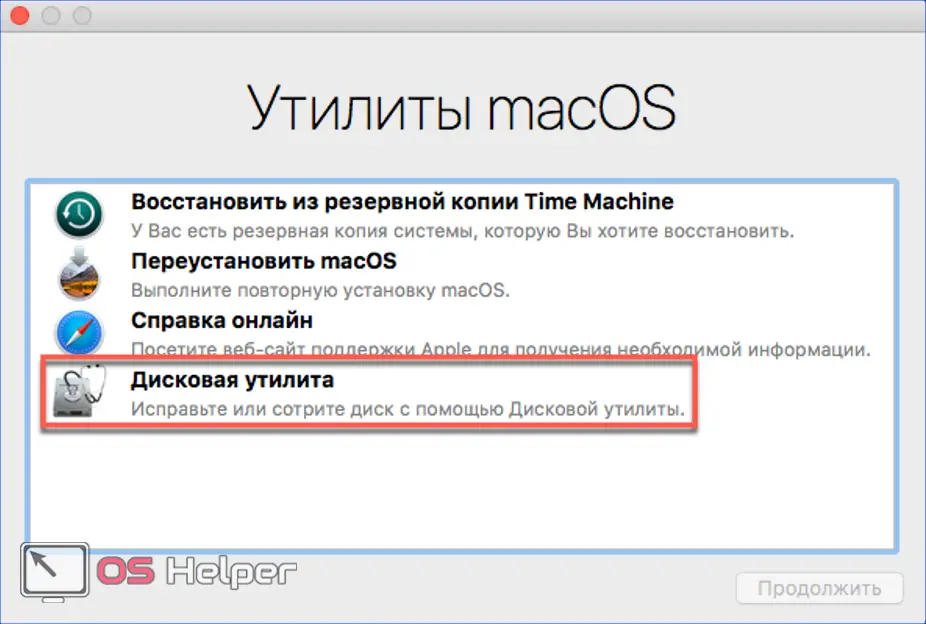
- For a "clean" installation, we need to open the disk utility.
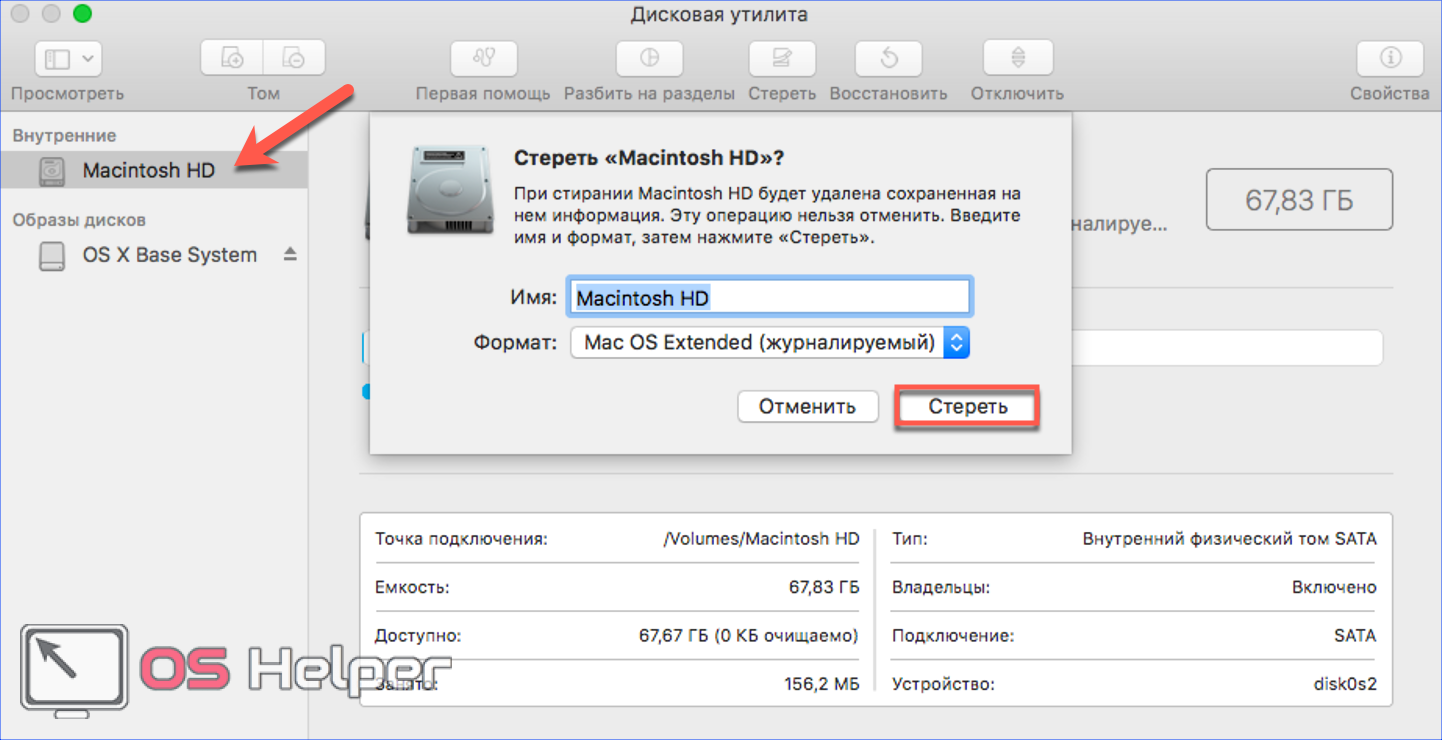
- We select the volume on which we are going to install the OS, and erase the data. The steps are similar to what we did when formatting a flash drive.
- Close Disk Utility and select the marked item.
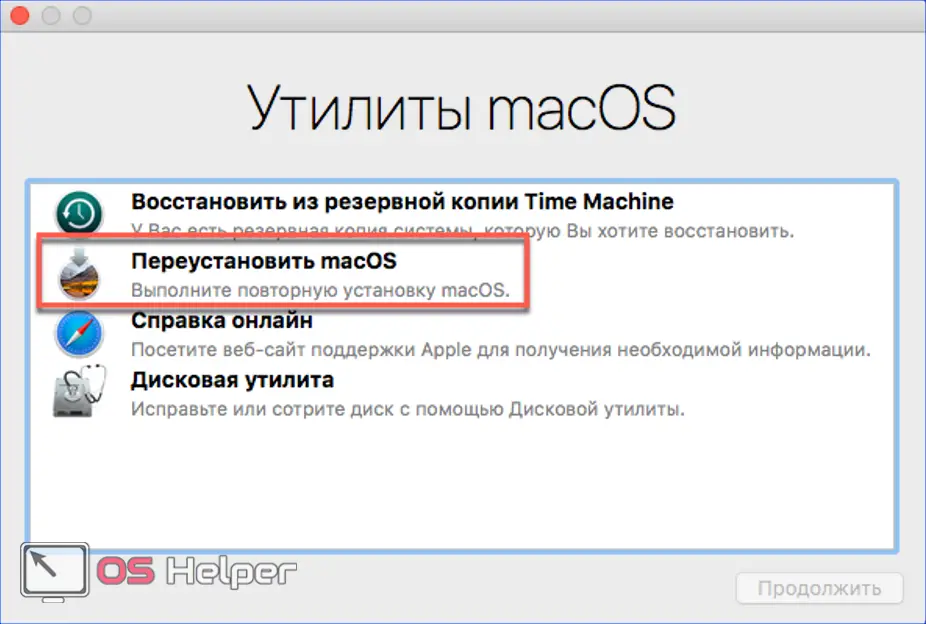
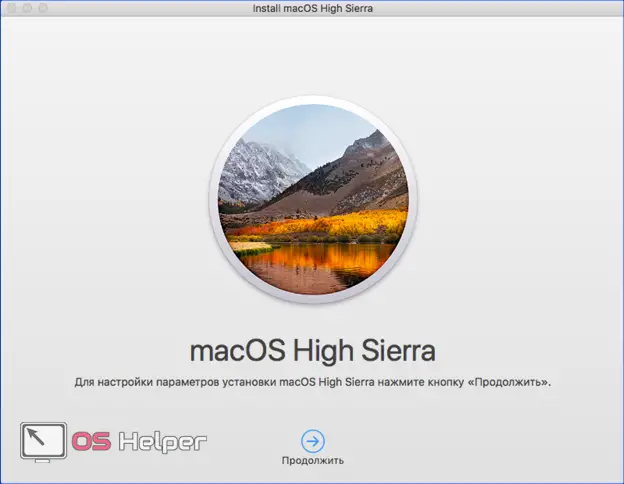
- The OS installation wizard starts.
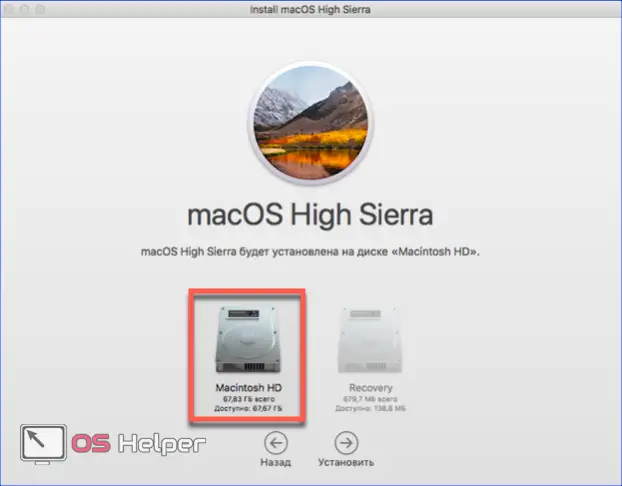
- Select the Macintosh HD volume.
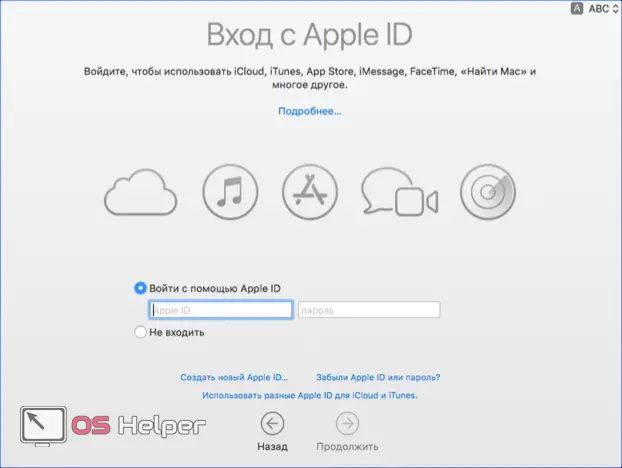
- Fill in the fields to sign in with your Apple ID details.
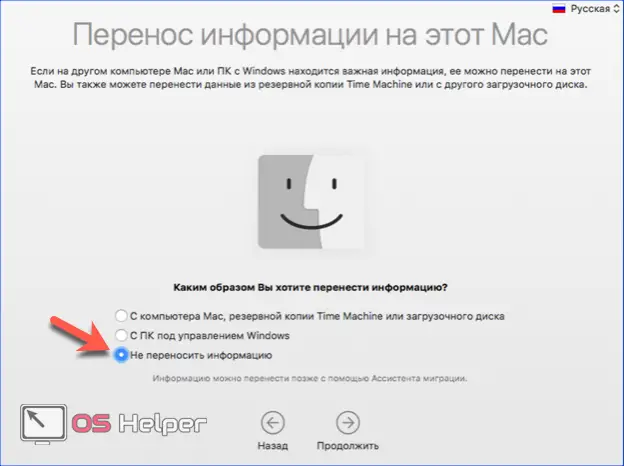
- At this stage, you can transfer the information from the backup, if it was made. For a "clean" installation, select the specified item.
Then we just have to study the license agreement and configure the regional settings. During the installation process, the computer will reboot itself several times, after which you will be taken to the fresh macOS desktop.
Finally
As you can see, installing the Apple operating system is quite simple. Creating bootable media does not require third-party programs or special knowledge, and ready-made commands can be found on the technical support site.
See also: How to format a flash drive in macOS
Video instructions
You can see the entire installation process in more detail in the video below.