PrintScreen on Mac: How to take a screenshot in macOS
 The keyboard of a regular computer has more keys than a MacBook. Even without an additional number pad, the ratio is 84 vs. 78. Apple never uses a block of so-called control and navigation keys in its laptops. Windows users do not really need them either, and only Print Screen is more or less “running”. It can be used to take screenshots. Let's figure out how to make PrintScreen on a Mac if there is no special button for this.
Screenshot
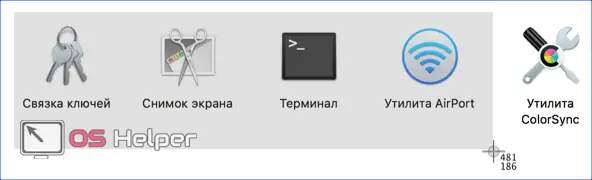
The Grab application in Russian localization has the name "Screenshot", directly indicating its role in the system. You can find the program by opening the "Utilities" folder.

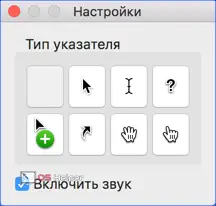
There are no settings as such. The user can only select the type of cursor displayed on the screen.
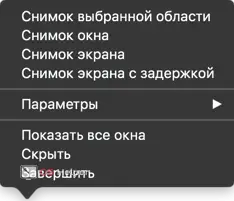
Grab can be controlled from the top menu. The screenshot shows the available snapshot options and hotkeys for creating them.

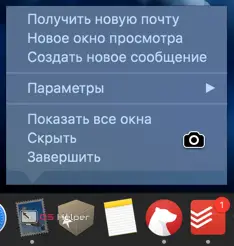
The second menu is called on the program icon in the Dock. There are two ways to open it: by simulating a double-tap on the trackpad, or by simply tapping while holding down the “Control” key.
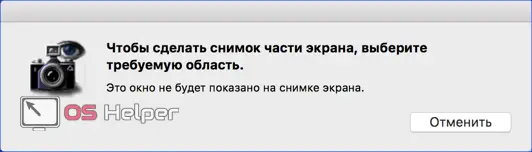
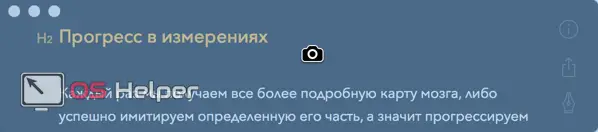
Any selected command displays a control window with a hint for the action to be performed. As an example, the screenshot shows how preparation for a screenshot of an area looks like.
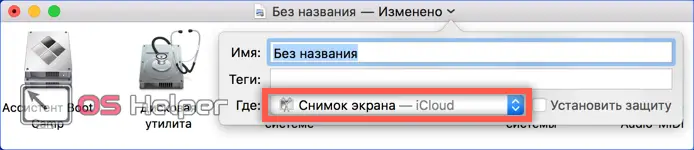
Grab is included in the standard set of software and is present on all Mac computers: from compact Air to stationary iMac Pro all-in-ones. The created picture immediately opens in the Viewer program, where the user can evaluate the quality of the resulting picture. In it, you can also give the file a name and save it in the iCloud cloud in PNG format. The print created in this way becomes available on all devices connected to the user's Apple ID.
See also: How to install Windows on a Mac
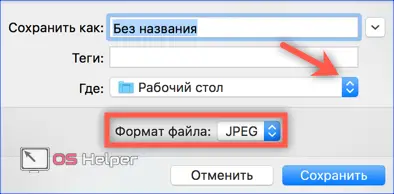
The second option, through the save dialog, gives more options. A standard for this "Axis" dialog for choosing a place opens, where the user can specify where to place the picture taken. The file format is selectable between JPEG, TIFF and PNG.
If you need to use a program often enough, you can pin it to the Dock so you don't have to find it in the Finder every time.
Hotkeys
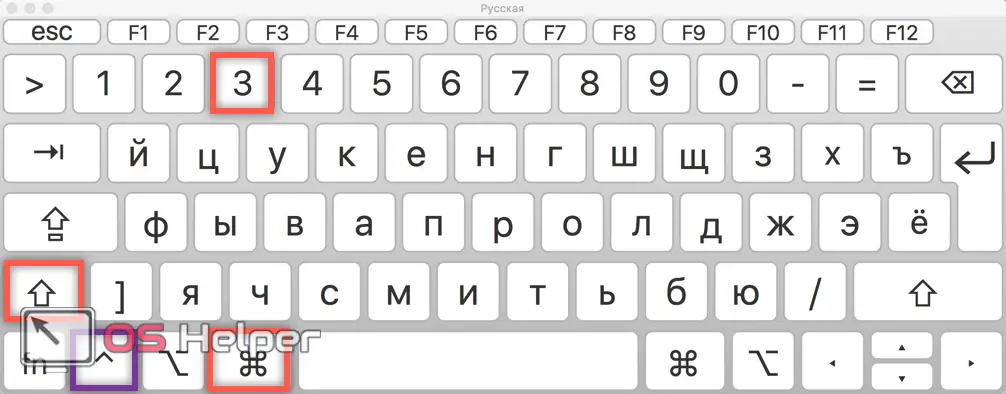
On a Mac, there is another option to take a screenshot. It does not require the use of programs, and in terms of functionality it complements Grab well. Combinations of several hot keys allow you to quickly fix the moment of interest. By pressing [knopka]Shift[/knopka]+[knopka]⌘ [/knopka]+[knopka]3[/knopka] together we get a full screen screenshot in PNG format. The finished image is placed on the desktop.
By adding the “Control” button to this combination, we copy it to the clipboard so that we can immediately place it in a text editor.
Snapshot of the area
The combination [knopka]Shift[/knopka]+[knopka]⌘[/knopka]+[knopka]4[/knopka] allows you to select a specific area of the screen. When pressed, the cursor turns into a crosshair with coordinates shown in the screenshot. After it appears, the keys can be released. Hovering from the trackpad sets the desired area of the screen. The snapshot is taken the moment the user removes their finger from the snapshot.
As long as the trackpad is held down, modifier keys can be used:
- [knopka]Option[/knopka]. By pressing this button, you can simultaneously stretch the selected area in all directions in proportion to its center;
- [knopka]Shift[/knopka]. The first press allows you to expand the selection to the right or left with a fixed vertical border. The second press activates a similar function for moving up and down. The direction of movement will depend on the location of the cursor;
- [knopka]Space[/knopka]. Fixes the selection area within the boundaries set at the time of pressing and makes it possible to move it around the screen.
- [knopka]Control[/knopka]. By holding the button while taking a snapshot, the user copies the image to the clipboard without saving it.
The [knopka]Escape[/knopka] key allows you to cancel the snapshot at any time. The cursor will then return to normal.
Snapshot of a window or menu
Using the combination [knopka]Shift[/knopka]+[knopka]Command ⌘[/knopka]+[knopka]4[/knopka] allows you to take a screenshot not only for the selected area. You can remove the active window or drop-down menu. To do this, you need to point the crosshairs at the object of interest and press the space bar. The cursor will change to a stylized camera view, and the selected window will be indicated by a translucent blue haze.
See also: Completely remove the application in macOS
The required context menu must first be invoked. Then use the key combination and, hovering over it, press the space bar.
The menu is captured completely with a "tail" coming from the icon and a shadow being cast. Clicking on the trackpad initiates a snapshot. By holding [knopka]Control[/knopka], it can be sent to the clipboard. If necessary, the screenshots taken can be edited in the Preview program. Clicking on the element indicated by the arrow activates an additional toolbar.

Setting screenshot options
Using the Terminal, you can adjust some parameters of screenshots created using hotkeys. All changes are made by two teams. The first sets the new value, the second restarts the UI service.
Save directory
By default, all new screenshots are placed on the desktop. If for some reason this does not suit you, the final destination can be easily changed. For example, we use the “Screen” folder in the “Images” system directory. Enter in the Terminal window:
[kod]defaults write com.apple.screencapture location ~/Pictures/Screen[/kod]
The following command restarts the service with the changes applied:
[kod]killall SystemUIServer[/kod]

Now, when we create a new image, it will automatically be saved to the specified directory, leaving the desktop clean. To return the preset value back, change the end of the first command to "~/Desktop".
You can choose any convenient folder for storage. In this case, putting a space after "location", open the "Finder" and transfer it to the Terminal window. When a green plus symbol appears next to the folder icon, release it. The path to the desired directory will be substituted into the command line automatically.

File format
MacOS supports saving screenshots in five formats. The main one is PNG. Looking at Grab, we saw the possibility of using JPG and TIFF. In the Terminal, you can additionally set PDF or GIF. Having decided on the format, enter the command:
[kod]defaults write com.apple.screencapture type jpg[/kod]

To return the default settings, replace JPG with PNG.
Screenshot name
Screenshots created by the system are named "Screenshot" and timestamped. You can change this if you wish. For example, we use the designation "Newscreen". We enter the command that changes the file name:
See also: What is a MacBook
[kod]defaults write com.apple.screencapture name “Newscreen”[/kod]

Accordingly, in order to return everything back, we specify the default name in the command.
Shadow under the screenshot
The visual design of the macOS interface gives the impression that windows rise above each other when overlapping and "hover" above the desktop, casting a shadow down. Exactly the same effect is obtained in the screenshot. You can flatten a window with the following command:
[kod]defaults write com.apple.screencapture disable-shadow -bool true[/kod]

To return the shadow effect to the pictures, type in the Terminal:
[kod]defaults delete com.apple.screencapture disable-shadow[/kod]
After executing the specified command, as well as each of the above, the user interface must be restarted.
Finally
As you can see, the system's capabilities are enough to take screenshots and their primary processing on any MacBook, starting with Air. Owners of professional models equipped with the Touch Bar can additionally display a virtual button on the Control Strip.
Video instruction
The video below is a visual aid to better explore the possibilities of taking screenshots using macOS.