How to save a presentation to a flash drive
 Presentations and various projects are most often created for the purpose of displaying to the public. To do this, the user must first transfer the project to an external drive, and then connect the USB flash drive to another computer to open the presentation. In this article, you will learn how to save a presentation to a USB flash drive.
Within the framework of the article, we will consider actions using the example of a presentation from Power Point. However, file copying methods are suitable for any format.
Saving through the program
First, consider the option of saving the presentation on an external drive. This operation is performed in the same way as when saving a file to the hard disk. You need to do the following:
- Log in to the program through which you create or edit the presentation.
- Go to the "File" menu.
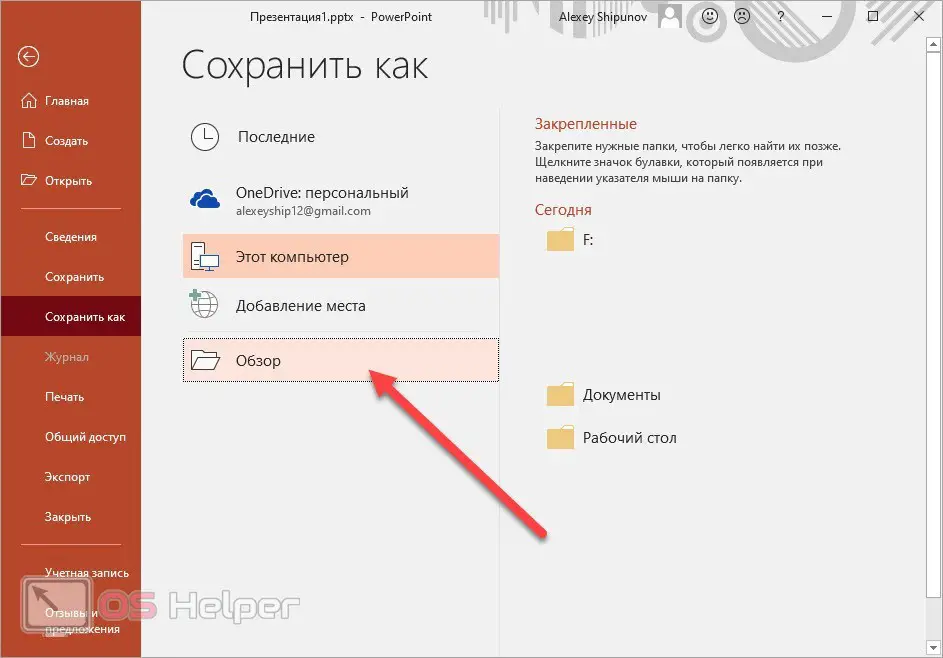
- Select the "Save As" option and click the "Browse" button.
- Using the directory of drives and folders, switch to the section with the name of your flash drive.
- Specify a file name and click on "Save".
This can be done with a new presentation or with a third-party project that you have downloaded and edited to show on another computer. Similarly, you can save files in any editor.
After saving, open the folder on the flash drive through Windows Explorer to check for the presence of the presentation. We recommend that you safely remove the drive - this reduces the risk of losing files.
Copy to storage
The second option is used most often. Firstly, if you save the presentation directly to a USB flash drive, you can only work with the project when the drive is connected. Secondly, if the project is on a PC, you can copy it to any third-party media at any time or send it via the Internet.
See also: The lightest browser for a weak computer
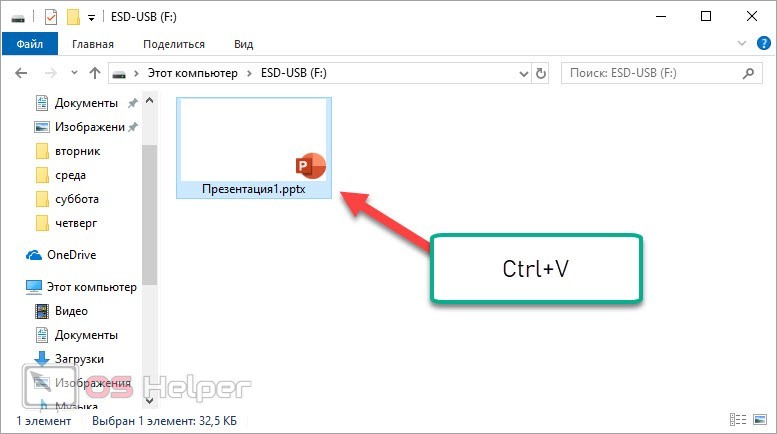
There are several options for copying files from one place to another. The first is using hotkeys. Open the presentation folder and select the file with the mouse, then press [knopka]Ctrl[/knopka]+[knopka]C[/knopka]. After that, open the USB flash drive in Explorer and use the combination [knopka]Ctrl[/knopka]+[knopka]V[/knopka]. As a result, you will see the copied file on the flash drive.
Also, instead of copying, you can use the "Cut" function ([knopka]Ctrl[/knopka]+[knopka]X[/knopka]) if you do not need a copy of the presentation on your computer.
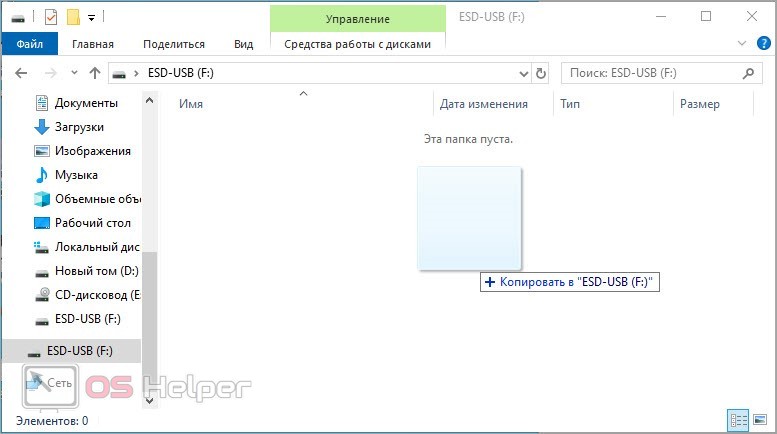
The second option is even easier. Open two Explorer windows and position them so that the file areas do not overlap each other. After that, hold LMB on the presentation file and drag it to the window with the USB drive. This way you can create a copy of the file in another folder.
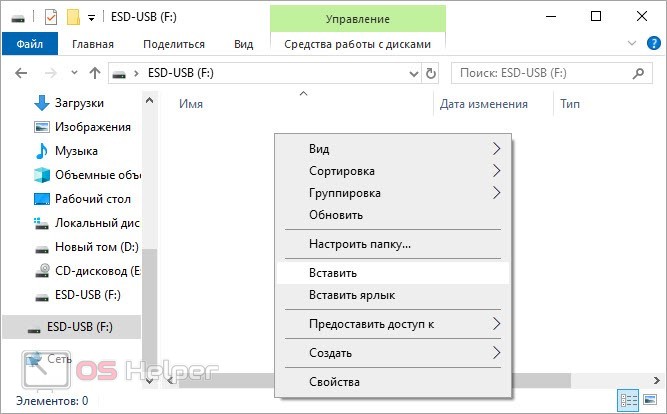
And the third option is to use the context menu. In the presentation folder on your hard drive, right-click on the file and select the "Copy" action from the menu. Then go to the folder with the flash drive and in the same way, through the additional list, click on the "Insert" item.
All the described methods are no different from each other. Choose the one that is most convenient for you.
Sending a file to a flash drive
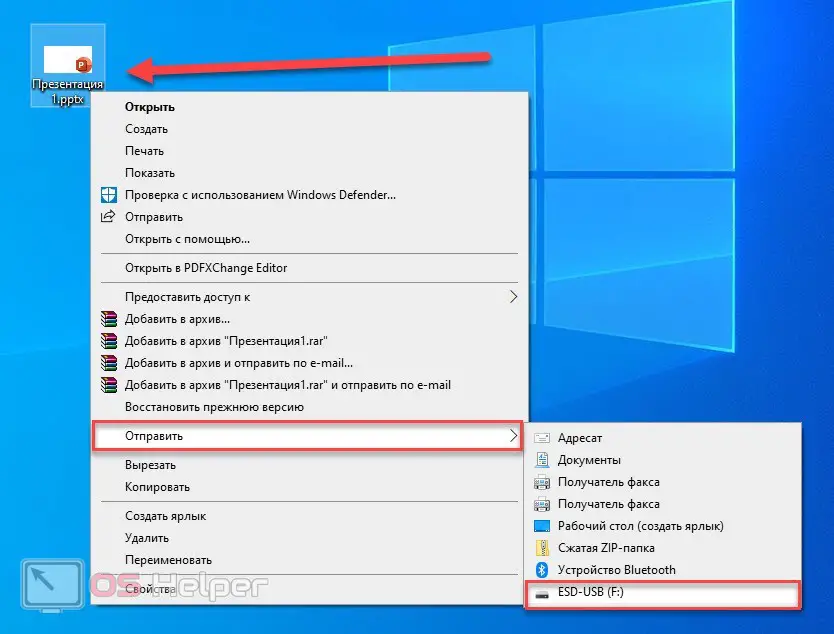
And finally, the last method, which also uses the context menu of the file. By connecting an external storage device, you can send the necessary data directly. To do this, right-click on the presentation and open the "Send" list. It will display a selection of available drives. Among them, select the item with the name of the desired flash drive.
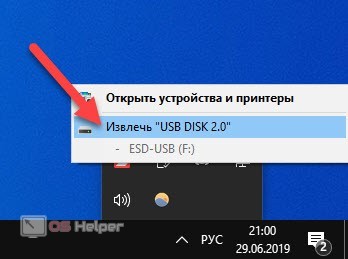
Now it remains only to remove the device. Right-click on the flash drive icon on the taskbar and select the appropriate action from the list. You can also perform this action through an explorer window.
Video instruction
For those who do not have enough text guidance, we offer a detailed video instruction. With its help, you will fully understand the issue.
See also: How to take a “long” screenshot on a computer
Conclusion
Saving a presentation to an external drive takes only a few seconds and mouse clicks. You can either immediately choose a flash drive as a place for a future project, or copy a finished presentation from a hard drive. If you want to clarify any point on the topic, then ask your questions in the comments below.