How to install a theme on Windows 10
 Windows 10 provides the user with a wide range of options for personalizing the appearance of the OS. You can download and install design options either directly from the official Microsoft store or using various third-party utilities. Themes include wallpapers, a set of system sounds, mouse pointers, and a variety of color schemes. Let's look at how to change themes in Windows 10 in order to make the system look unique and as convenient as possible. In addition, we will figure out how to delete unnecessary topics and create your own.
How to download and install themes using built-in tools
Windows offers the user a powerful set of tools to customize the appearance of the system. Let's take a step-by-step look at the process of applying built-in themes and downloading additional ones from the official Microsoft store:
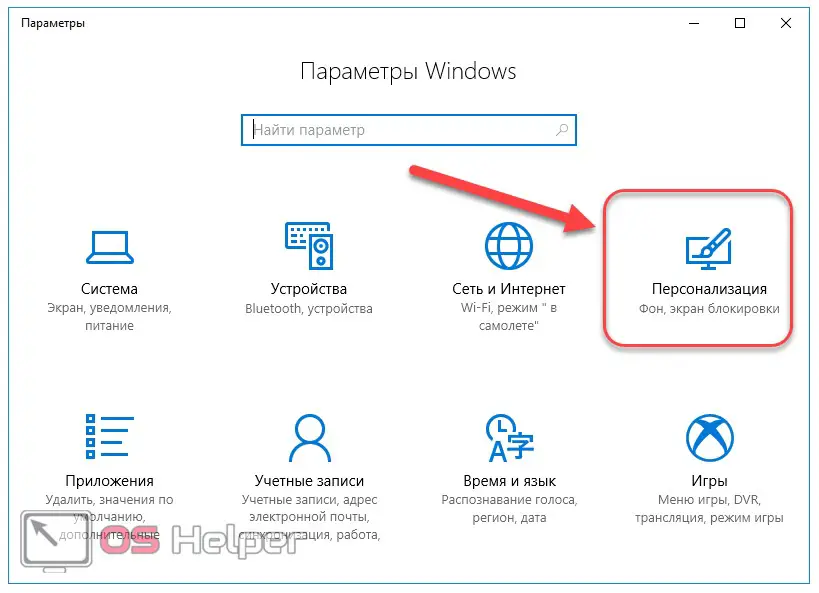
- To go to the personalization settings, open the Start menu and click on the gear symbol leading to OS settings:

- In the window that opens, select the block "Personalization" :
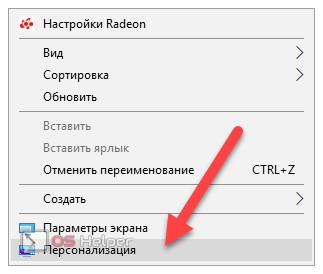
You can also get here by right-clicking on the desktop and selecting Personalization :
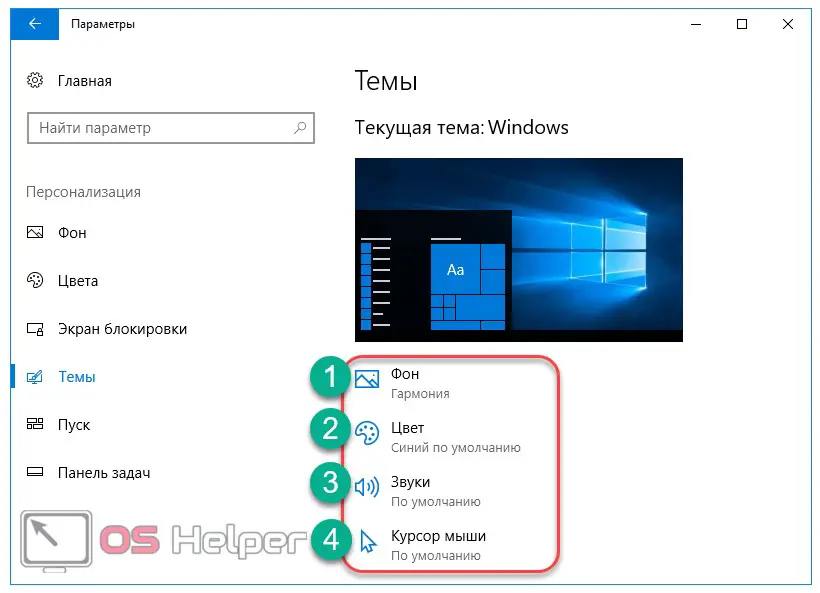
- In both cases, a window for setting the appearance of the system will open. In the left menu, select the item "Themes" [1]. Going down a little lower, you can see several pre-installed themes [2] available for selection (classic is also available). If none of them fits, go to the official store to download others [3]:

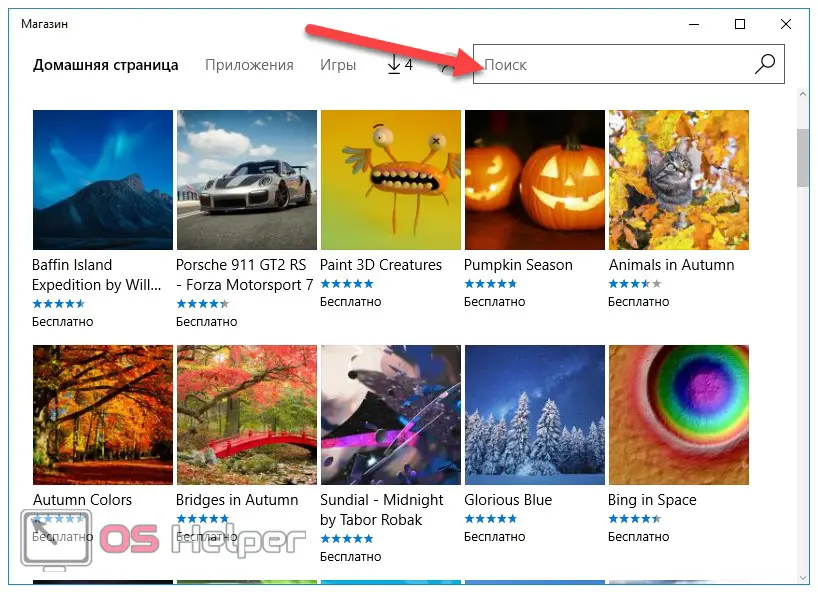
- As you can see in the image above, there are very few pre-installed themes, so let's go to the store. It contains a rich set of all kinds of designs for Windows 10 with automatic installation (from nature and architecture to anime), which are absolutely free. We browse the store and select the desired topic or enter its name in the search bar:
After downloading, the selected option will automatically become available for use and will be among the pre-installed ones.
Windows 10 allows you to not only use built-in themes, but also create your own. Consider how to create a unique version of the appearance of the OS.
See also: How to remove arrows from shortcuts in Windows 10
Create your own version
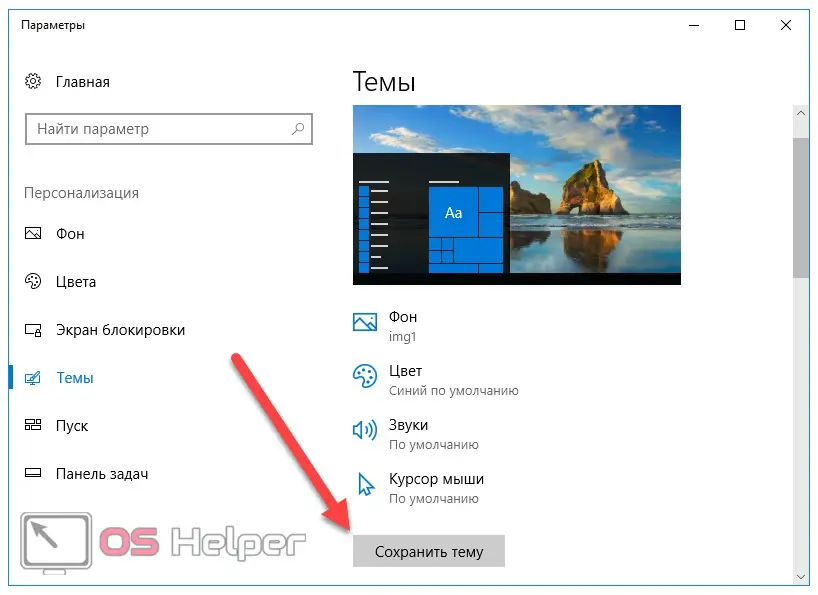
To create your own unique theme, we still go to the “Themes” item in personalization. The system allows you to assign your own background image, change the color scheme, set up sound themes for various actions and choose the most appropriate mouse cursor:
Let's go through these points:
- Background. Choose wallpaper for your desktop. You can set a single photo, a slideshow of images, or a solid fill of one color:
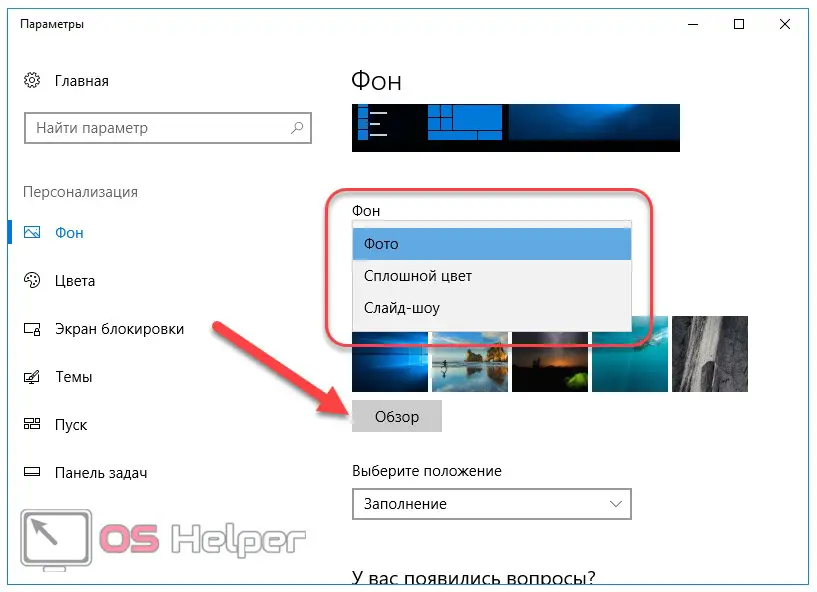
- You can also change the position of the selected photo - stretch it to full screen, set it to the center, keep the standard image size, etc.:
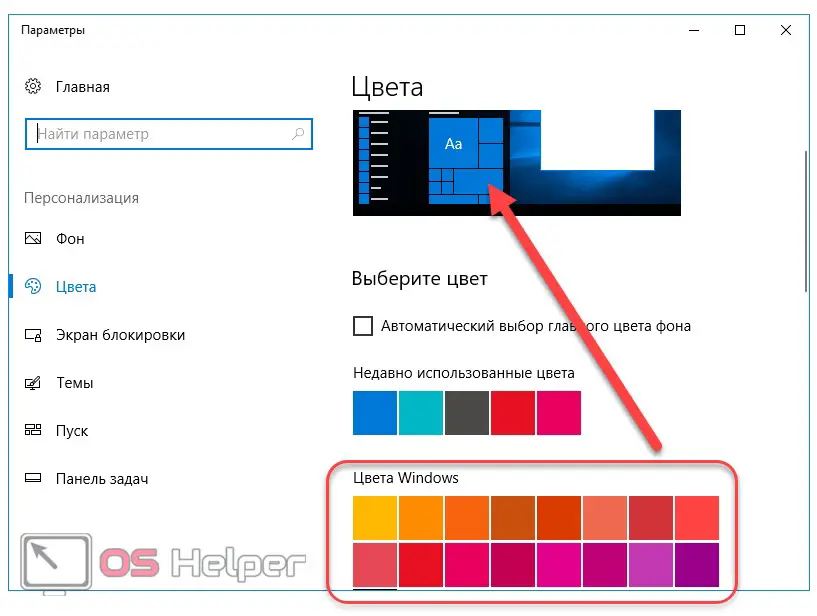
- Colors. Select the color scheme that will be applied to the tiles in the launch:
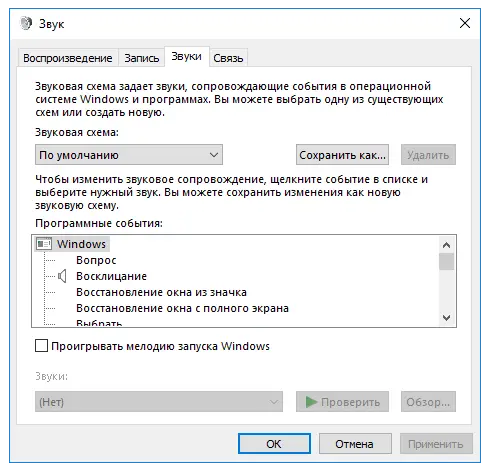
- Sounds. We use the built-in ones or, if desired, load our own:
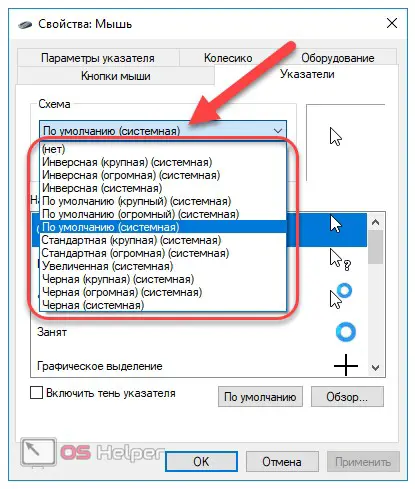
- Mouse cursor. Choose one of the cursors provided by the system or leave the standard one:
- Save the changes by clicking on the "Save theme" button :
It is possible that the built-in tools for changing the design of the system are not enough, and the free themes from the store do not satisfy all needs and are too standardized. In order to download third-party themes from other users, you need to unlock this feature. The UltraUXThemePatcher utility can help you do this.
Using UltraUXThemePatcher
The developers of Windows 10 initially banned the use of third-party themes that are not in the list of preinstalled or in the official store. The implementation of this feature is prevented by several files in the system folder. It was to bypass them that the UltraUXThemePatcher utility was developed - a kind of program for installing themes.
Thanks to this tool, the user does not need to manually search for interfering files. The application detects them automatically. The utility is absolutely free and does not require additional permissions. It automatically detects the possibility of "patching" interfering files on a specific version of the system, which allows you to avoid unwanted problems. The user only needs to allow the program to make changes and restart the computer or laptop after the procedure.
Download UltraUXThemePatcher It should be clarified that UltraUXThemePatcher does not have its own graphical interface. The application is compatible with Windows x32 Bit and x64 Bit, installs once and does not require re-launch. In other words, this is a one-time tool that opens the user the possibility of using third-party themes. The sequence of actions for working with the utility will look like this:
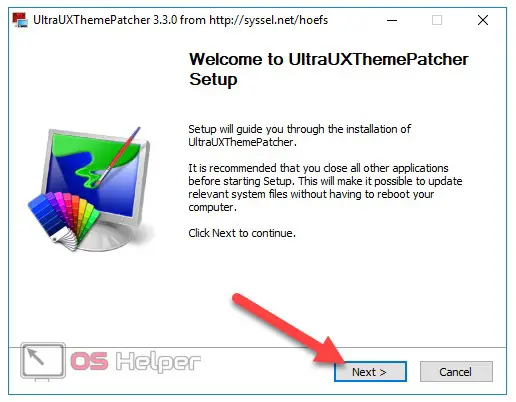
- Download the application and open the downloaded file. In the window that opens, click on " Next" :
Read also: How to activate Windows 10
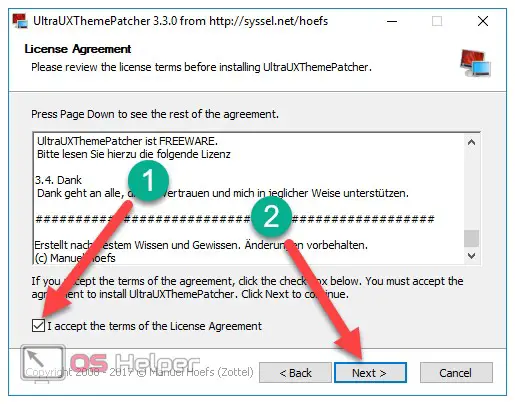
- We accept the terms of the user agreement [1] and click on "Next" [2]:
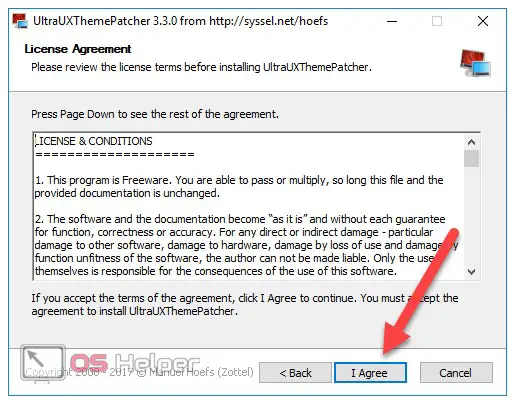
- Click on the button " I Agree" :
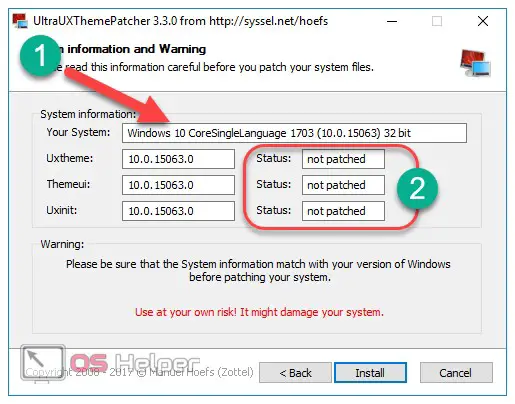
- The utility provides information about the system installed on the PC [1] and the status of files to be changed [2]. The status " not patched" means that the files have not been modified yet. In this case, to continue the operation, click on " Install" :
- The process takes literally a few seconds, and during its execution the command line window will appear and disappear. At the end of the operation, the program will notify you that you need to restart your computer for the changes to take effect. We agree by clicking on the " Next" button :
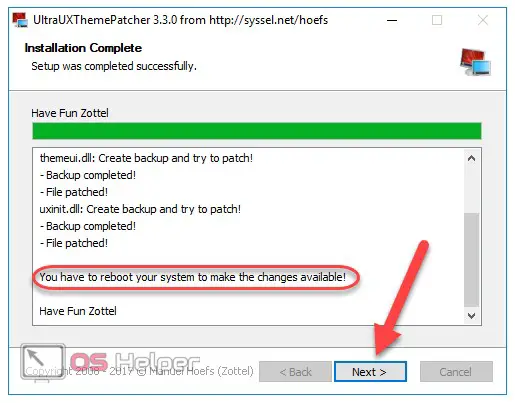
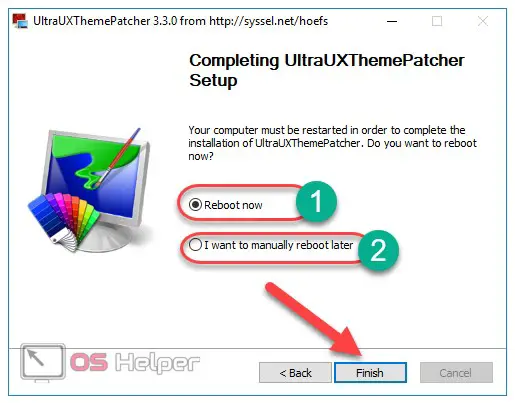
- The utility will offer to immediately restart the computer [1] or postpone this operation [2]. Select the desired item and click on " Finish" :
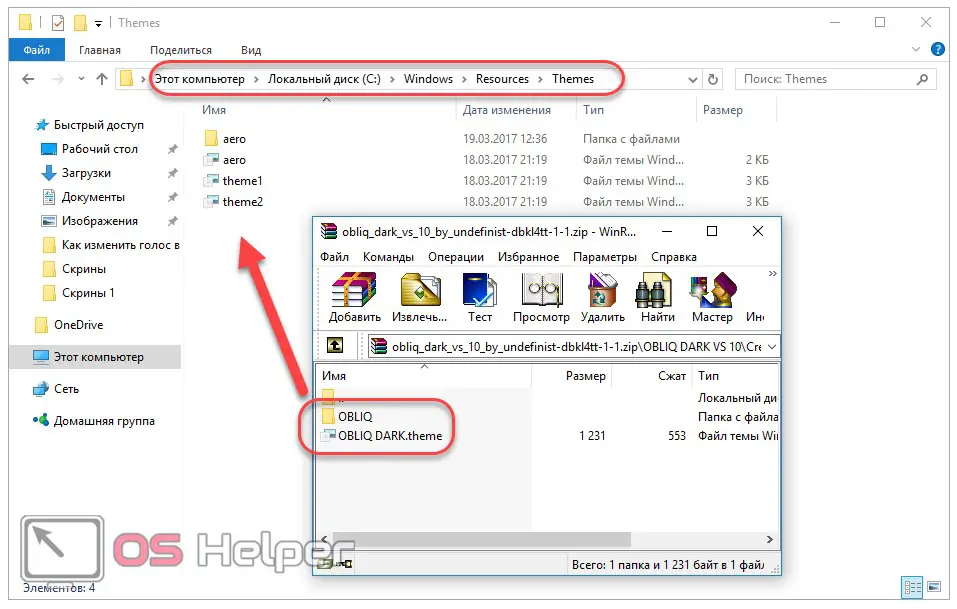
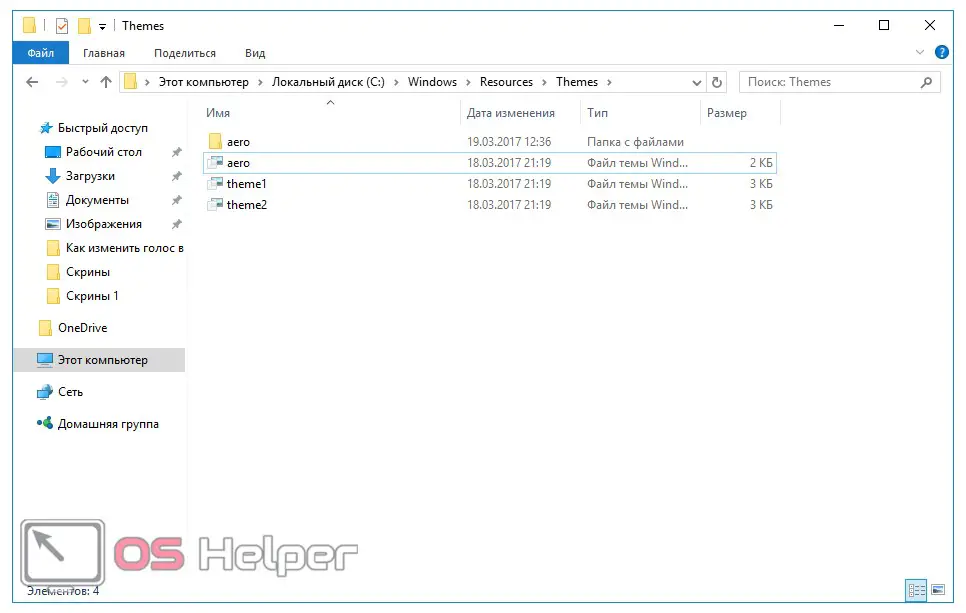
Files are patched. After rebooting the PC, you can start installing third-party themes (their uniqueness lies in the fact that they are extremely different from the classic ones - for example, they may contain transparent elements). How to install a theme? To do this, download the desired one and transfer the files from the archive to the following path:
[kod]С:/Windows/Recourses/Themes[/kod]
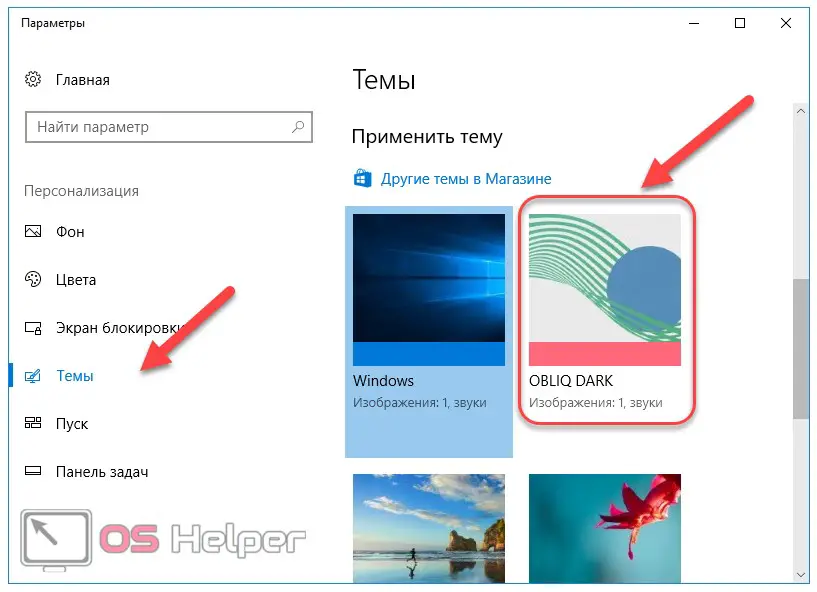
We go to personalization (through the options in the Start menu or by right-clicking on the screen and selecting the item "Personalization" ) and go down to the list of preinstalled themes. Among them will be the one that was just added. To install this theme, simply click on it. The system will apply the new layout automatically:
Using the UltraUXThemePatcher utility, you can unlock the ability to install third-party themes on Windows 10 as quickly as possible and without unnecessary actions. All custom options (may even contain live wallpapers) located on the Internet (you can find them, for example, by searching for "themes for Windows 10" ) will be easily applied using this method.
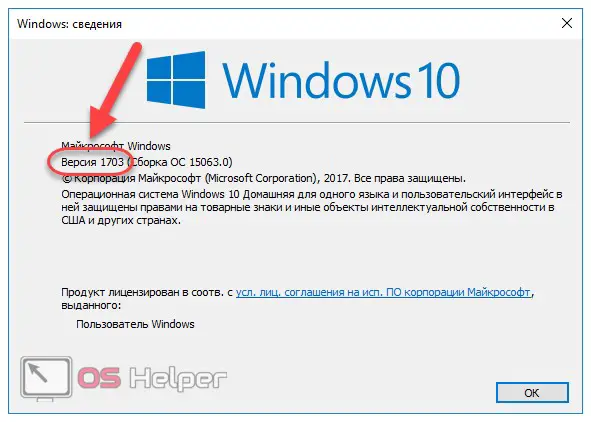
It is only necessary to take into account that the theme must be supported by the version of Windows 10 installed on the computer. Most often, themes are developed for the following versions - Anniversary (1607) and Creators Update (1703). Usually the author of the design leaves information about compatibility.
You can check the version of Windows 10 by following these simple steps:
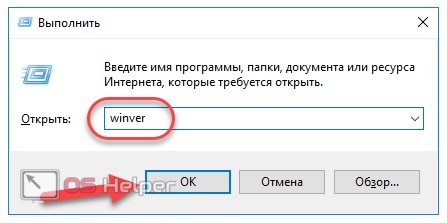
- Press the key combination [knopka]Win[/knopka] + [knopka]R[/knopka] on the keyboard to open the Run window:
Also Read: How To Quickly Disable Spying In Windows 10
- We write the command " winver" and press "OK" or [knopka]Enter[/knopka]:
- All information will be provided in the window that opens:
The utility will automatically create a system restore point so that you can return it to its previous state in case of any problems.
Consider how to delete unnecessary topics when there are too many of them.
How to remove themes in Windows 10
Each user strives to find the best design for himself, trying many different options. In this regard, a huge number of unnecessary files accumulate on the disk that need to be deleted. Let's figure out how to do it. There are two options:
- If the theme was downloaded from a third-party site, then only removal through the system settings will help. We turn to personalization (the sequence of actions was described above). We right-click on an unnecessary topic and click on "Delete" :

This design will be removed from the list of available ones without further confirmation. The theme files will also be automatically deleted from the system drive:
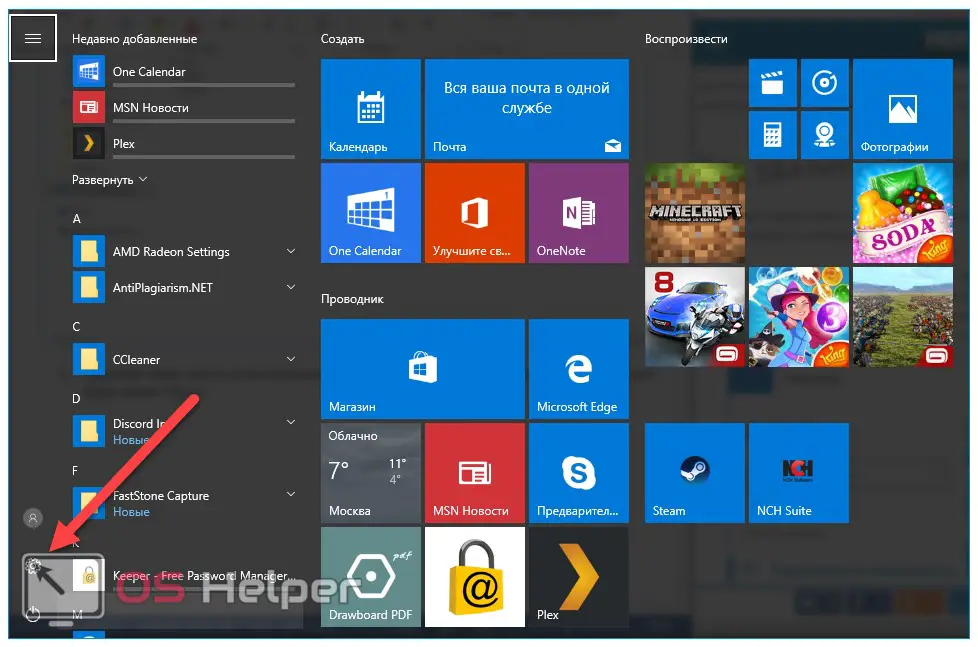
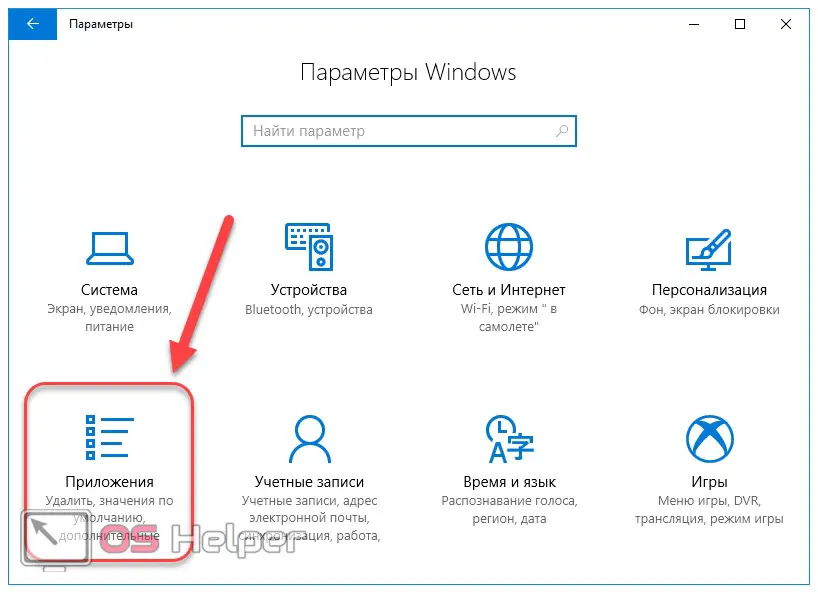
- If the theme was downloaded from the official store, then you can remove it through the list of installed programs and components. Open "Settings" through the "Start" menu :
- Select the block "Applications" :
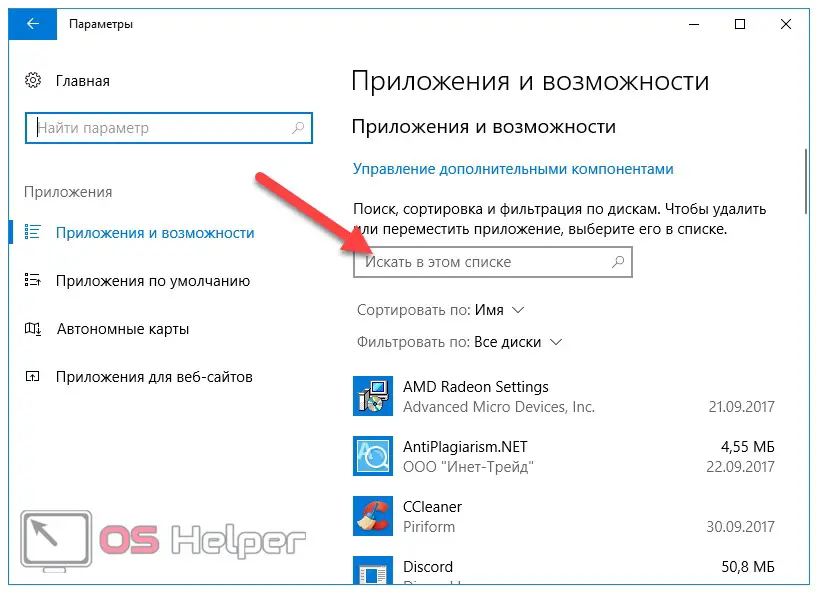
- We find the theme in the built list of installed programs and delete it like any other application. You can find a topic among others by name using the search bar:
This concludes the consideration of ways to change the appearance of the system.
Results and comments
If you have enough built-in standard themes from the store, then there is no need to use additional utilities - the official store has a huge number of options. If standard themes are not enough, then you should try UltraUXThemePatcher - the utility maximizes the possibilities of changing the design of Windows 10, allowing you to use third-party options for the appearance of the system.
Video instruction
Below is a video in which we show the process of installing third-party themes on Windows 10.